After the German attacks on
Amfreville and the
Bois de Mont were repulsed, Allied High Command launches an attack on Breville in an attempt to eliminate the German salient once and for all.
My Commandos would be attacking this time in No Retreat against Colin’s Grenadiers, and I decided on a Night Attack. I brought:
Commando HQ, PIAT & Lovat
4 Commando Sections (Platoons)
Comando Mortars x 3
Commando MMGs x 2
Airlanding Platoon
Airlanding 6-pounders
Full 25-pounder Battery
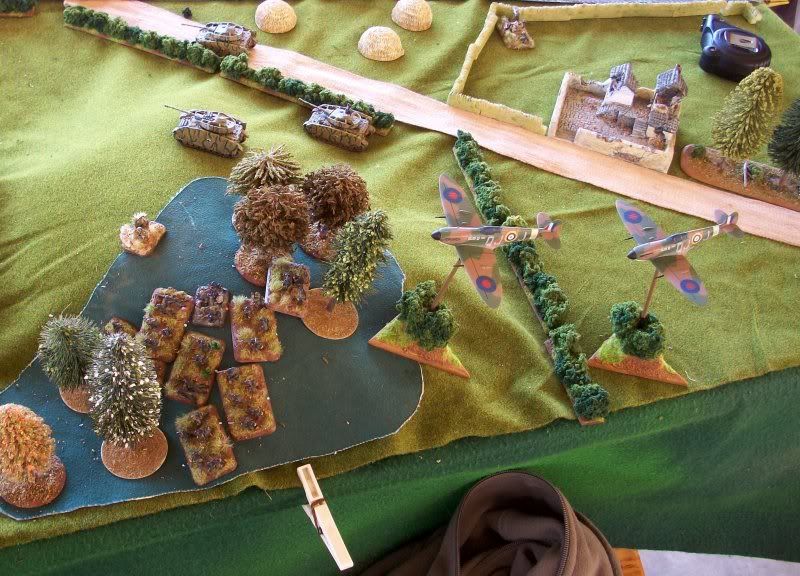
(I forgot my aircraft at home so subbed in some of Colin’s AL 6-pounders, in retrospect a bad move.)
Colin’s lists confuse me at the best of times: he went with a 12 Platoon force, something along the lines of 3 x Grenadiers, MG Platoon, Mortars, Nebelwerfers, Black Pioneers & PSV, 4 Mader IIIMs, PaK 40s, 3-base scouts, 20mm FlaK, and a kamfgruppe formed from a few Grenadier teams and an MG....or something like that.

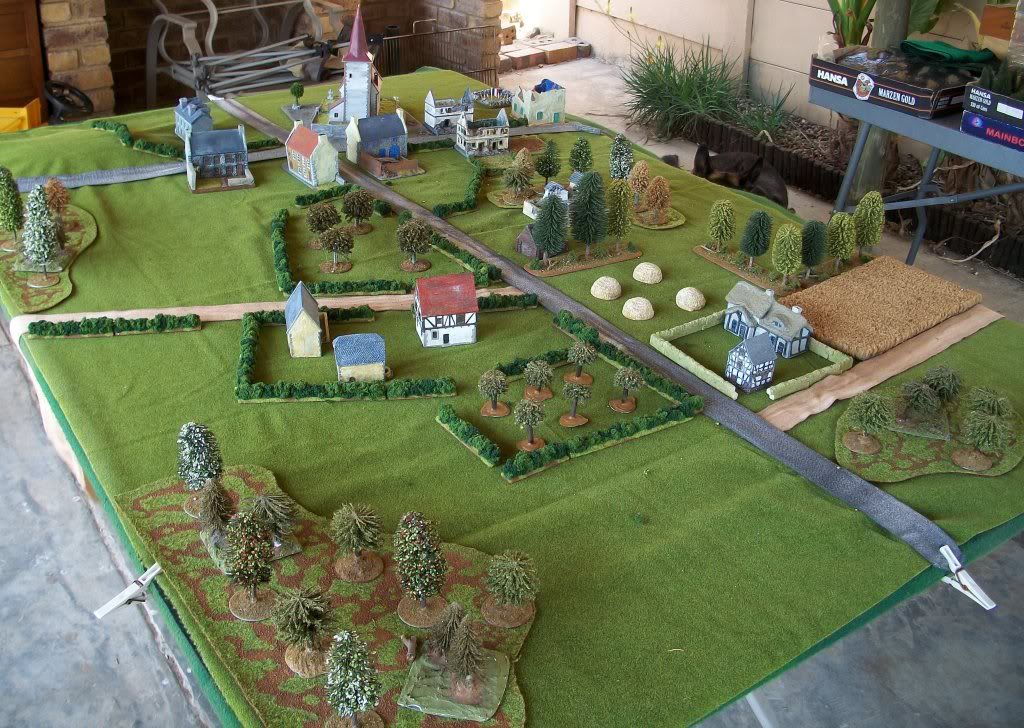
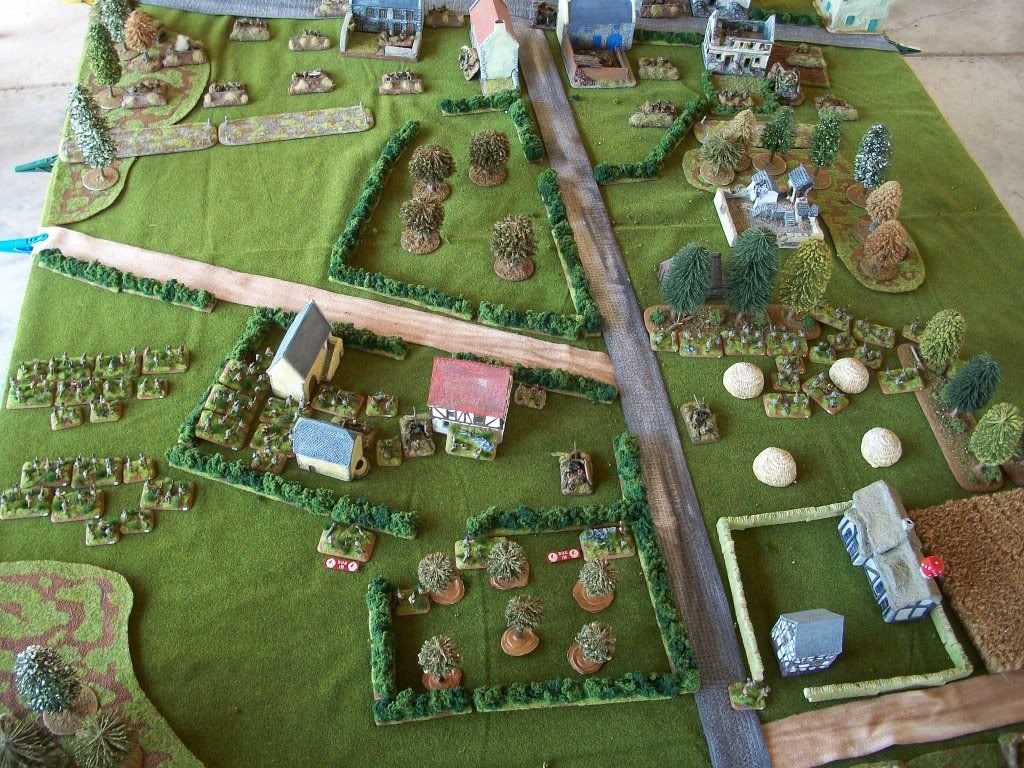
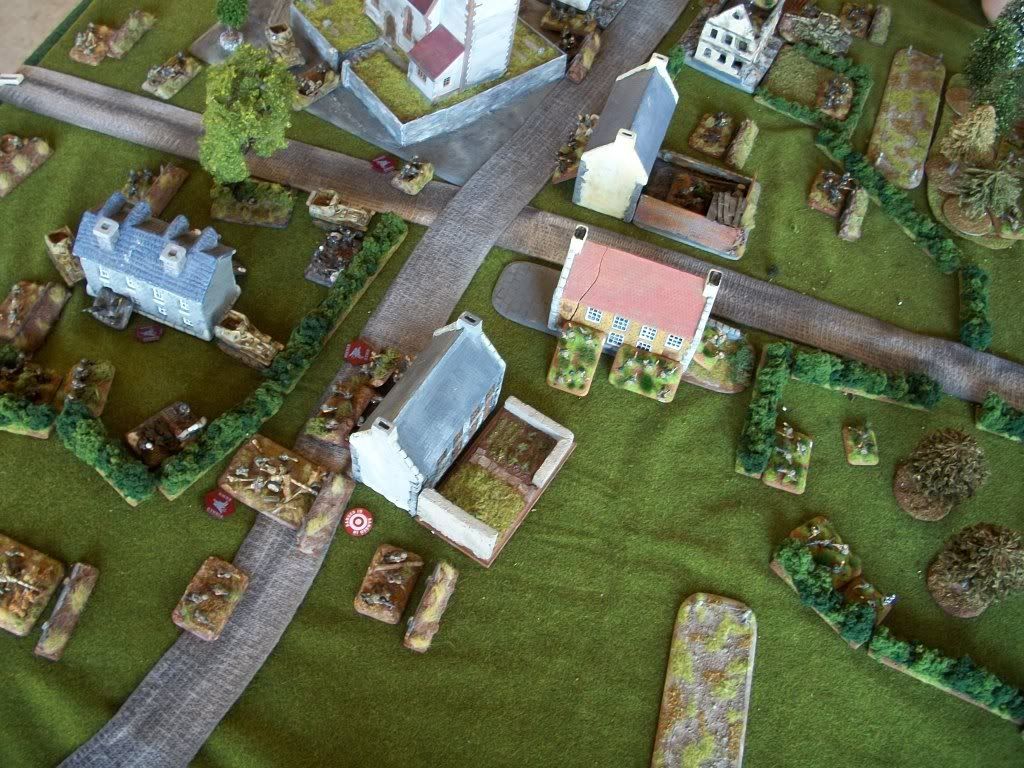
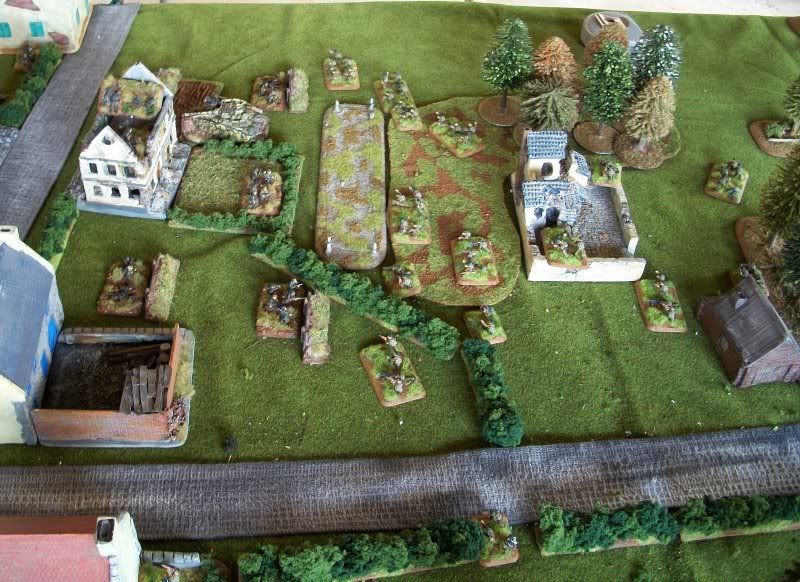
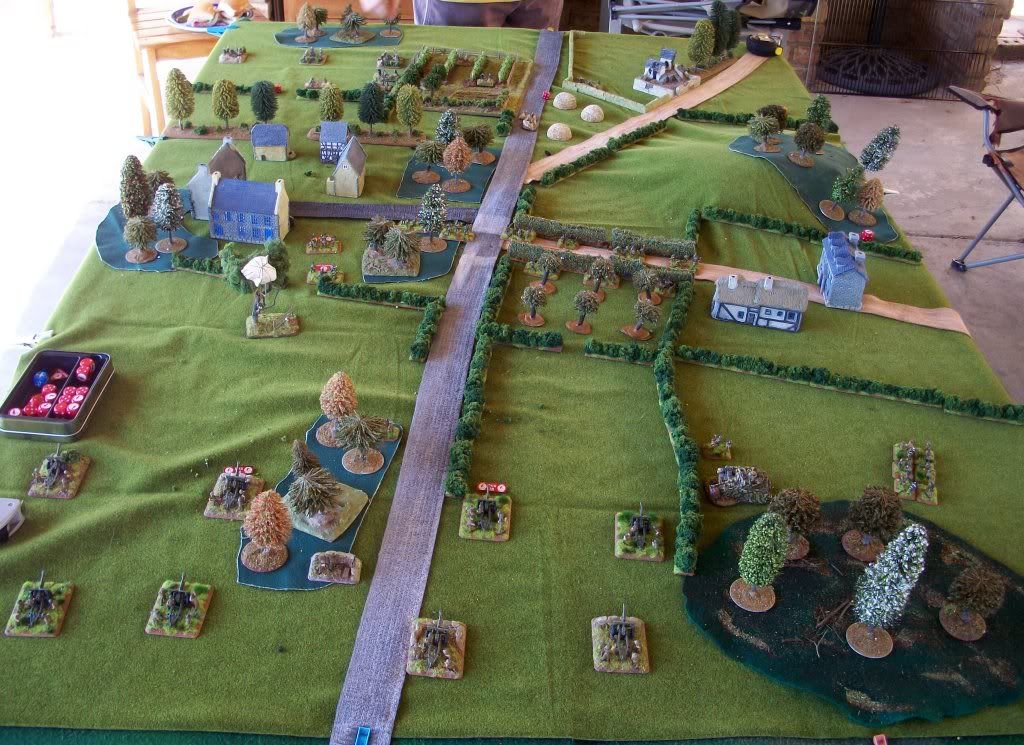
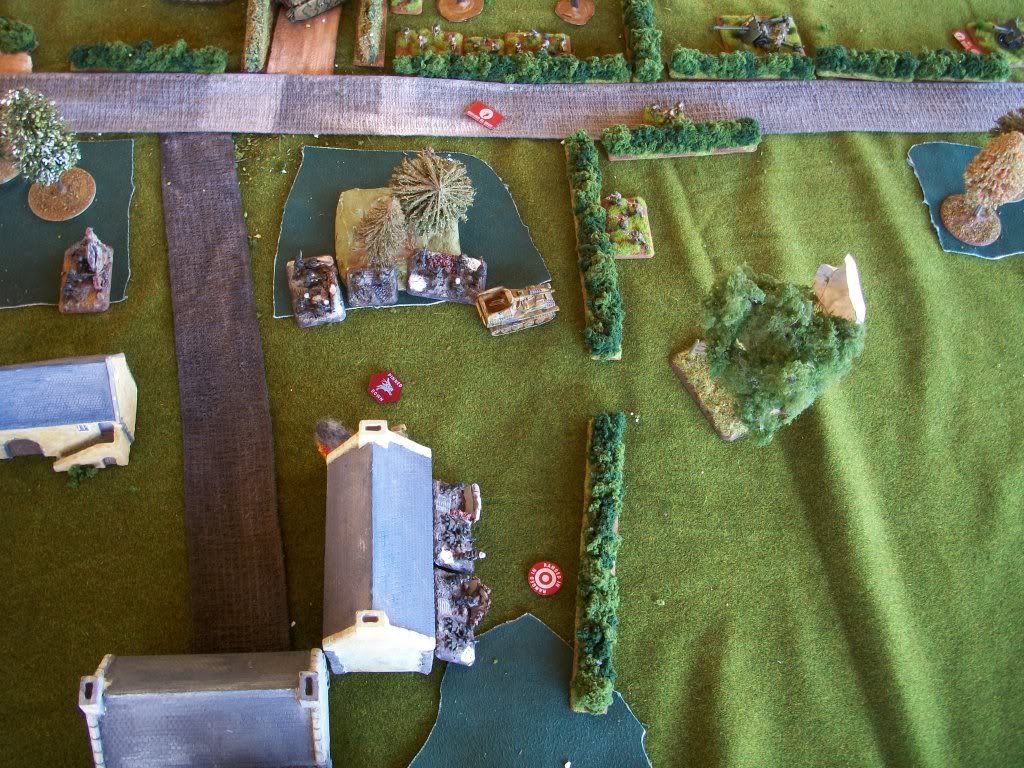
The table from my edge: Breville at the top where the Germans would be defending, orchards, hedges and scattered woods elsewhere.

Grenadiers w/attached HMG defend the German left.
Black Pioneers with two sections of wire hold the German right. PaK 40s, Nebelwerfers and Mortars on–table, 2 HMGs (?) in Ambush.

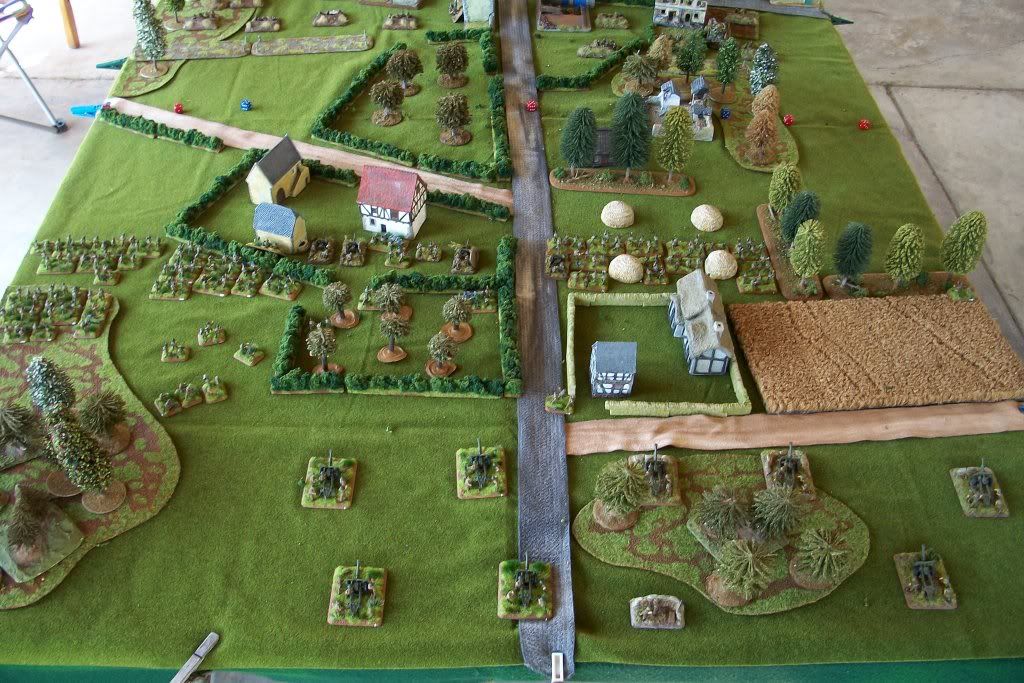
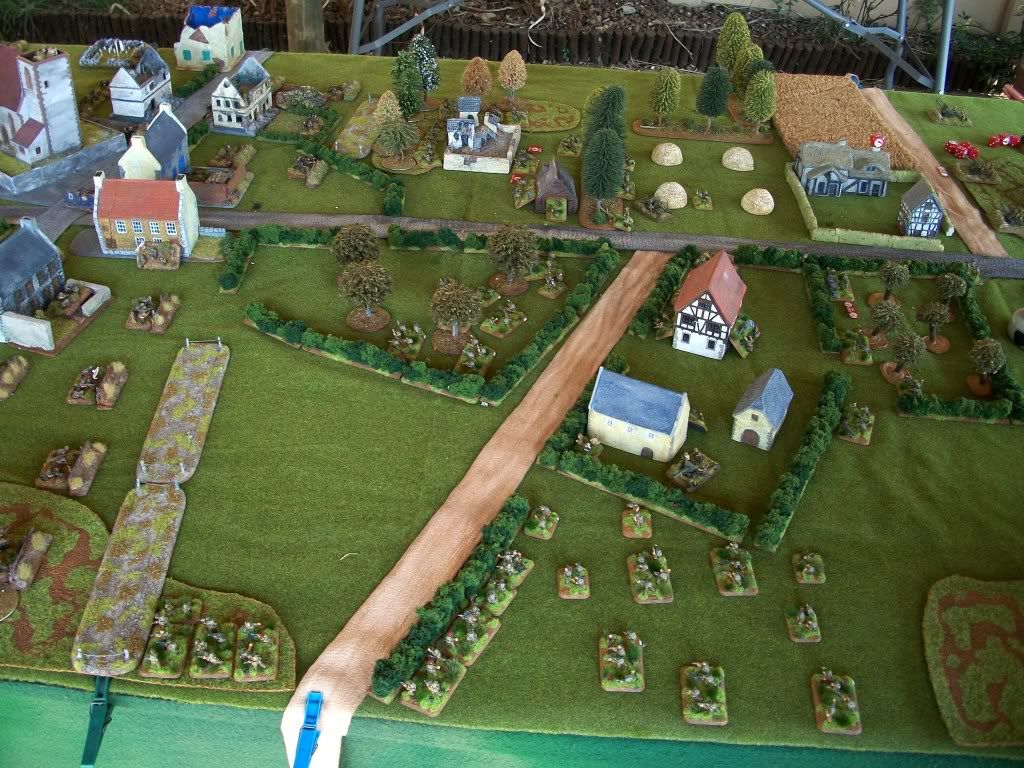
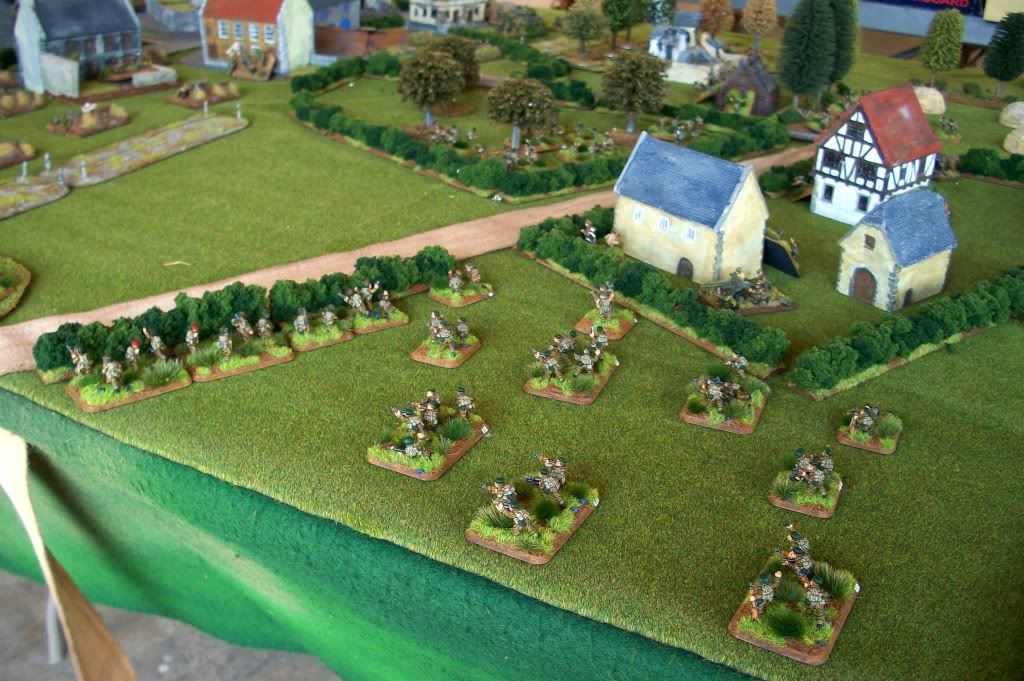
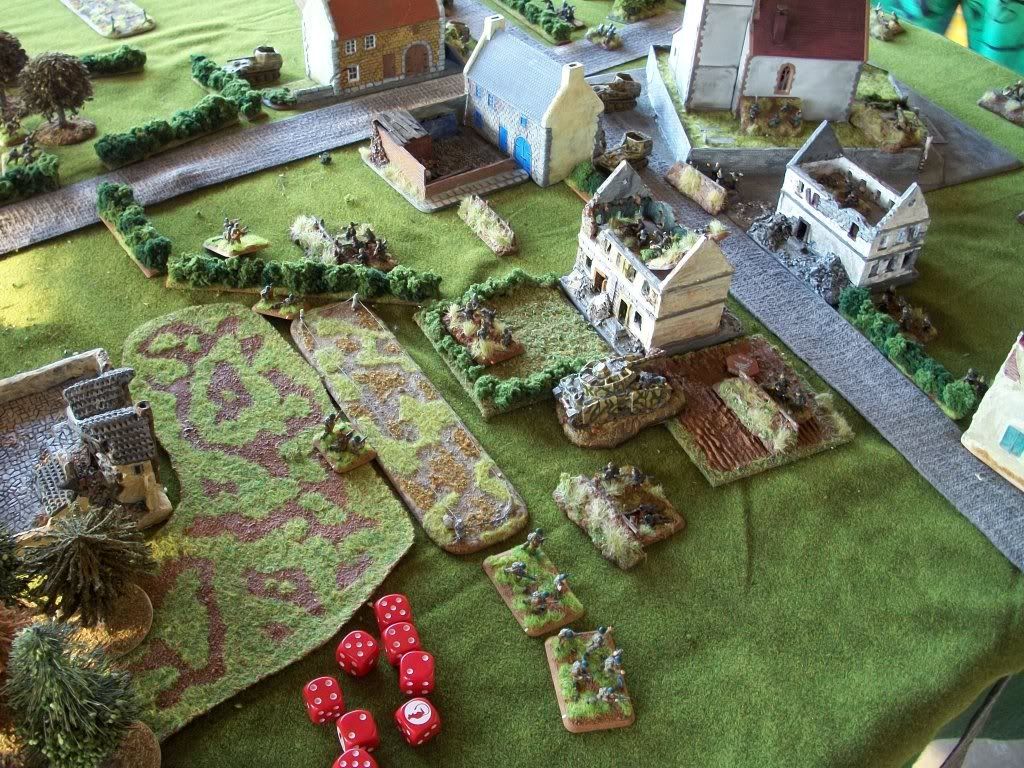
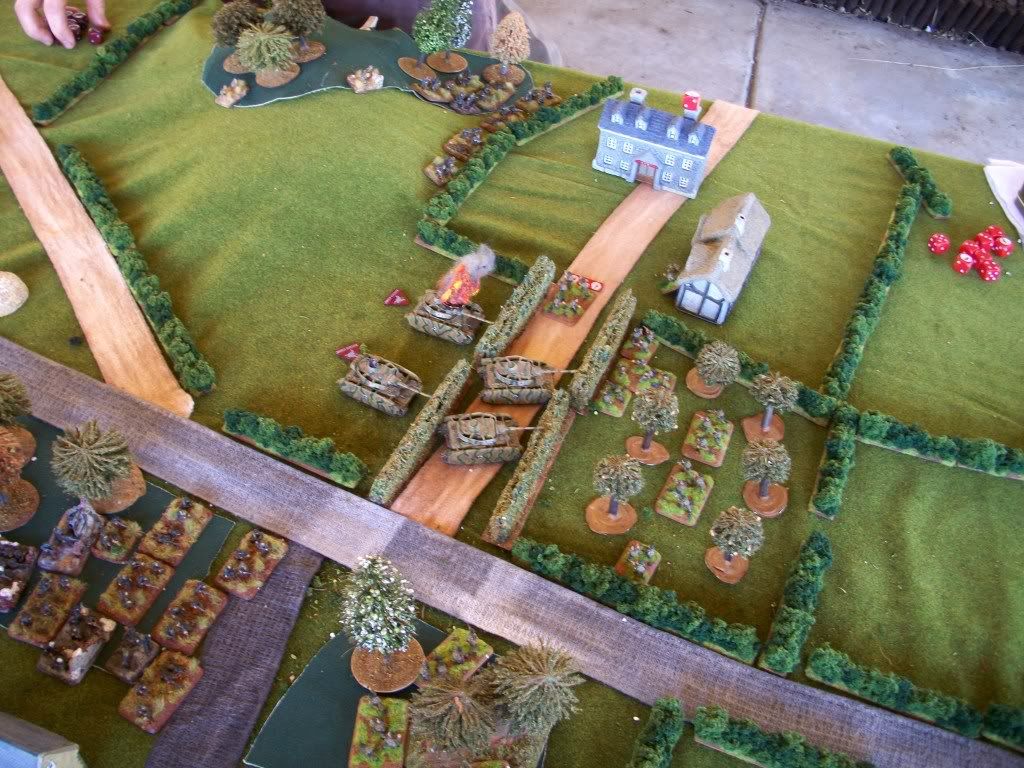
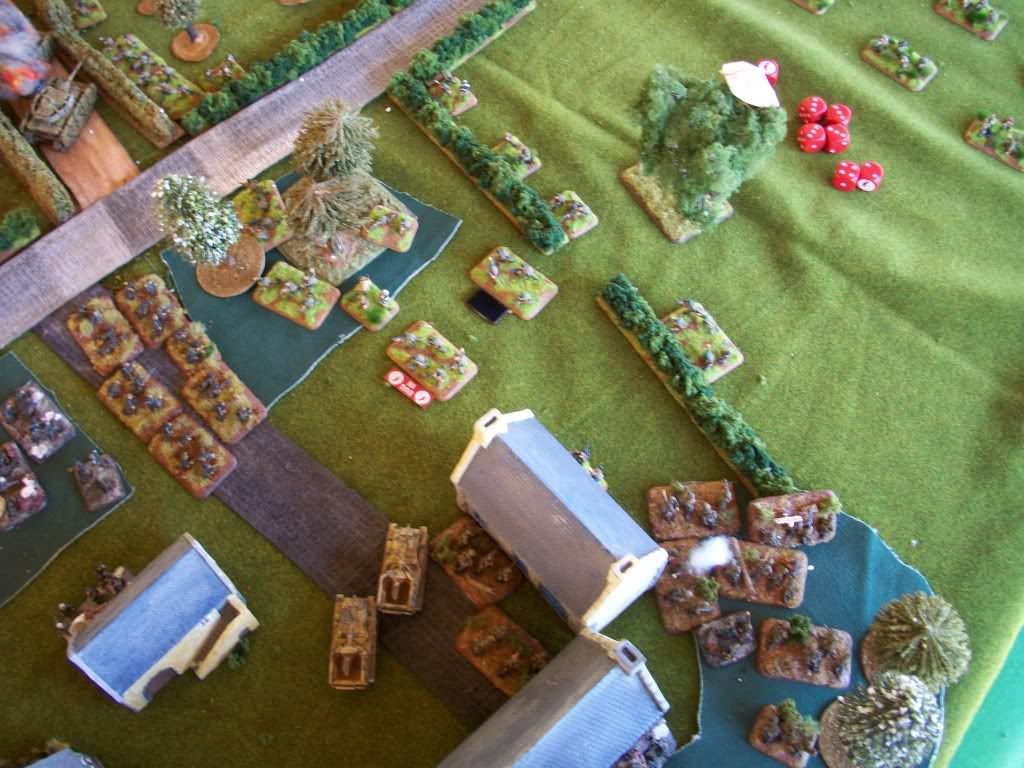
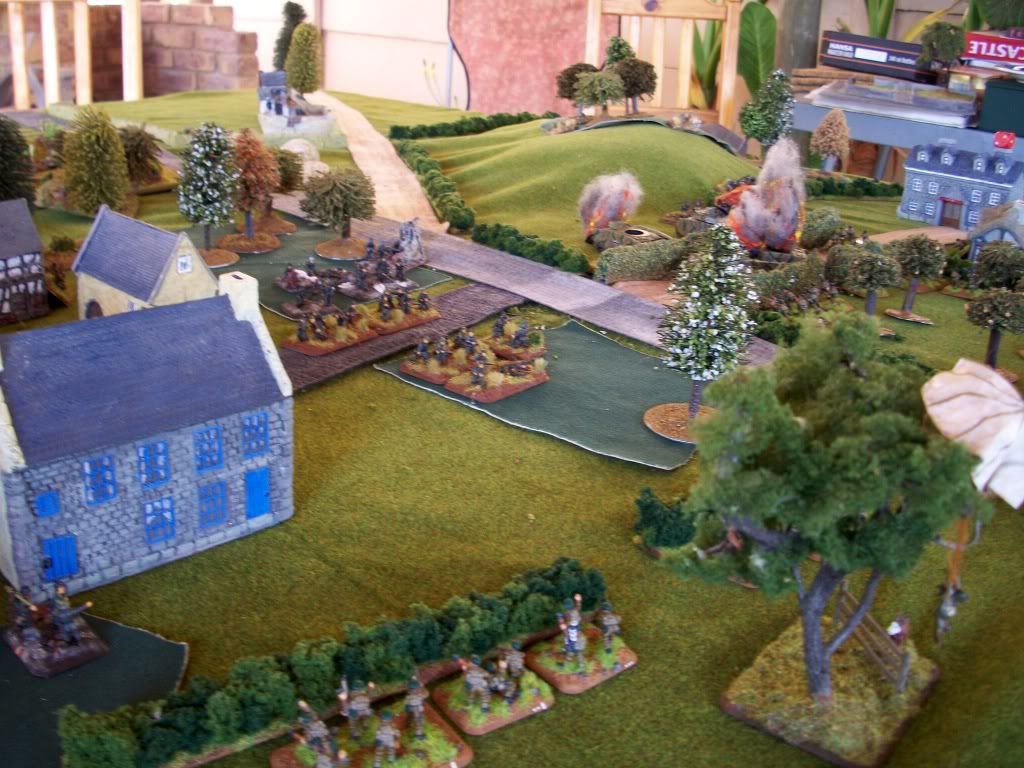
My deployment, consisting of (from left) Commandos, Airlanding, Commandos, 6-pounders , Mortars & MMGs and two more Commando Sections, 25-pounders to the rear. We are a little further forward thanks to the extra 8” deployment for Nigh Attack.

The British left, Troop commander and Lord Lovat & Bill Millin in the background.

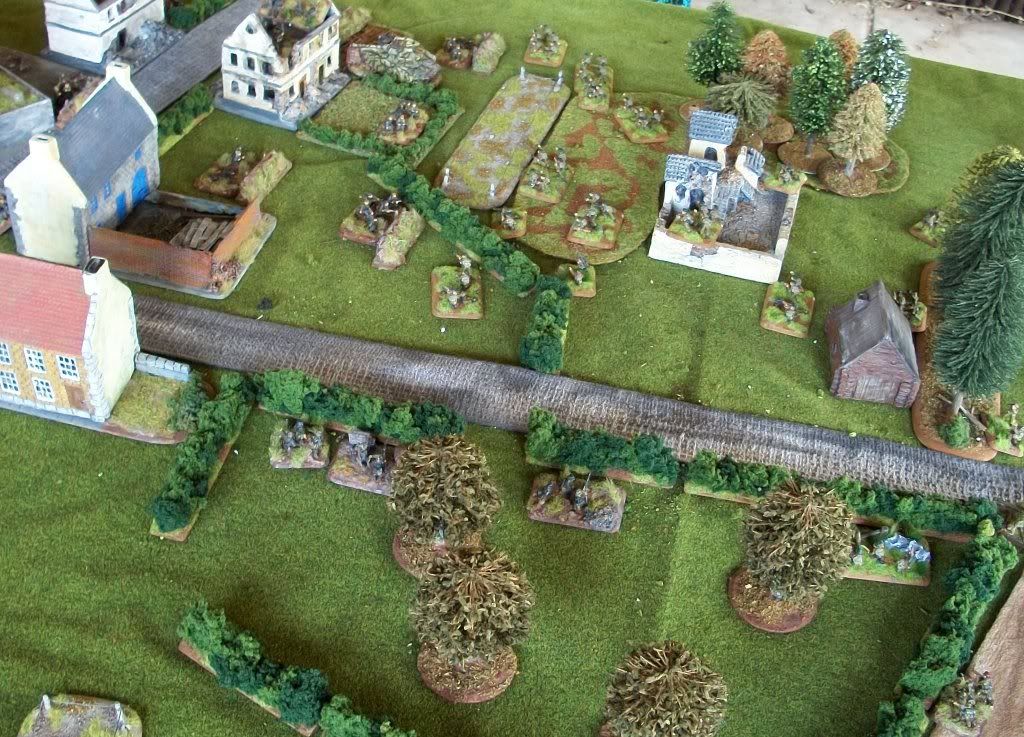
The British right.

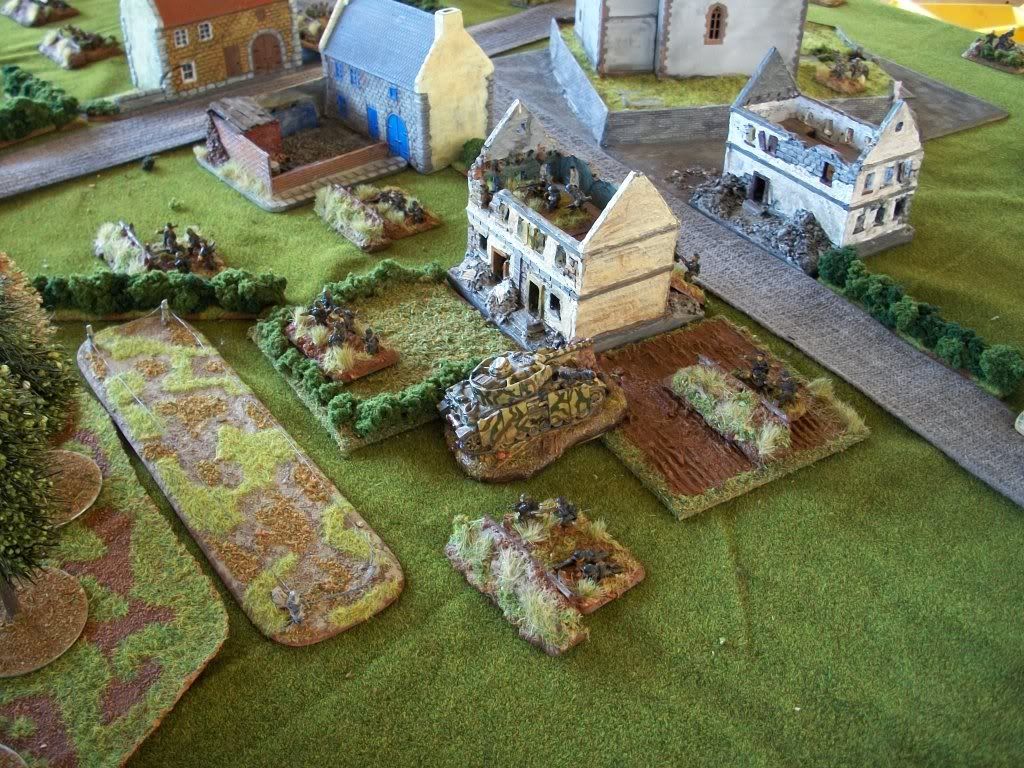
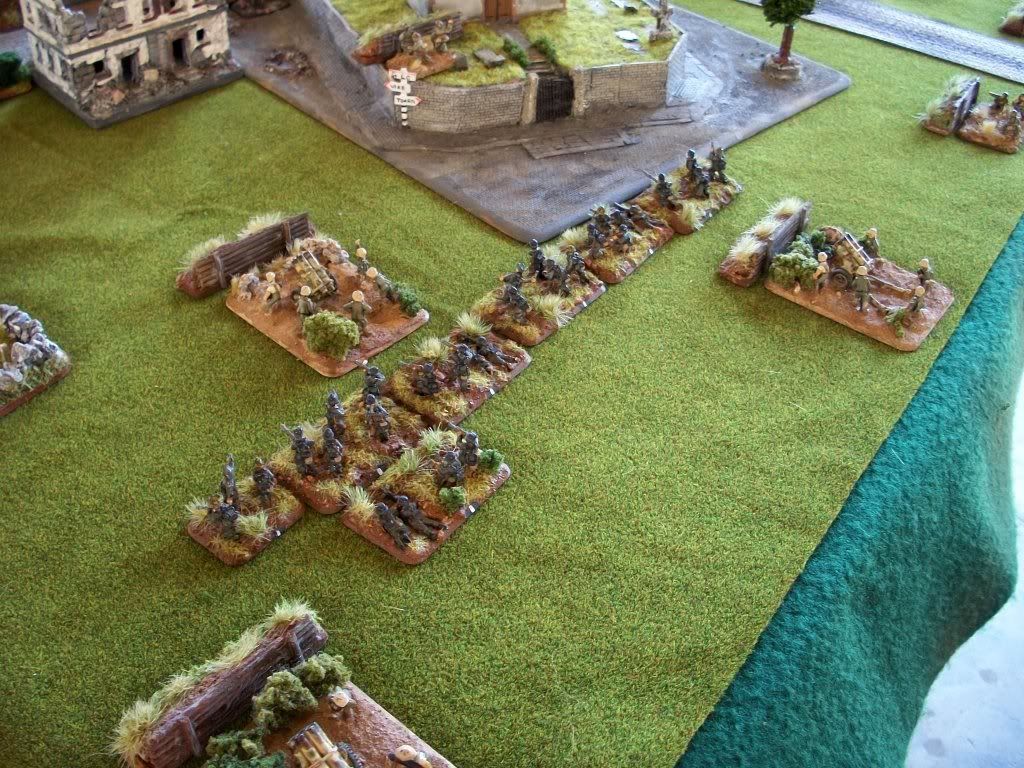
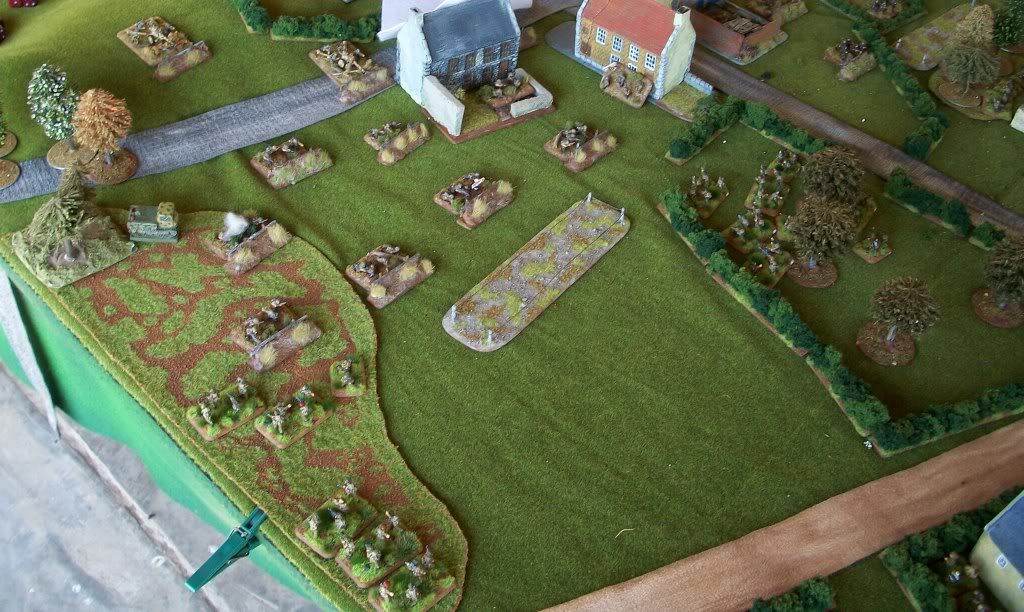
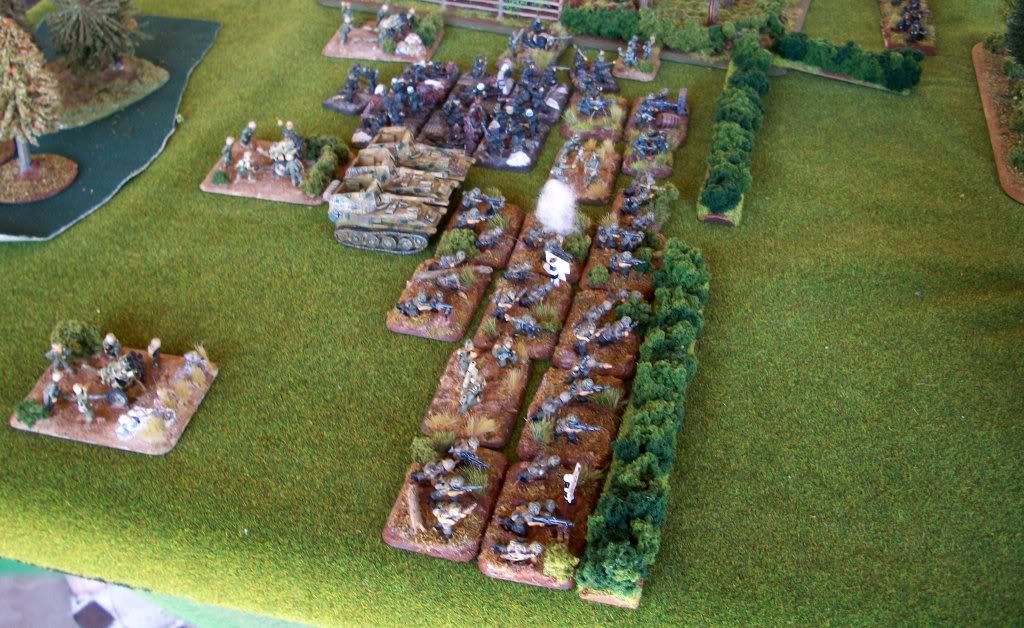
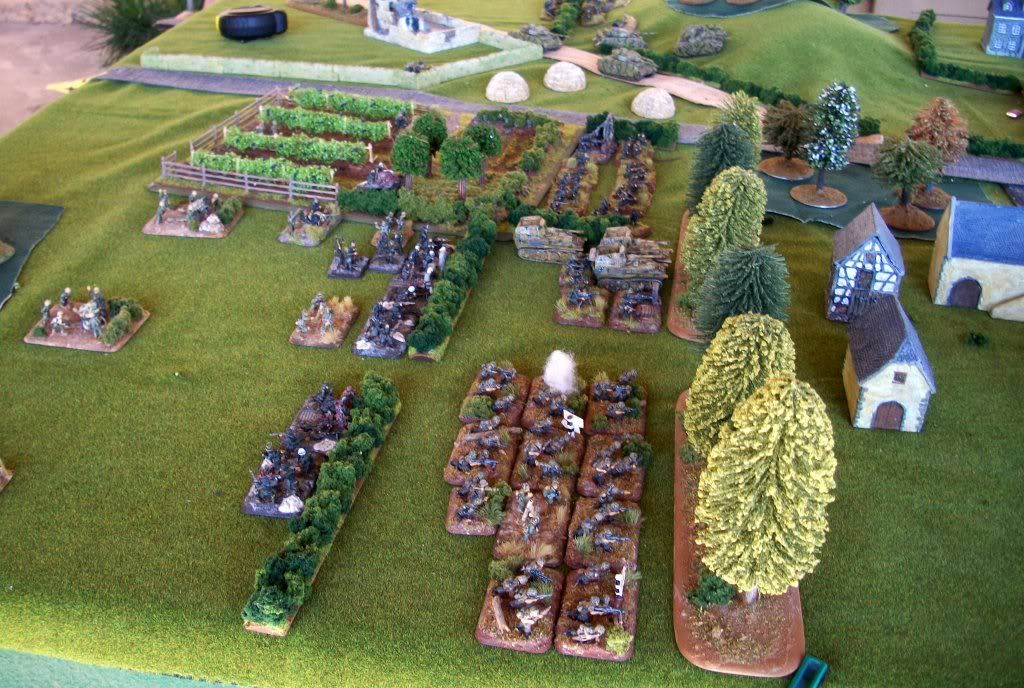
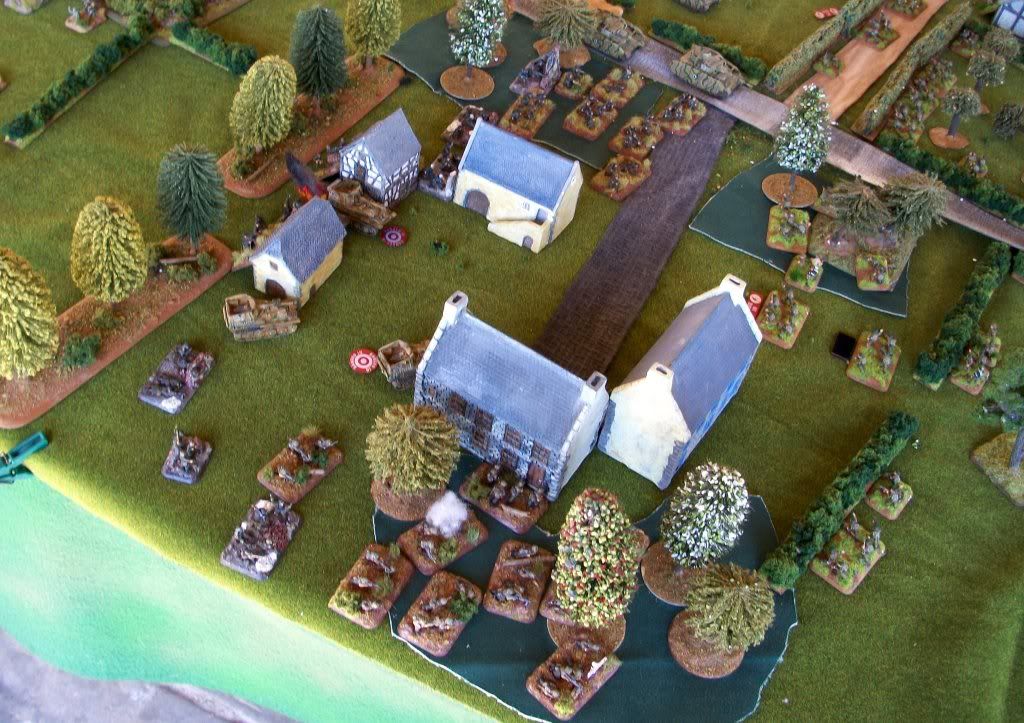
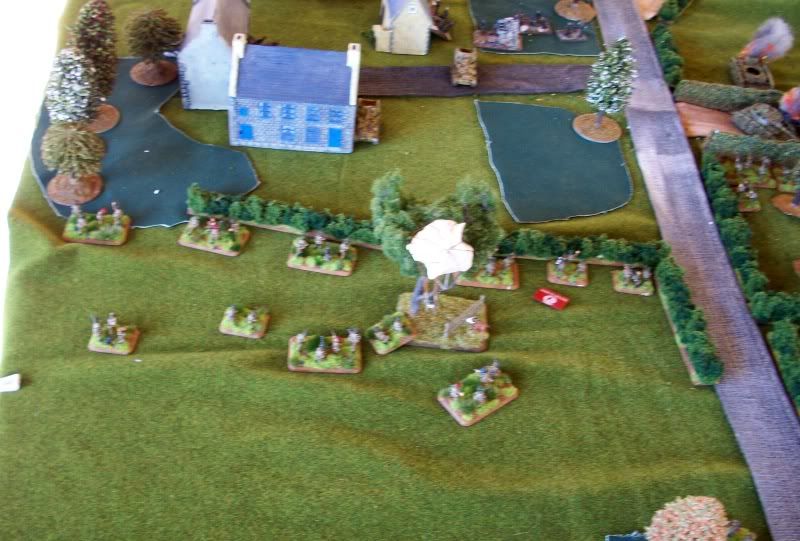
The German deployment: Black Pioneers (aka FJ) in foreground, Grenadiers above, PaK 40s behind Pioneers, Nebelwerfers and Mortars to the rear.

First turn, general advance across the British front.

Colin gets reserves first bound and brings on a Grenadier platoon. The Germans can see nothing in the darkness

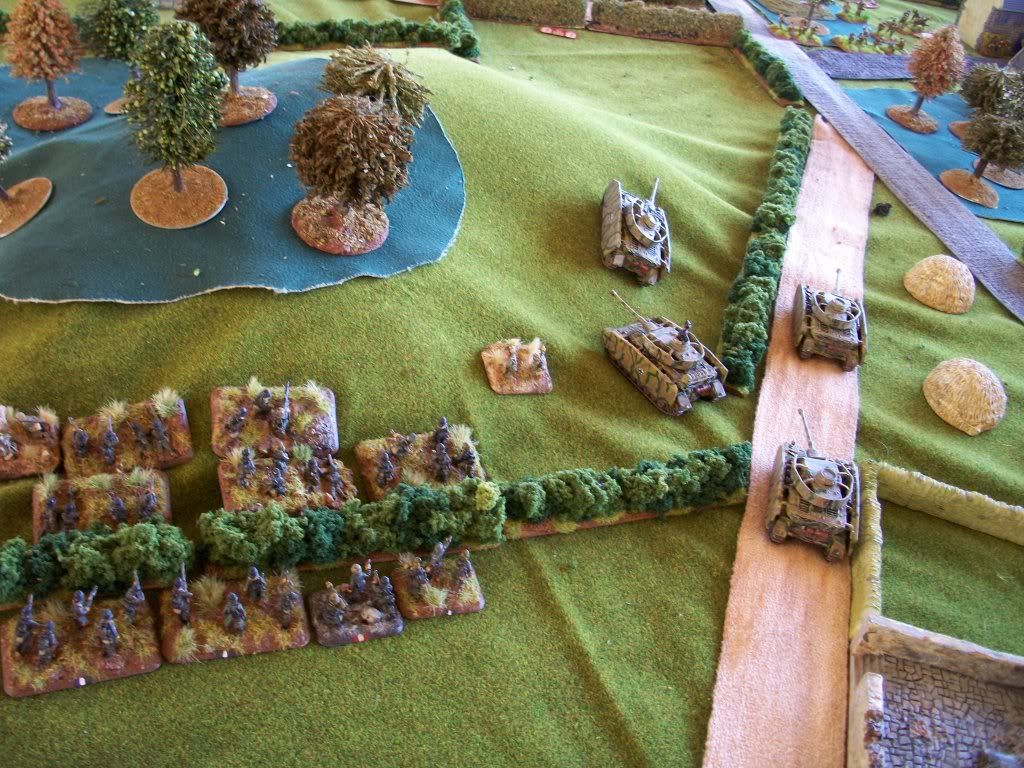
The second bound continues the British advance, while the German get a further TWO platoons from reserve, bringing on Marders and Scouts. They still can see nothing, but so can the British observers.

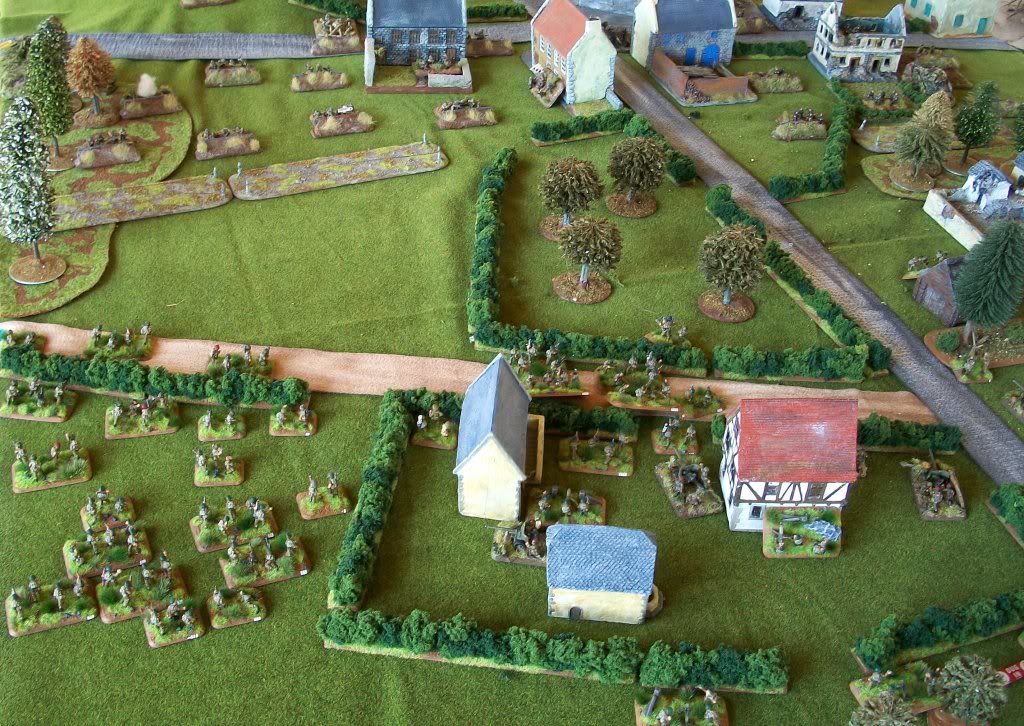
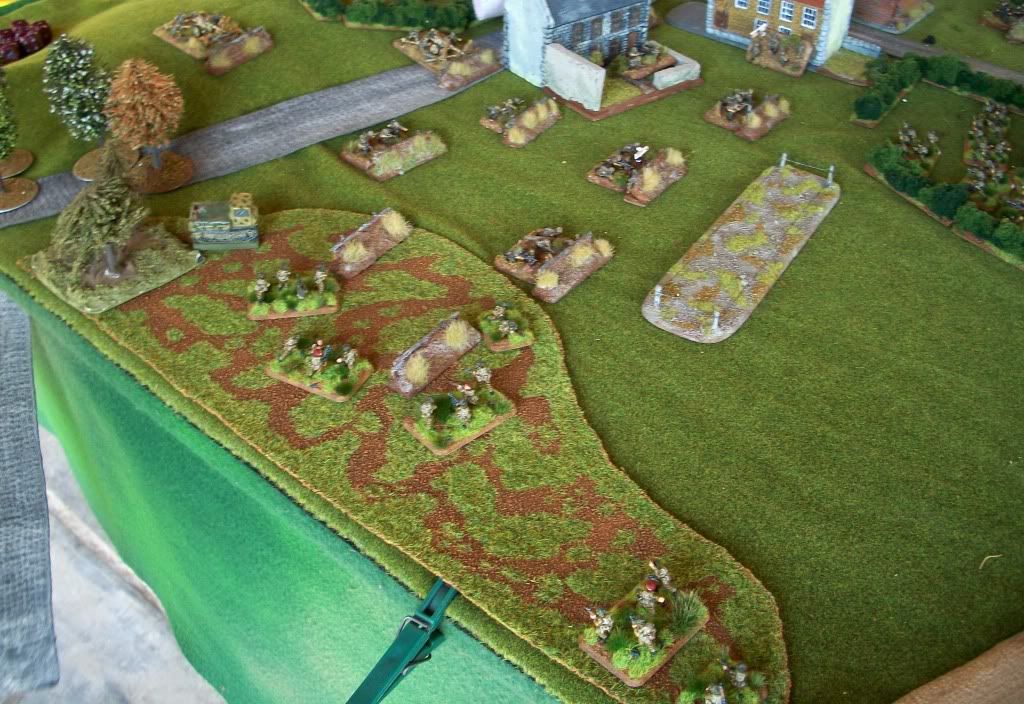
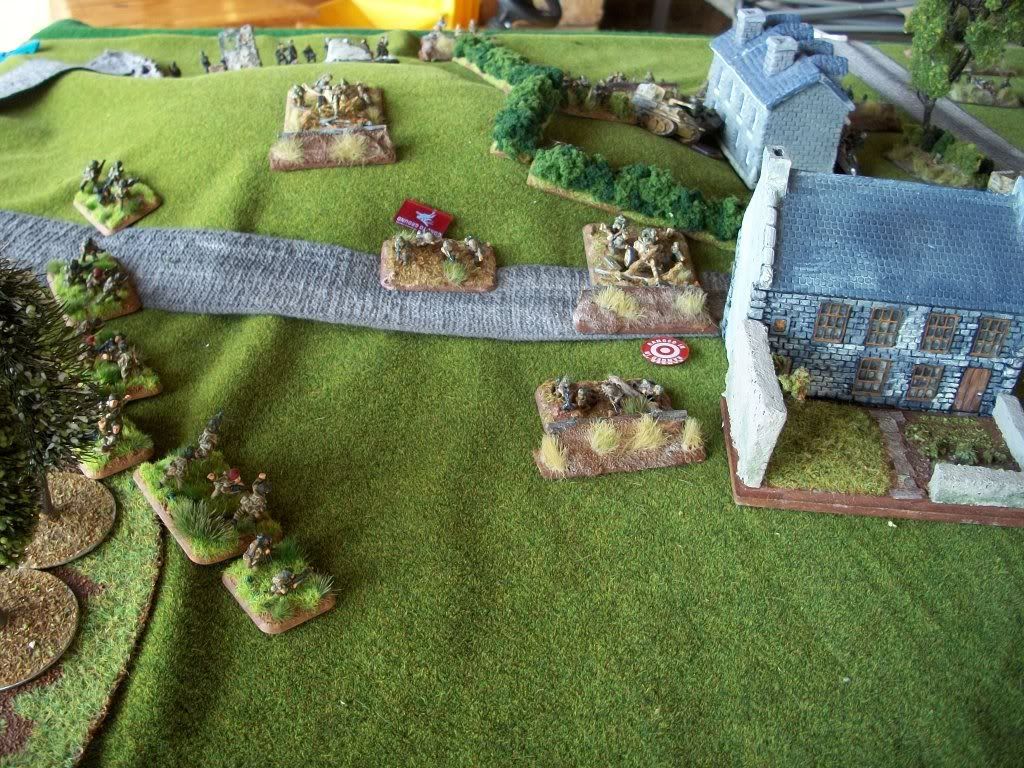
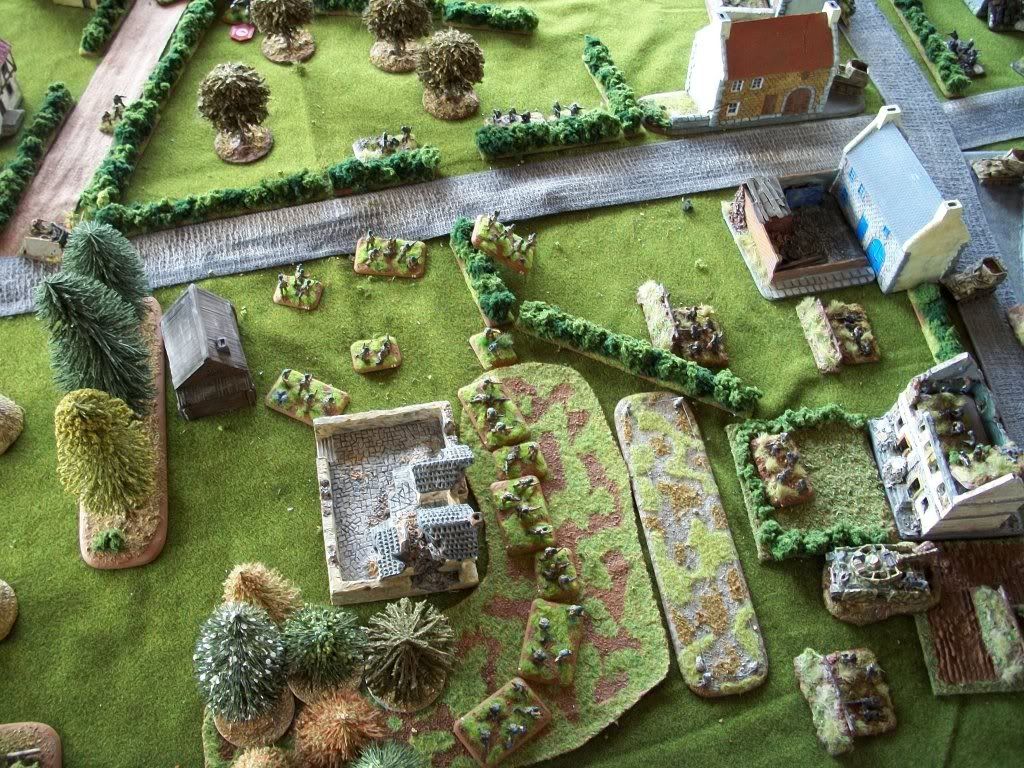
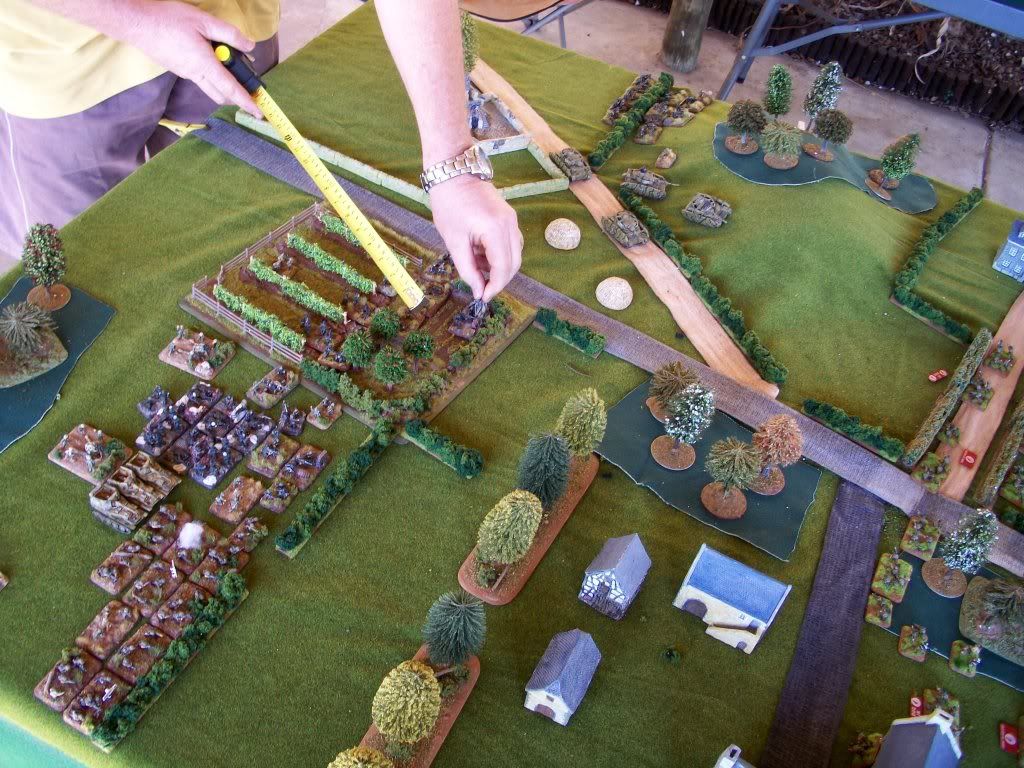
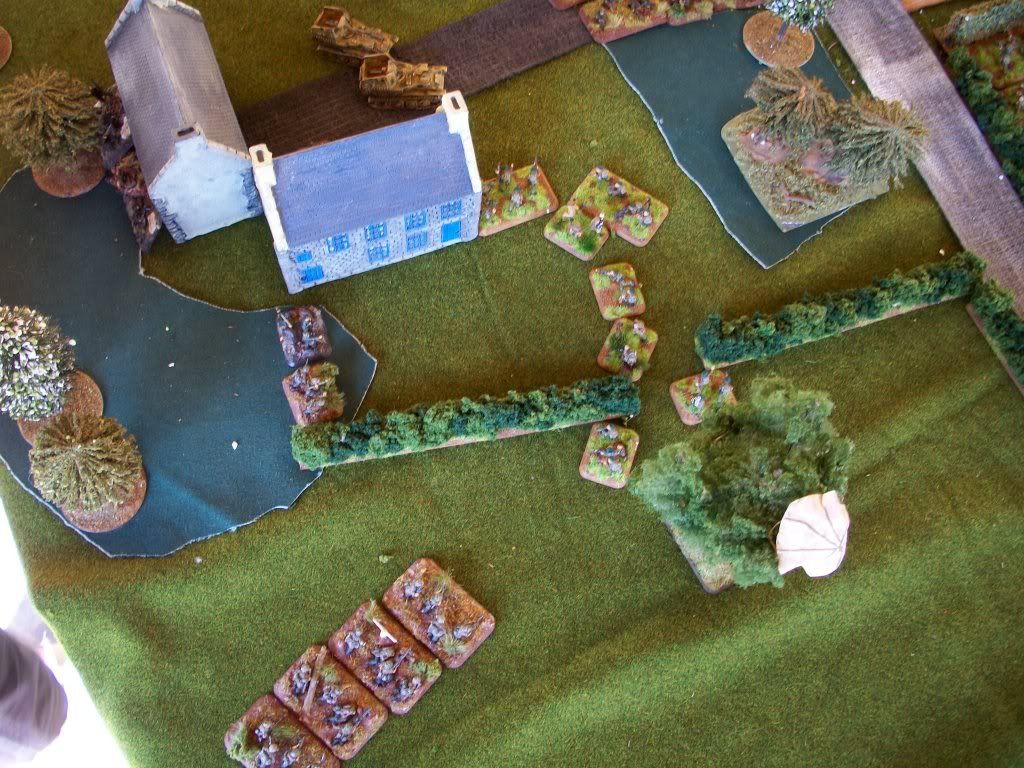
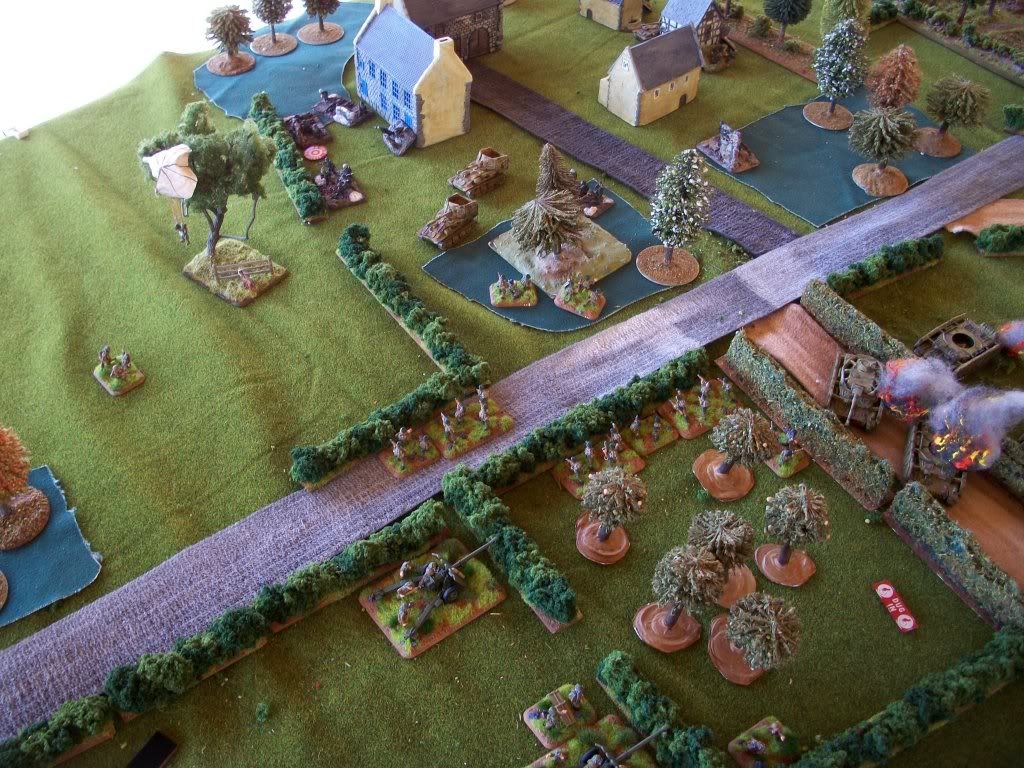
Turn 3. The Airlanding move up the left through the woods intending to remove the wire while remaining hidden: a Commando Section trails intending to follow the same route. Another Section moves up through the centre orchard, while both sections on the left push forward.

Airlanding prepares to breach the wire...

...while a Commando Section trails.

In the German half of bound three, another two platoons of reserves arrive, more Grenadiers and two 20mm FlaK pieces, while night holds.

Colin also called fire on a few mm of an exposed Commando base on the right, hitting the platoon and pinning them. They would remain pinned for 4 turns as I cannot find anything above a ‘2’ on the dice....

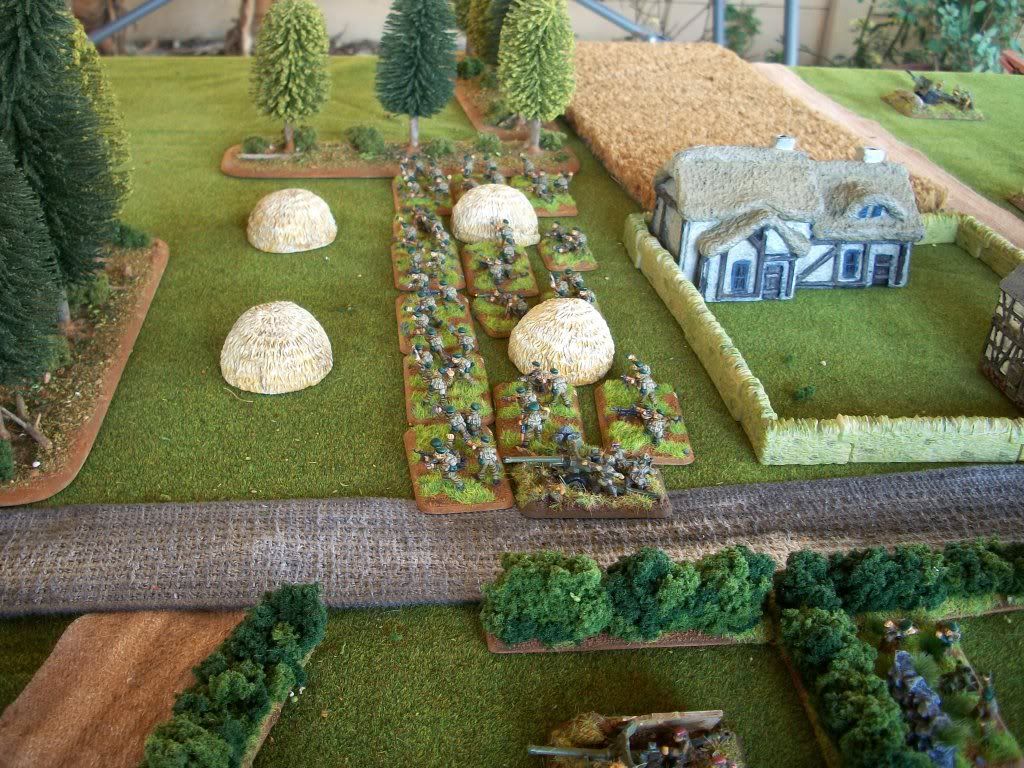
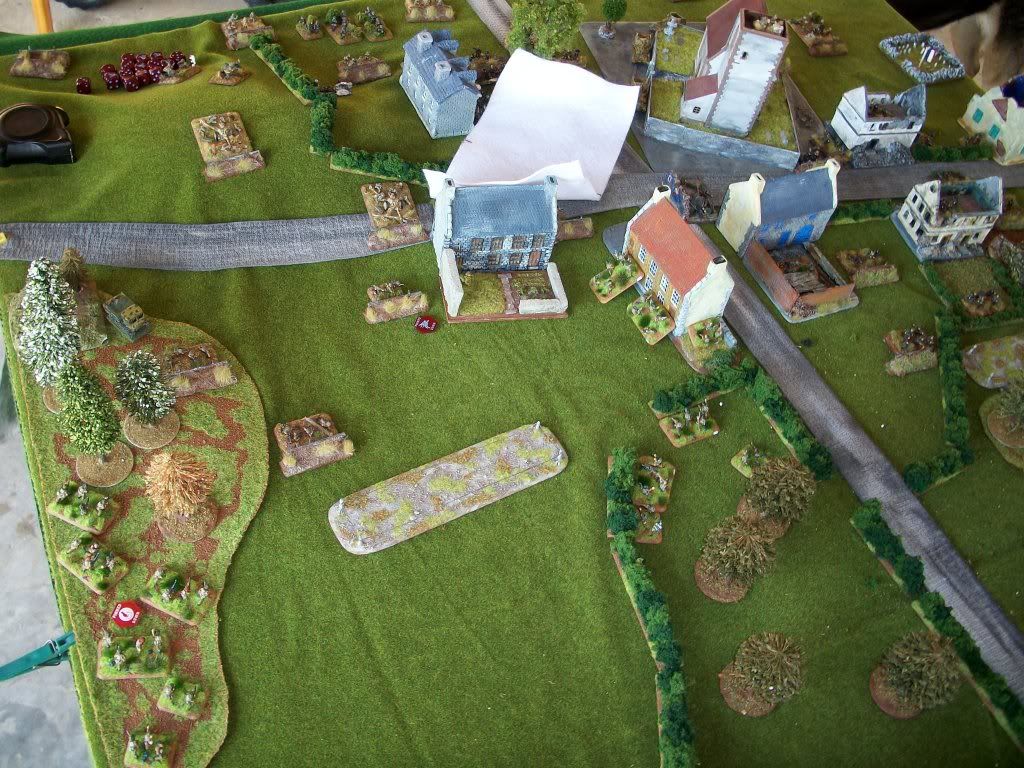
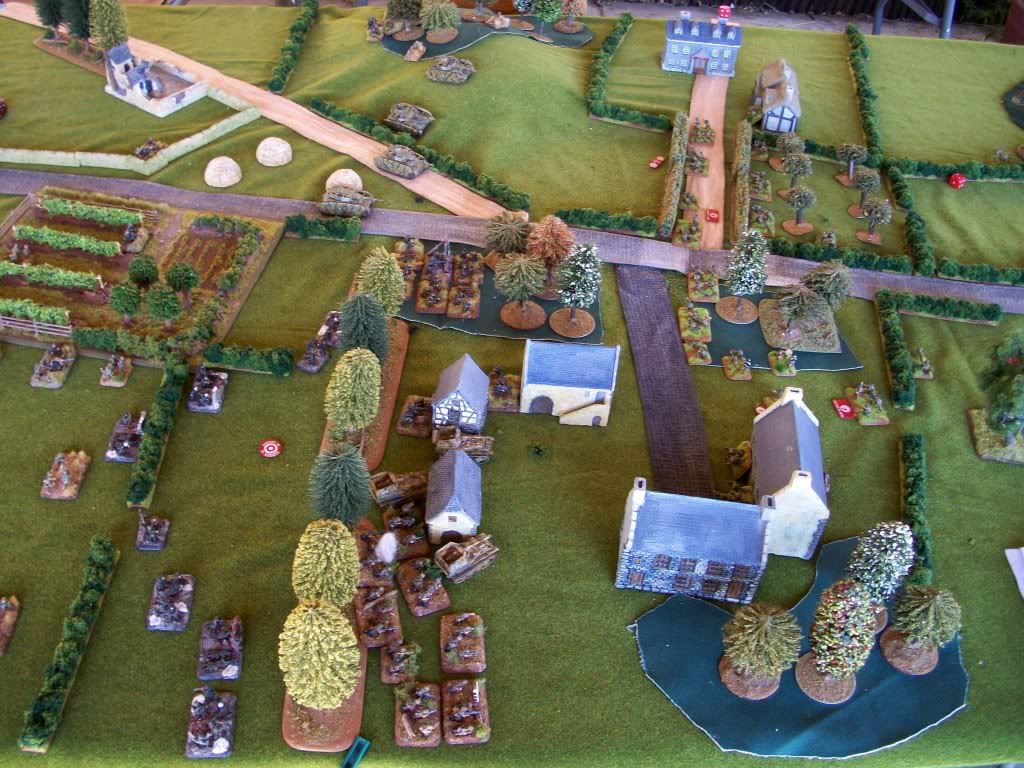
Turn 4, daylight breaks. The Commando section in the centre orchard moves up to assault the pioneers. My 25-pounders fail to range-in on the pioneers, the mortars having fire smoke into the centre of the town. This would be the only range-in attempt the mortars pass the whole game. However a base from Airlanding platoon on the left has successfully removed the wire and they surge through to assault the pioneers. By keeping within the woods I only take 3 shots in defensive fire then kill two pioneer teams, including the obligatory flame-thrower.

Colin counters even though he will only fight with two bases, and scores one hit. I’m now in position to completely gut the counter-attacking pioneers, but fail to counter with a fearless roll, the fail the British Bulldog rolls as well.....
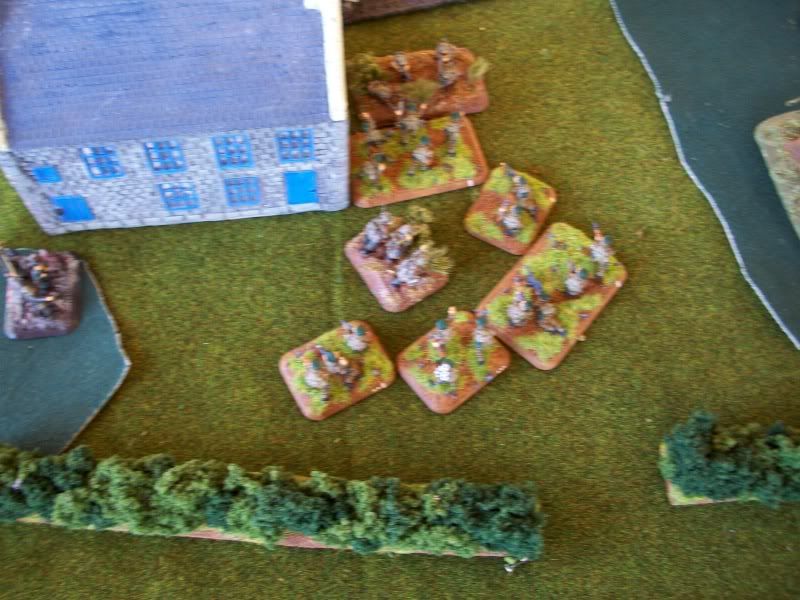
The pioneers consolidate back to their precious foxholes, forgetting the Commandos in the centre.

The Commandos move in...

They also assault and kill two pioneer teams, the Germans breaking-off afterwards while the Commandos consolidate in the orchard and into the house.
In the German half the final reserve platoon arrives (a KG of Grenadiers with an HMG I think?). The pioneers fail to un-pin, while other platoons move forward to behind the pioneer’s position. The PaK 40s reveal their positions by firing a few long-range shots. Scattered MG fire hits the Commandos in the house along with several rounds from the Marders, but does no damage apart from pinning.

Turn 5. The Airlanding and centre Commando section un-pins, the one on my right remains pinned still. The Airlanding surge forward out of the woods.
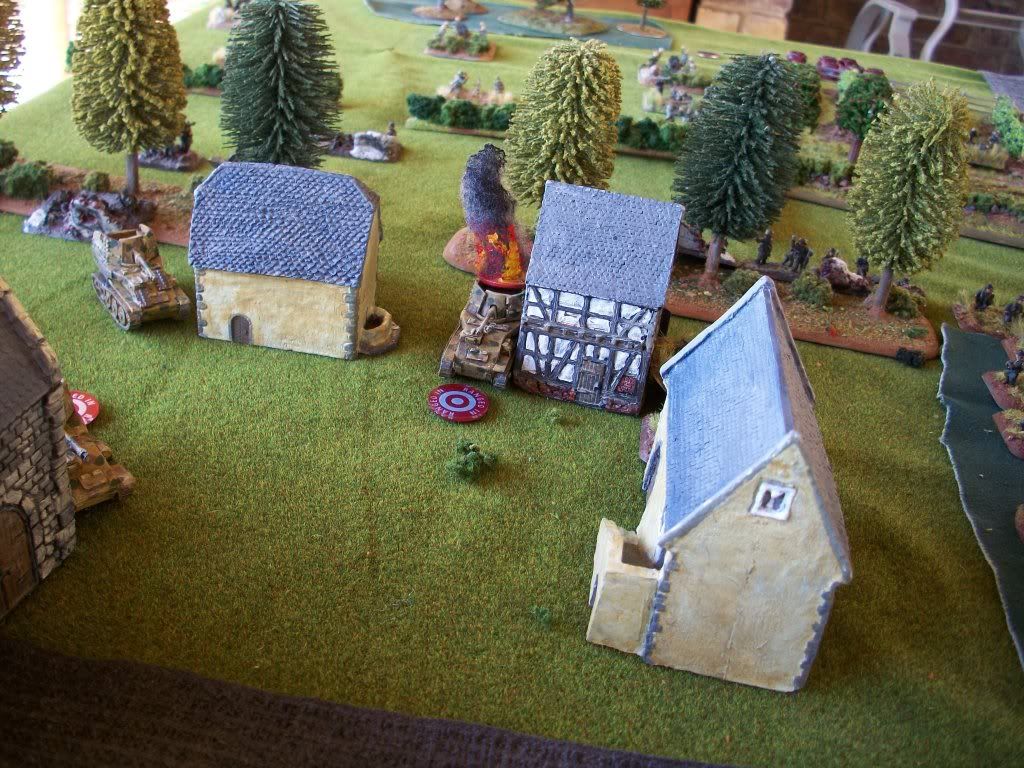
My artillery ranges-in a double-width template on the PaK 40s, pinning the Paks and pioneers but only killing a grenadier base to the rear. Commando SMGs in the house snipe a PaK 40 in the street.


The Airlanding platoons assault goes-in, destroying the PaK 40s and a few more pioneers, clearing the house as well. The pioneers fall back but pass motivation.
Up until now my basic plan was working. By pushing through the left wood the wire was removed, the pioneers flanked and combine with a Commando assault forced back, losing nearly half their number and the PaKs while I had lost only three teams thanks to the concealment of night. German reserves had almost all diverted to the centre to protect the rear-most objective and counter this threat. My real plan however was to now divert right with one Commando Section while the two others on the right (despite having been pinned for ages) would converge on the closest objective and eliminate the Grenadier platoon holding it.
So much for the plan. My dice now went cold.
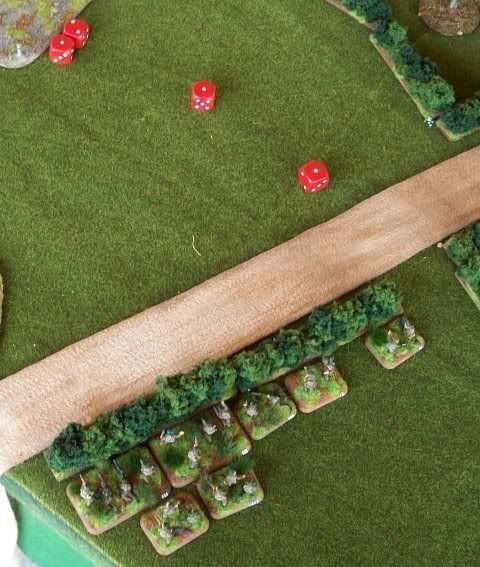
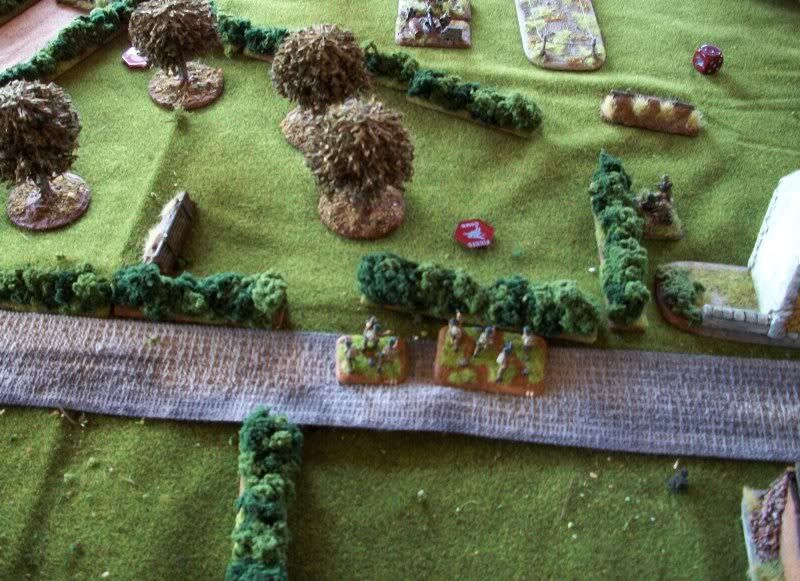
In the German halt of Turn 5 the pioneers pulled back out of the line of fire. Nebelwerfer fire hit four Commando teams from the follow-up Section, and I rolled...

...for saves.

Colin then threw the 3-base scout platoon in against the Airlanding which had been pinned by mortar fire. With five shots I hit once in defensive fire, the scouts then missed two out of three assault rolls! I countered and then failed all four 3+ skill tests! WTF?
The scouts countered automatically, destroying three bases and the AL broke-off. (Insert long line of appropriate expletives here...)
Turn 6. I pull the AL platoon off, while other Commandos un-pin and get moving.

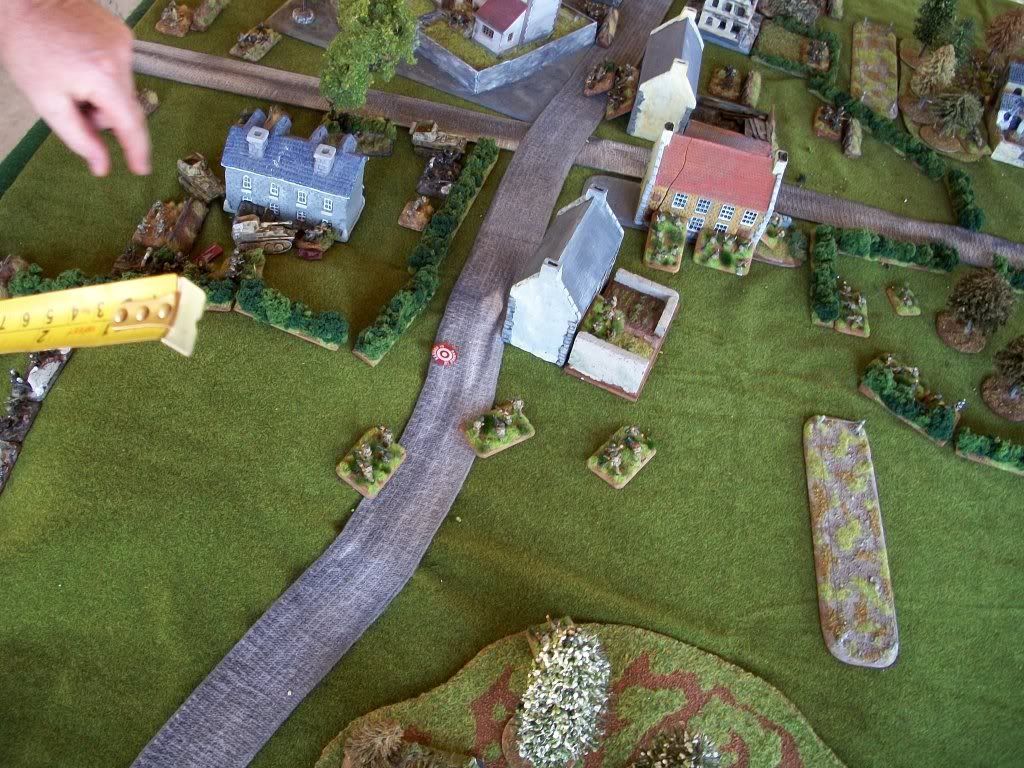
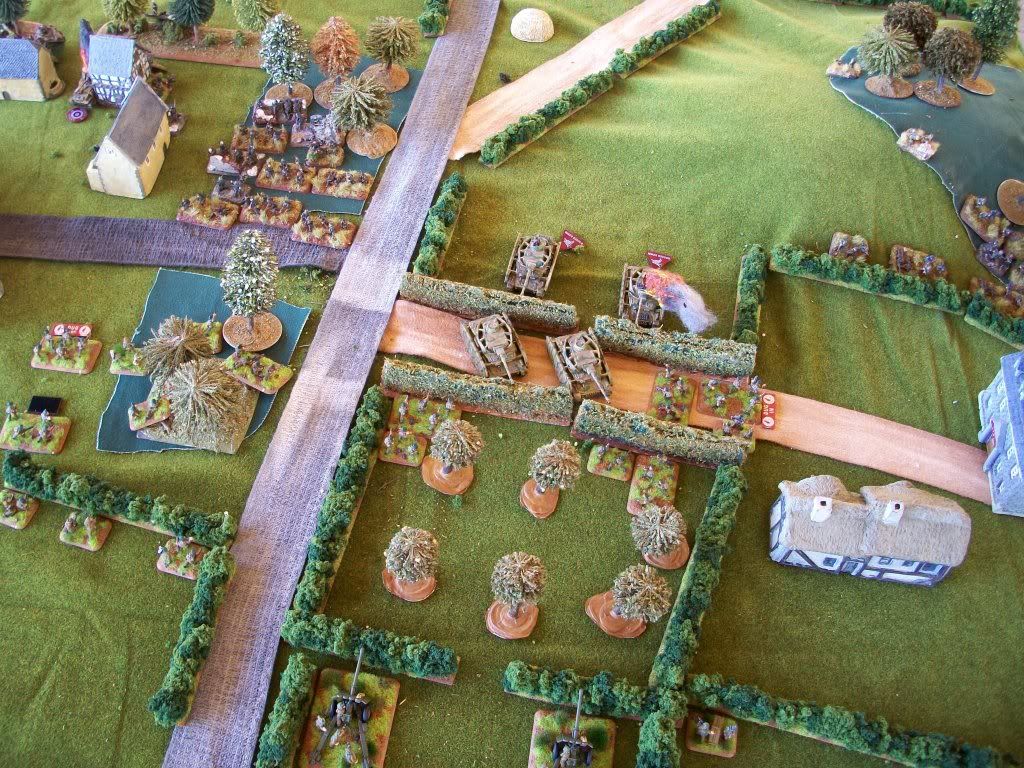
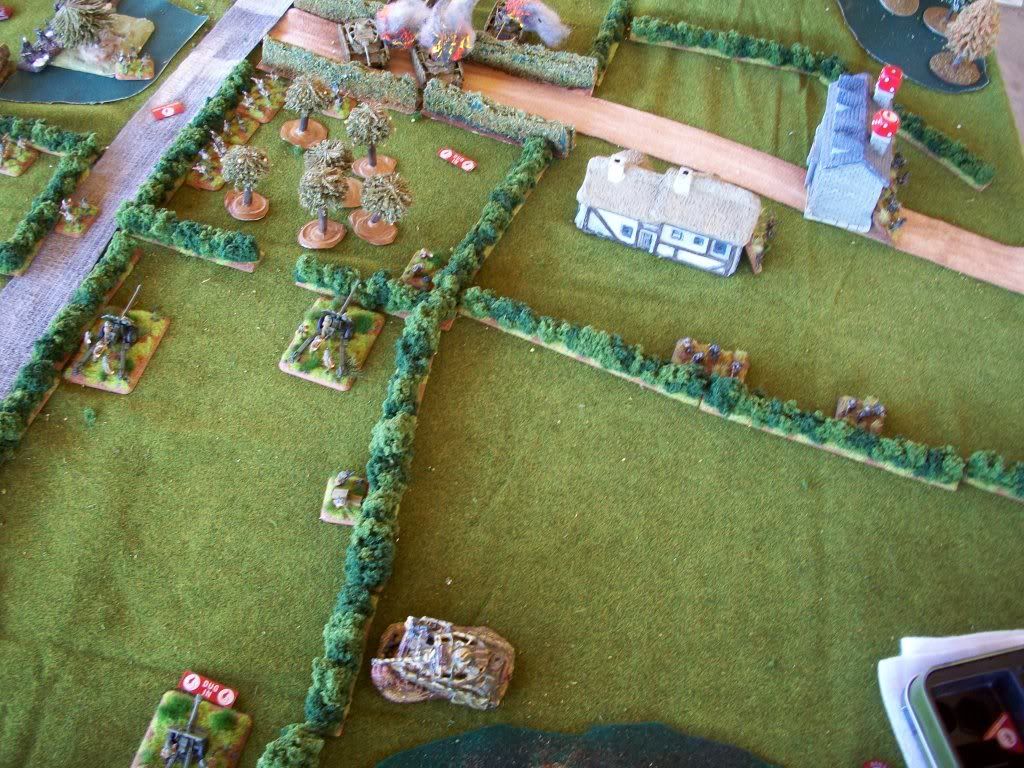
On the right, I intend to assault around and through the wire to push the forward Grenadier platoon of the objective (destroyed tank).

I then fail to range in with both 25-pounder troops and the mortars, rolling nothing above a ‘3’ in 10 range-in attempts...I then score 4 hits from SMG and Rifle fire, but cannot find the 5th and the Grenadiers remain un-pinned. The Commando section in the centre attempts a flank assault, moving out of the HMGs LoS in an attempt to pin the Grenadiers. However they draw in fire from the 20mm through Independent teams and take 5 hits....I then fail 4 saves, fail a fearless motivation check and the re-roll, again never rolling above a ‘2’.
With the Grenadiers still un-pinned I decide not to assault on the right. Feeling slightly sick, I and am now fairly screwed ;)


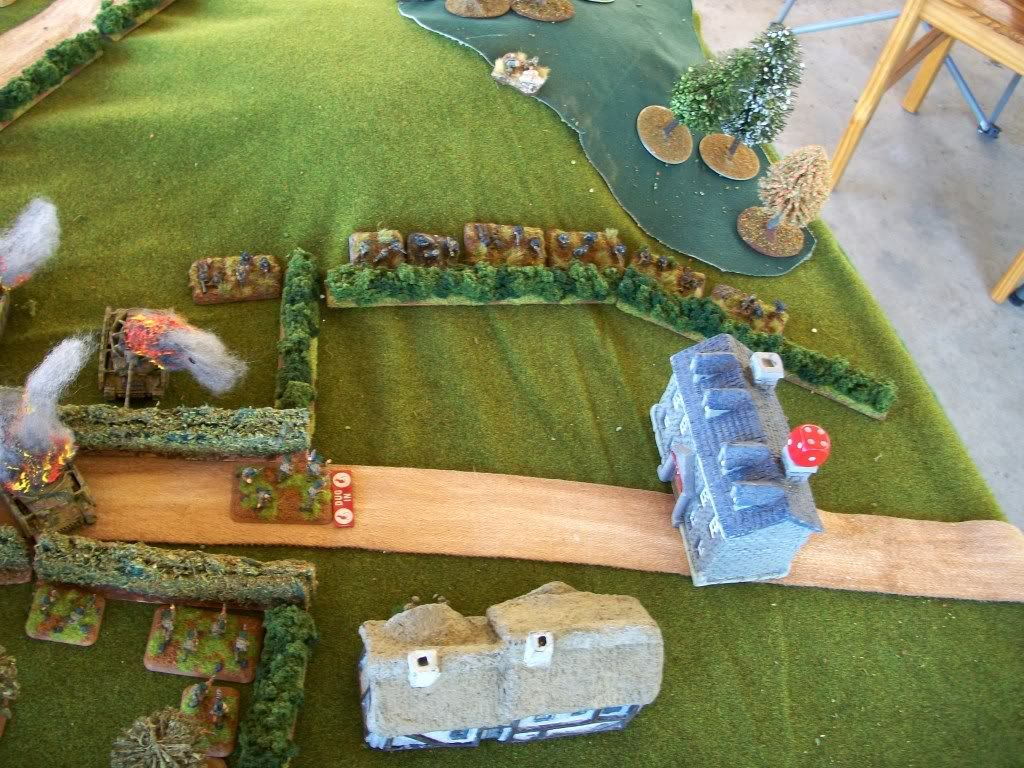
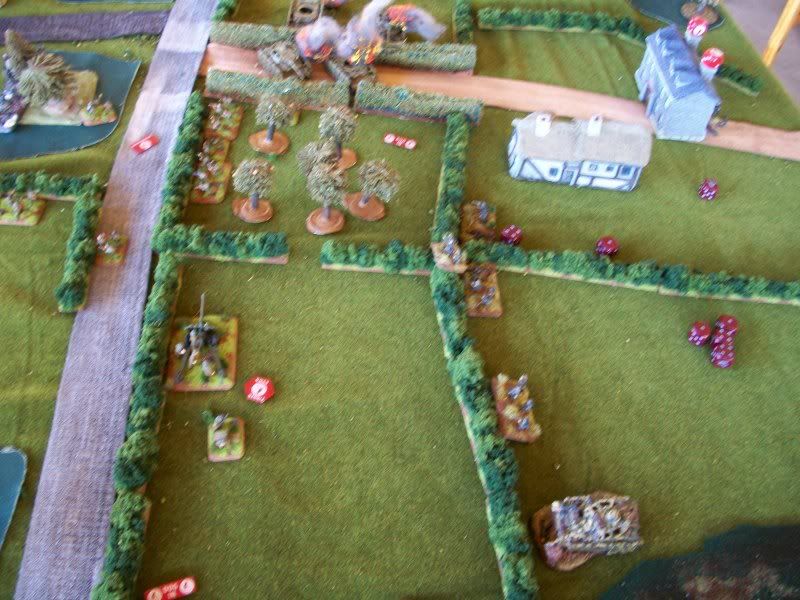
The German half of 6 sees the 2 HMGs deploy in the orchard from ambush. The lead Commando Section then takes 8 hits from the Grenadier platoon, and a further 8 from Marder and other MG fire. I fail ONE save (WTF???). The second Section behind takes 7 hits from the HMG ambush, and again I only fail one save. Ridiculous.

Turn 7. I un-pin, pin the HMG ambush and assault. I take 4 hits in defensive fire, then fail 3 saves...going well. The two remaining bases destroy the HMGs while the command team breaks-off and I consolidate into the orchard.

I finally get the other Grenadier platoon pinned as well and assault, but they score 5 hits with the help of the rear Grenadier platoon, and again I fail 4 saves...
Falling back with one team, I pass motivation.
With effectively only one platoon lost I could continue, but having lost so many infantry teams I call it quits, my sections consisting of 4 teams, 1 team and 2 teams. From looking great things all went to hell in a bound and a half and I won’t pretend I was anything other than disappointed with my dice.
Nonetheless, the Germans hold Breville and will attack out again in the next game after Colin decides which region to attack again.
....bloody dice...
CdlT