Saturday 20 October 2018

Vickers Light Tanks

Following on from the previous WIP post, the completed tank troop. The pics aren't great, but whatever: I still need to add names to the rear of the turrets too.


CdlT

Op Battleaxe - Game 9: Second British Attack on Musaid

Here we go again...

The second British attack on Musaid, despite the treat of force imbalance, was still launched by the British commander. While the odds were somewhat better than last time (400 Pts British + Artillery vs 500 Pts Axis), it would still be a tough ask to remove a larger defending force in defensible terrain with a smaller attacking one.


Quite.


The British right flank, the 88 already taking fire from turn one as it was deployed too far forward.


The attack progressed slowly, the Matilda soon crossed the rise and the 88 fired and missed at point-blank range...

...but where the 88 failed (and then died), the German 8cm mortars scored a direct hit on the tank and rolled a 12 to knock it out. Typical.


More Matildas and infantry were fed forward, but German 8cm mortar fire proved exceedingly accurate while a few timed 10.5cm barrages added misery to the British advance.

Nonetheless, the forward German infantry positions were taken and the British infantry began pushing into the town.


The second 88 spent most of the game doing very little and mostly missing things...

...before taking a few casualties which saw the crew break and run.

British infantry penetrated even further into the town, but losses are mounting on both sides.

The British advance on their left is stalled as the Matilda break-downs and catches fire, while the German platoon command group refuses to budge and keeps the Tommies pinned down for most of the game.


With visibility becoming a problem thanks to dust, the firefight in the town proves difficult: German mortars again bracket the British units with frightening accuracy.

The British would push further and succeed in eliminating a few more Germans, but a swift counterattack saw them take more losses and their morale broke. The British withdrew, leaving the DAK holding the field with a Major Victory.


CdlT

Op Battleaxe - Game 8: German Rearguard action at Fort Capuzzo

The second game in the Fort Capuzzo territory for turn three would see the German forces fighting a Rearguard mission against the British 7 RTR Group.


Lacking any German infantry (the unit was destroyed in the previous game), the Axis defence would be provided by a mixed group of German armour and anti-tanks guns with Italian infantry to assist. The British had a maximum of nine turns to break the opposing force or claim all objectives secured.

The Axis left flank.

The Axis right flank.

Initial British probes.

While a single Matilda and the PaK38 duel on the left.

Reaching the ridge line, the Marmon-Herringtons work over the infantry with 20mm fire while the Matildas mostly miss things.


Duel still in progress: Matildas are tough!

With reserves pouring onto the table, the British attack begins in earnest as infantry arrives to
help clear the Italians from their trenches.

With covering fire provided by the vehicles, the lead British Section successfully Close Assaults the trench and removes the defenders.

Infantry arriving on the British right flank has meanwhile eliminated the PaK38 and some
Italian LMG teams for relatively light casualties (& 3x passed Beyond the Call of Duty tests!).

But German armoured reserves arrive to intervene!

Italian infantry on the ridge line is getting thin as British 3" mortars prove a menace.


German tank shooting is poor and they only manage to pin the Matilda.

Another Matilda advances straight up the road toward the embattled Italian infantry...

While the attack on the ridge proceeds slowly, but inexorably.

The Matilda on the British right recovers and return fire...

...while on the left a Marmon-Herrington is KO'd by German artillery fire.

But the British advance is relentless and the Italian infantry is soon eliminated by MG fire and accurate 3" mortar strikes.

A British Infantry Section moves forward to claim the rear objective, breaking the Axis defence on Turn 8.

A pretty fast game: with the attacker being "on the clock", they cannot mess around and here they (for once) did not. German armoured reserves were sent to the wrong flank, away from the threatened objectives, and contributed almost nothing to the defence which proved decisive.


CdlT

Monday 15 October 2018

Op Battleaxe - Game 7: Second British Attack on Fort Capuzzo

Turn 3, or the morning phase of June 16th, 1941, saw several attacks launched by the British in their (so far pretty unsuccessful) attempts to breach the Axis defences. Game 7 would see their second attack on Fort Capuzzo, the first having been repelled fairly easily. This time the attack would be launched from the west, with the Crusaders of 6 RTR leading the charge.


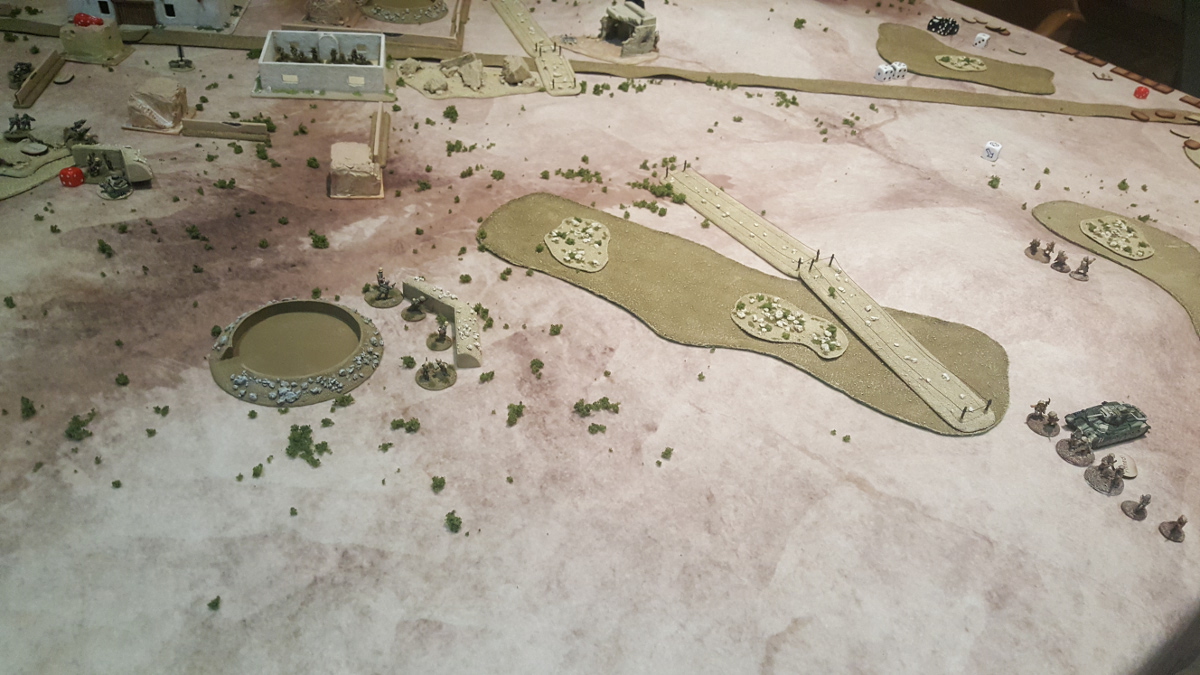
The table was made with Ft.Capuzzo turned to (a) provide some different scenery, or at least from another angel, and (b) to hopefully represent the attack coming from the west rather than the south as before.

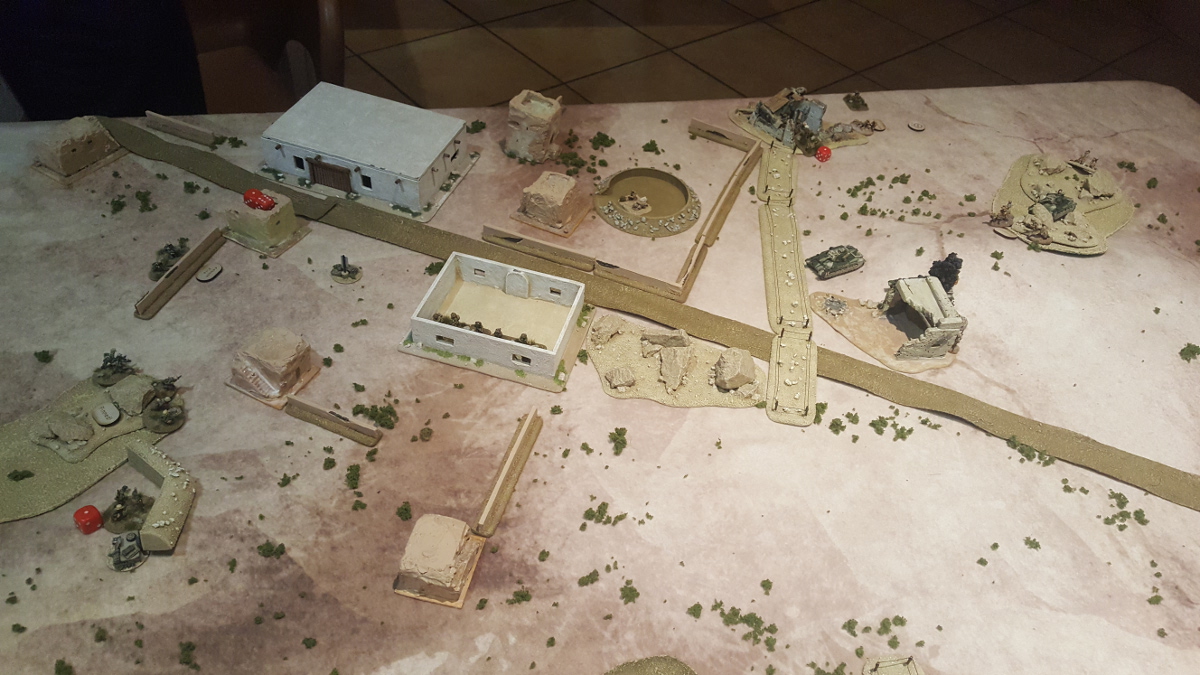
Table set-up: German infantry are actually Italians again.

The nearest PaK36 received a Timed 25-pounder Barrage on Turn 1, destroying it and half the Italian LMG team nearby. The far PaK36 would receive the same on Turn 2, also being eliminated.

The lead Crusader Troop charged forward behind their bombardment and inflicted a couple of casualties on the PaK38.
Good rolling by "Terminator" Steve for much of the game.

Return fire...missed. The PaK38 was eliminated.

The eliminated PaK36 and PaK38 provided special chits which saw the Germans Immobilise one Crusader, cause another to be abandoned by fire from a Panzer III, while a third was burnt-out after mechanical failure. "Chits are good"...

More Crusaders arrive and things begin to get messy: a Panzer III G is KO'd...

...and the German Supply Truck is Pinned by artillery fire.

The PaK38 in the fort returns fire and claims a Crusader.


Massed MG fire from the British tanks see the PaK38 silenced, while the unwary Repair Truck races forward, only to be met with glee-filled fire from the Italian infantry on Ambush Fire who discover they have something to shoot at.

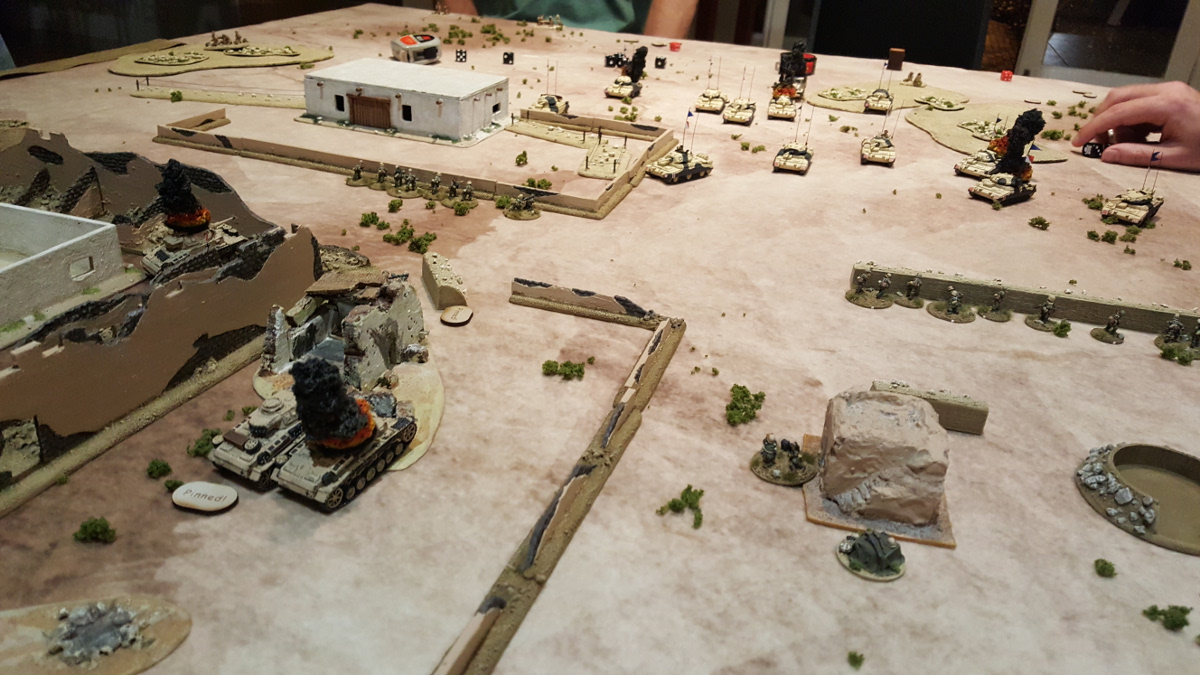
The HERO Panzer III on the left, survived numerous frontal AP hits (six?) and kept fighting to the end of the game. The Germans were forced to use Tactical Coordination to unpin the Supply Truck and Re-supply the Hero Panzer...it worked!


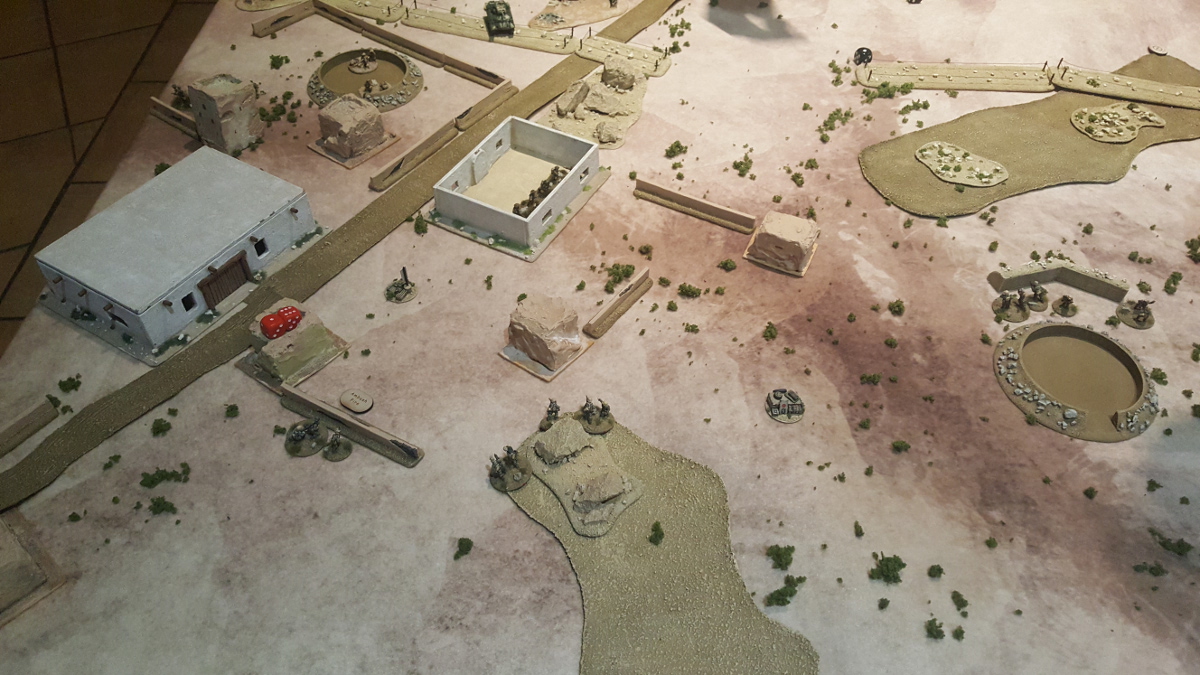
The right table infantry fight saw a couple of British infantry sections exchange fire with Italian LMG teams...a successful BTCOD test later and the Italians were all gone for relatively light losses.

Crusaders advance slowly forwards, claiming the Panzer III in the fort but losing one of their own in the process.

German artillery fire KO's a Crusader and pins another.

The HERO Panzer III claims his third kill of the game.

Another cautious advance by Crusaders: the HERO Panzer is hit, but the AP rolls are repeatedly failed!


Despite the heroics of the HERO Panzer, German morale eventually breaks and they must retire. The British have at last succeeded.

"Chits are good"...until they're not.

CdlT
Related Posts Plugin for WordPress, Blogger...