In
game one of The Breville Gap AoA Campaign German forces were resoundingly rebuffed at Amfreville and forced to re-direct their offensive efforts toward the Bois de Mont region.
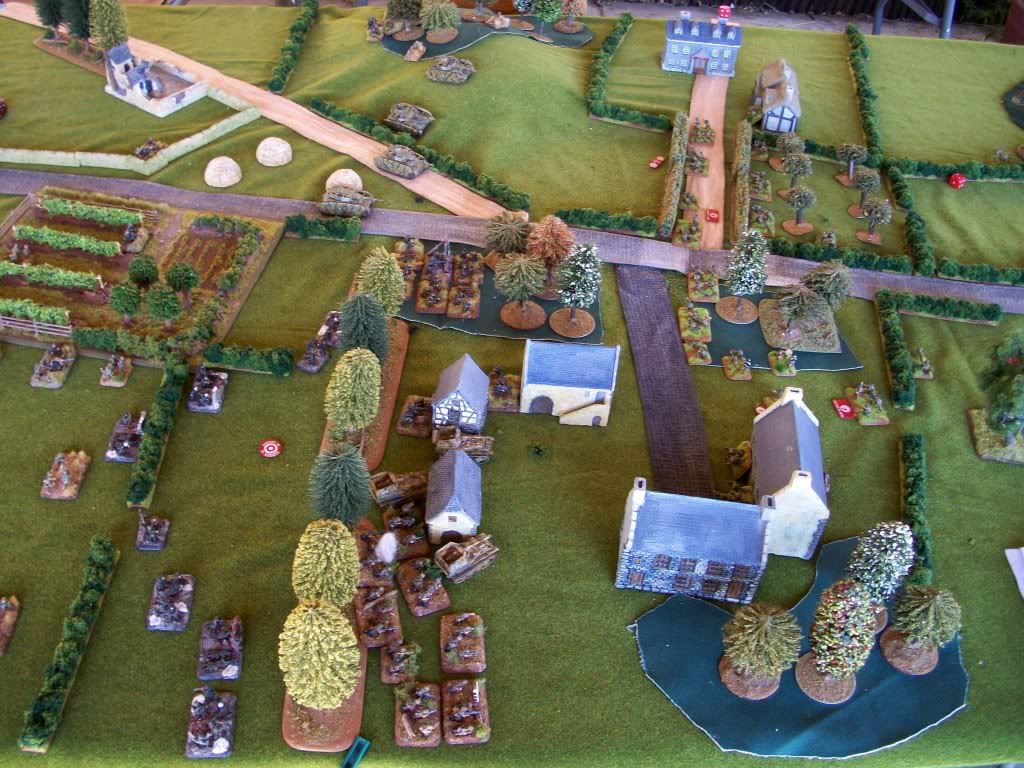
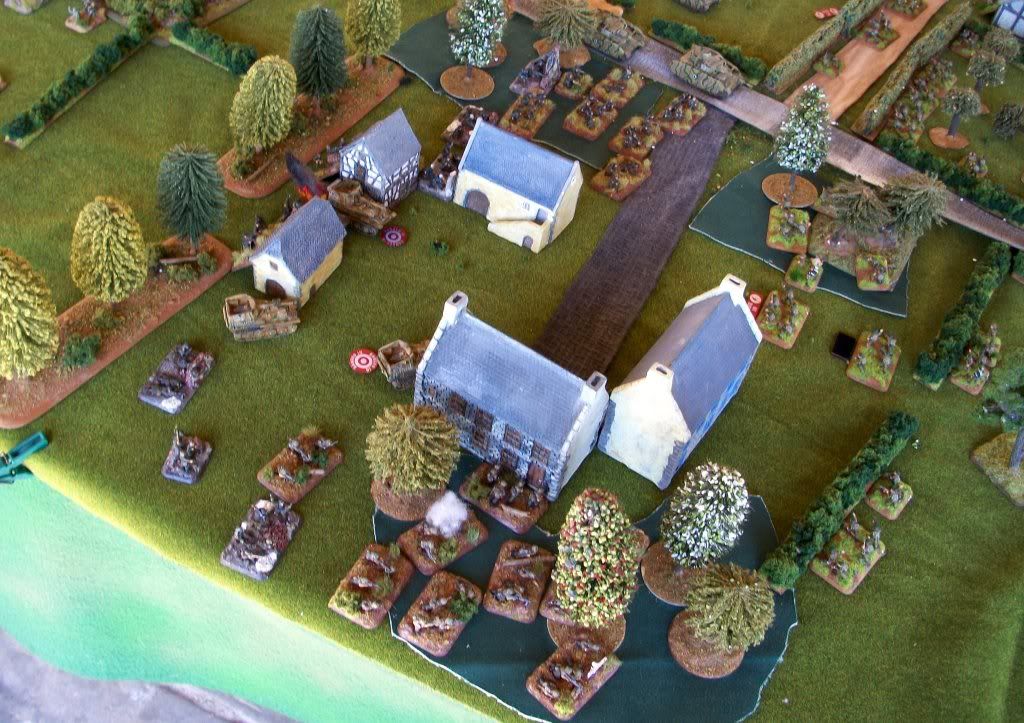
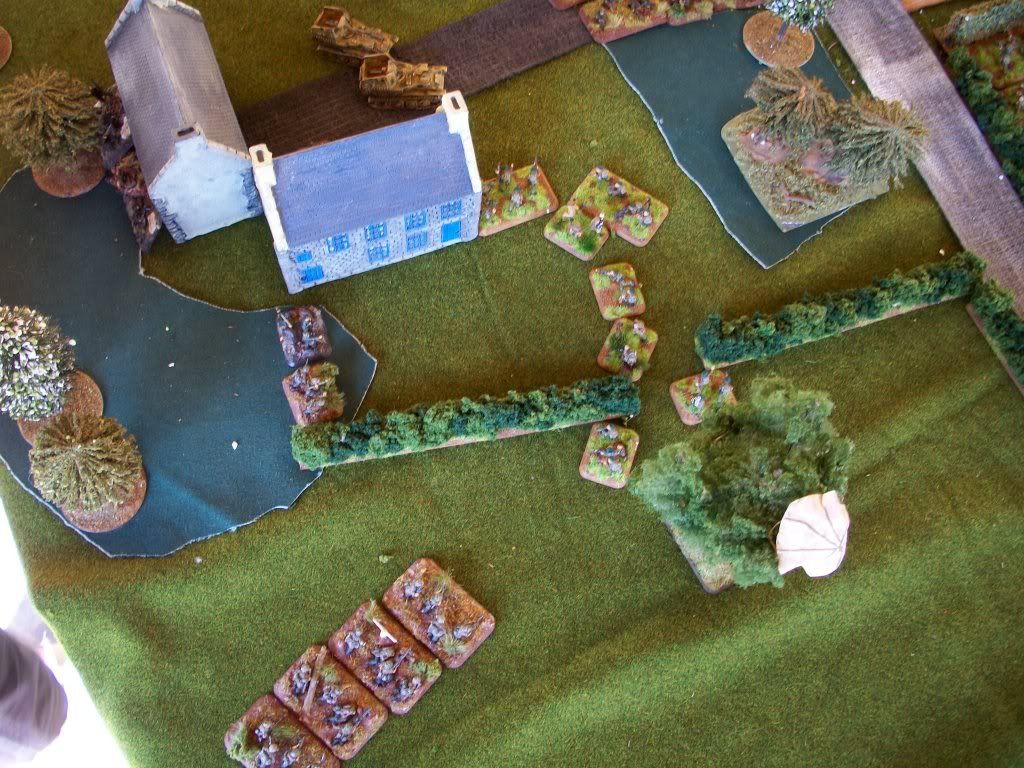
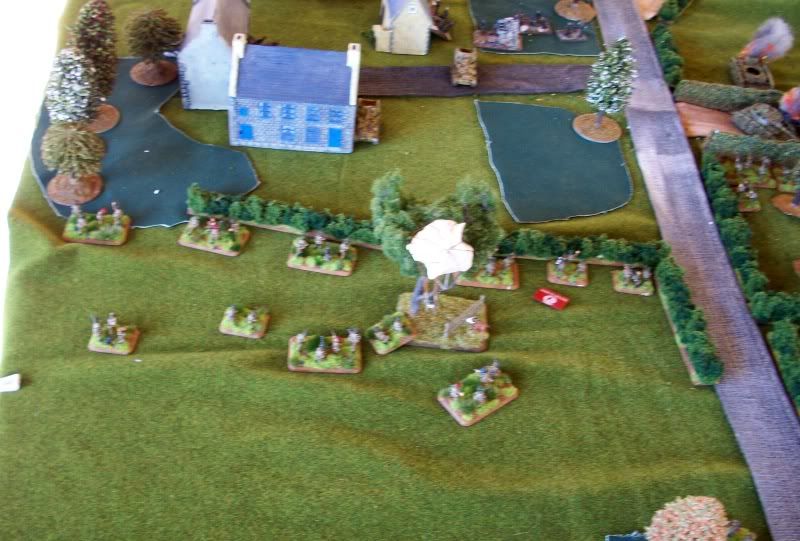
A road ran through the centre of the battle field. In the centre left of the table (from the British edge) was the Chateau St. Come, across the road was the Mayor’s bungalow. As I forgot to bring my hedgerows we had to find some older hedges to use to flank the road to the bungalow. The rest was again largely made-up. Objectives are the destroyed tank just above the woods on the British right and the (by now thoroughly ubiquitous) “Parachutist hanging from tree” on the British left.
Apologies for the few blurry pictures below: I binned most of the really bad ones. Click for larger versions.
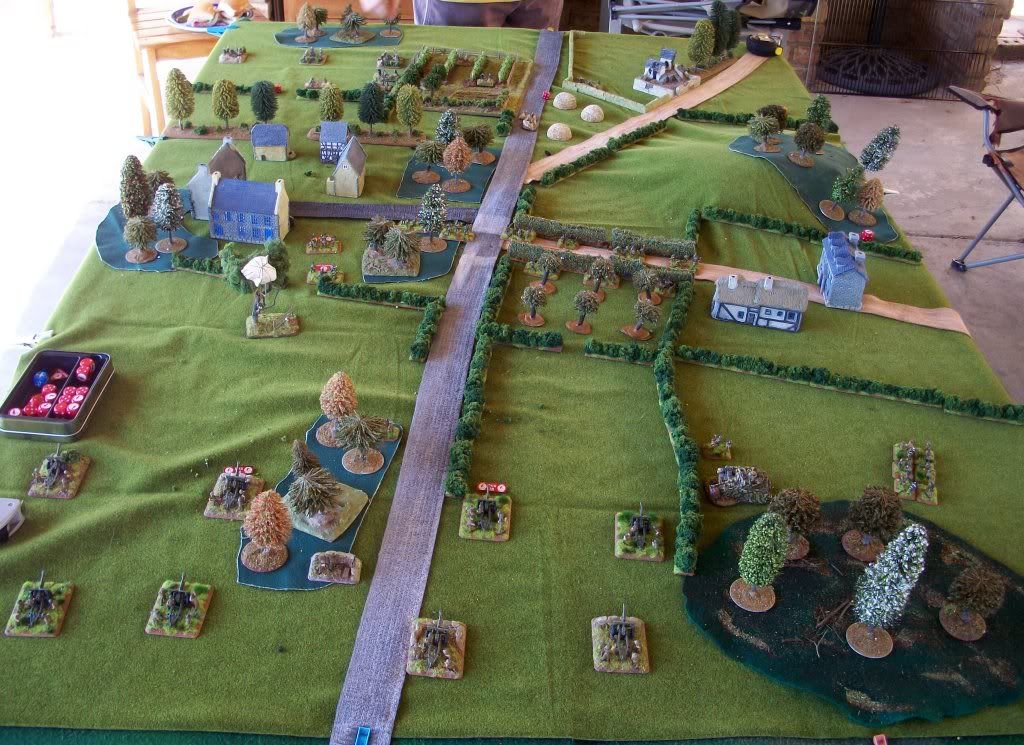
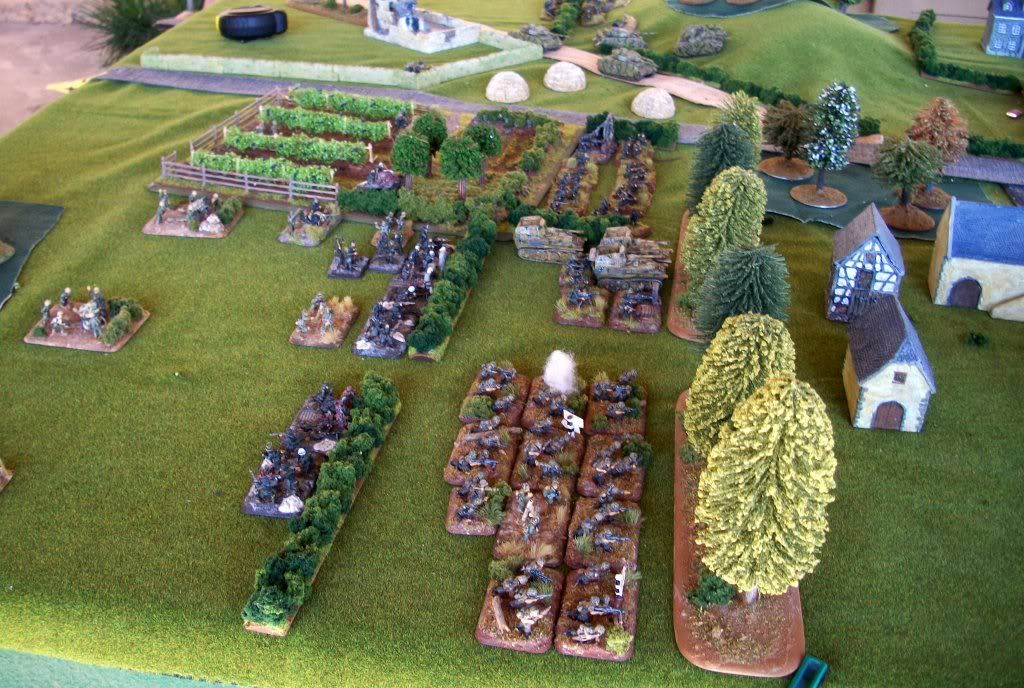
The battlefield as seen from the Commando deployment edge. As I had an unchanged army I deployed the 25-pounders and two Commando Sections on-table, Airlanding 17-pounders in ambush again, the rest in reserve.
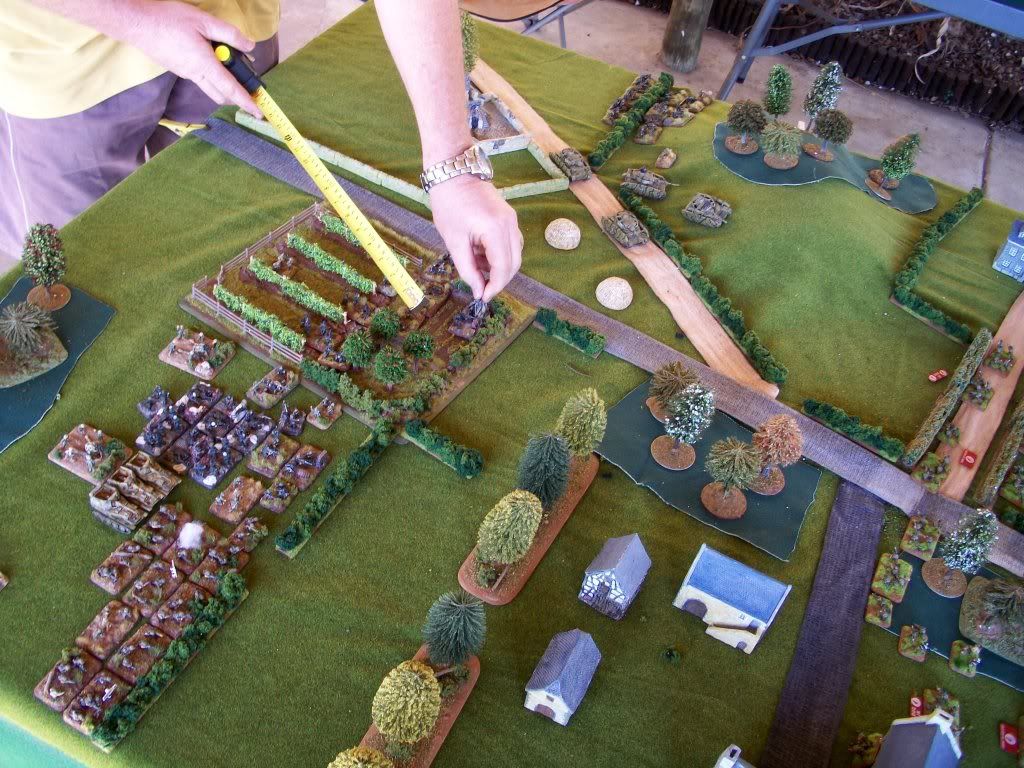
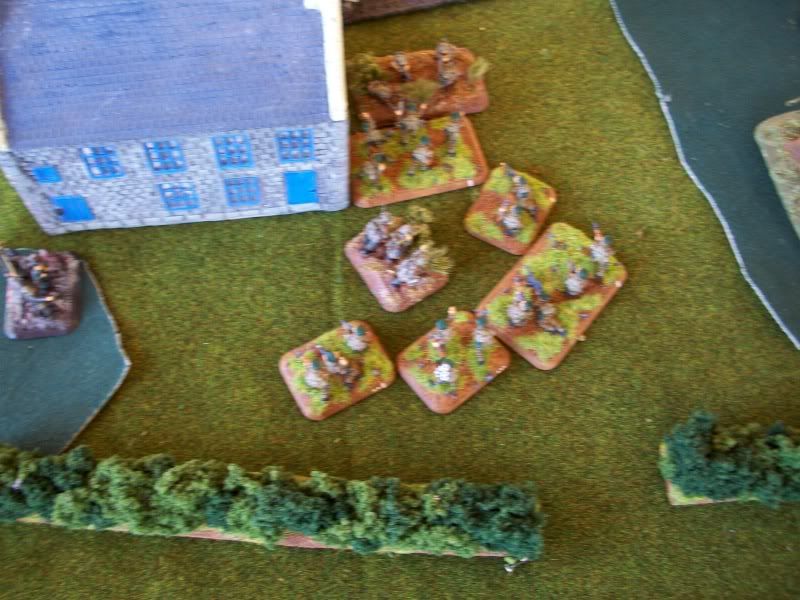
The German deployment. Colin dropped a Marder IIIM for a pair of 20mm FlaK weapons, boosted the Black Pioneers to 3 Squads and exchanged the HQ Mortars for a 1 Section Mortar Platoon.
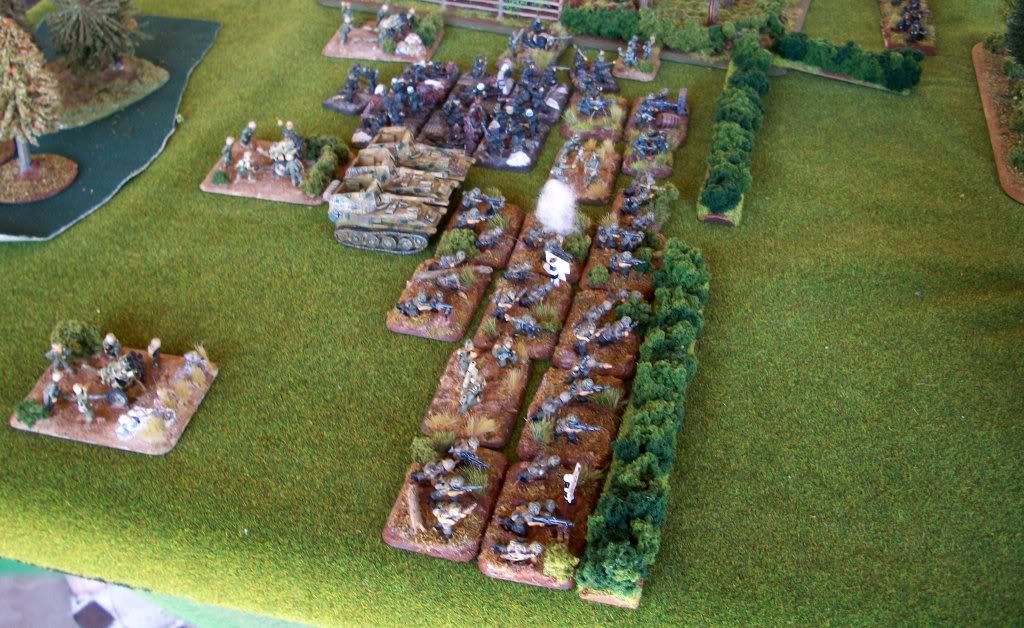
The German right. Fallschirmjäger proxing as Black Pioneers with flame-thrower.
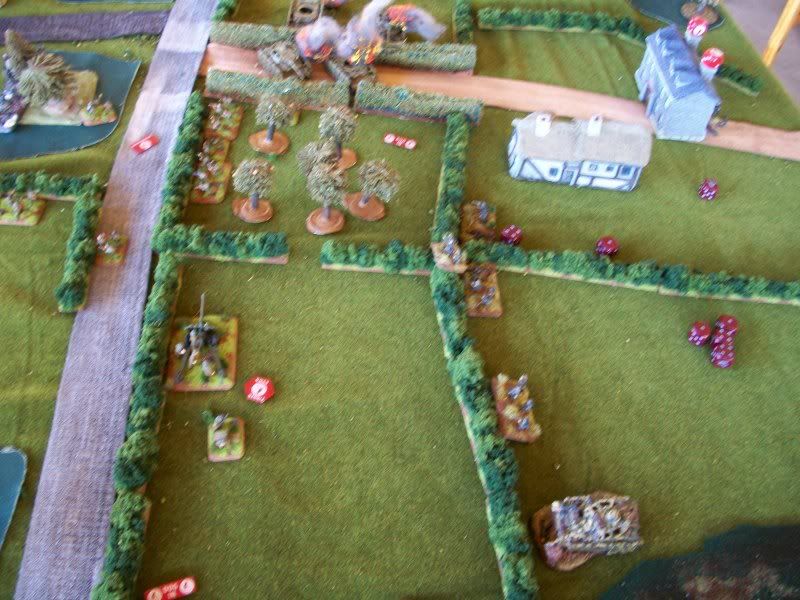
The German left. Grenadier with attached HMG and Panzer IV platoon.
Turn one the Germans advanced, 2 Grenadier platoons, the Pioneers, MG platoon and Marders on the German left. On the right the Pz IVs move onto the hill while the Grenadiers on that flank sought the covered approach of the wood.
My turn saw no reserves, no air support. Commandos stayed GtG while the 25-pounders successfully ranged-in with a double-width template on the mess above. I hit 5 Pioneer Teams, 2 Marders, 2 HMGs & command team and 2 Grenadier teams. Colin saved all, save one pioneer team...

Turn two saw all German platoons un-pinning and surging forward to take the Chateau. Sporadic MG fire had no effect and the Mortars and Nebelwerfers failed to spot the GtG Commandos.
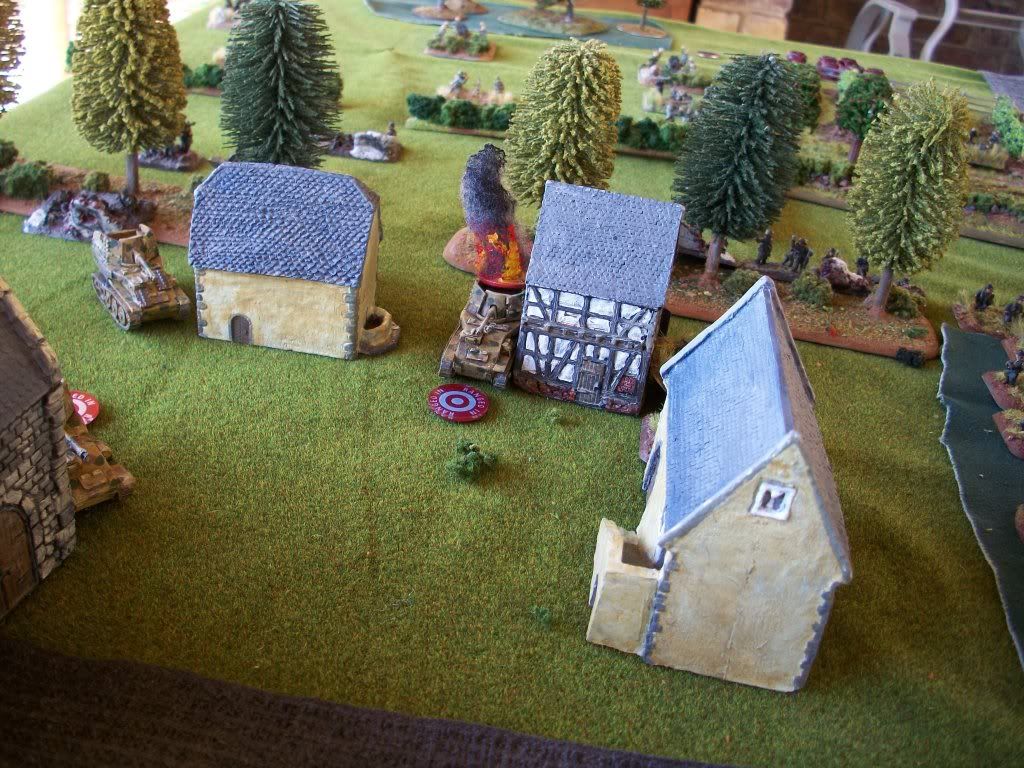
On the German right the Pz IVs did nothing much while the Grenadiers moved deeper into the woods on the way to take the Mayor’s bungalow.
In my bound of 2, no reserves, two aircraft for air support: Commandos remained GtG. The 25-pounders KO’d a Marder and a Pioneer team and the HMGs, while hit, all saved again...
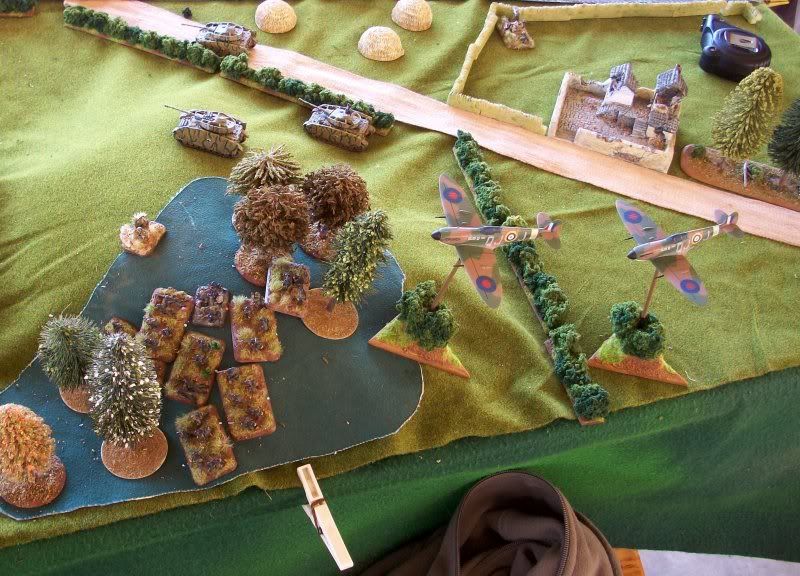
The RAF also showed up and hit several teams from the Grenadier Platoon in the woods on the German right, only destroying one.
Turn 3 saw the Pioneers fail to un-pin, while the two Grenadier platoons sought cover in the woods and outlying buildings of the Chateau. A Grenadier platoon in the centre was in position to assault, but German template weapons either failed to rang-in or failed to hit. Scattered MG fire is likewise ineffective and with insufficient cover fire, the assault is postponed.
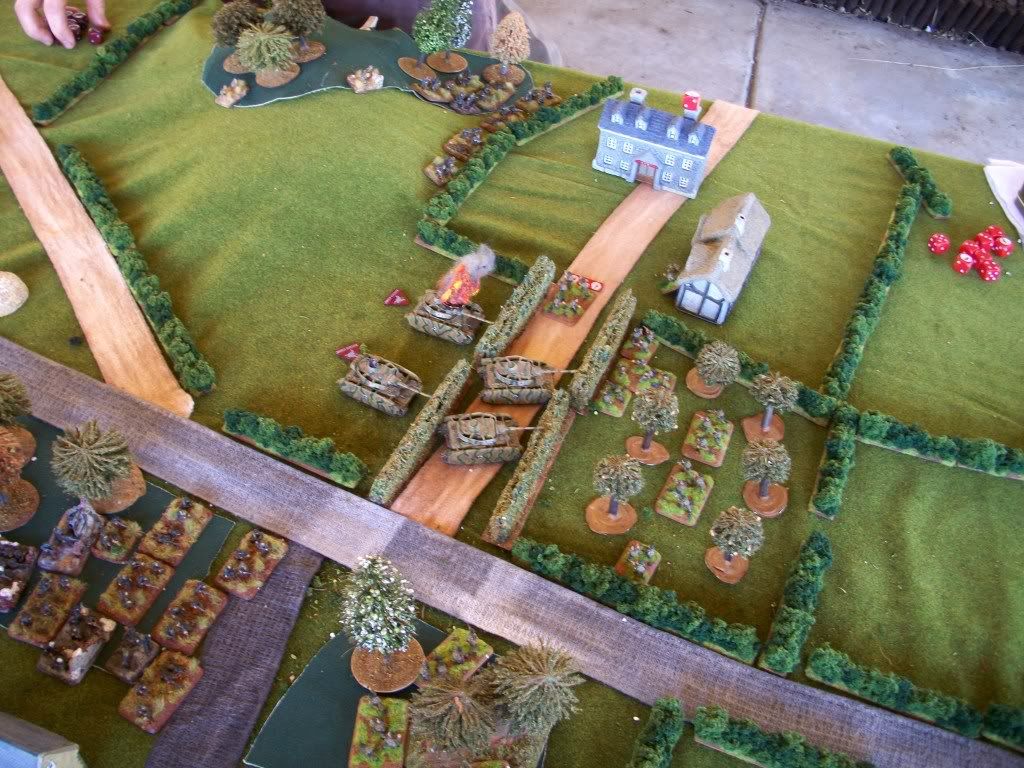
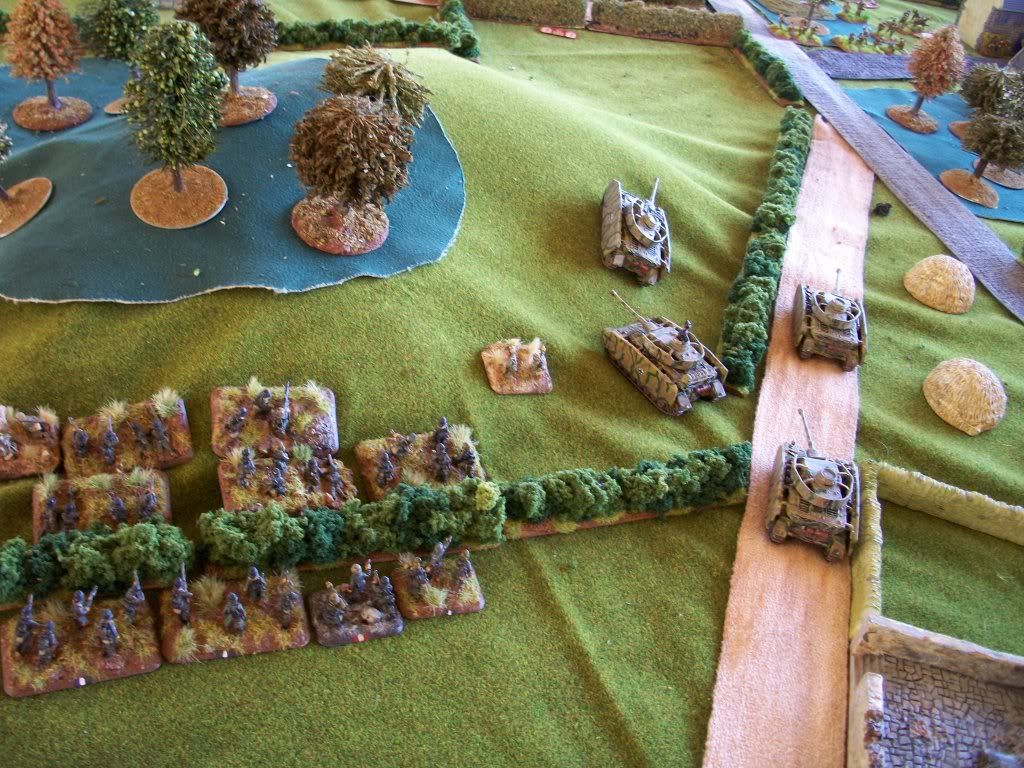
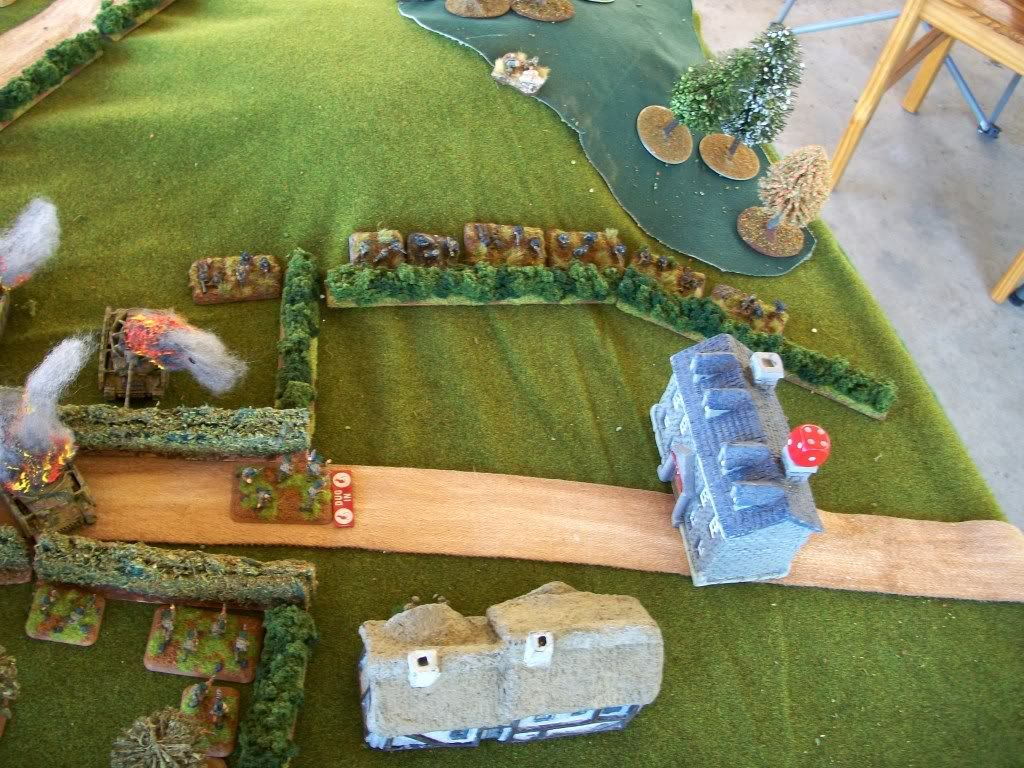
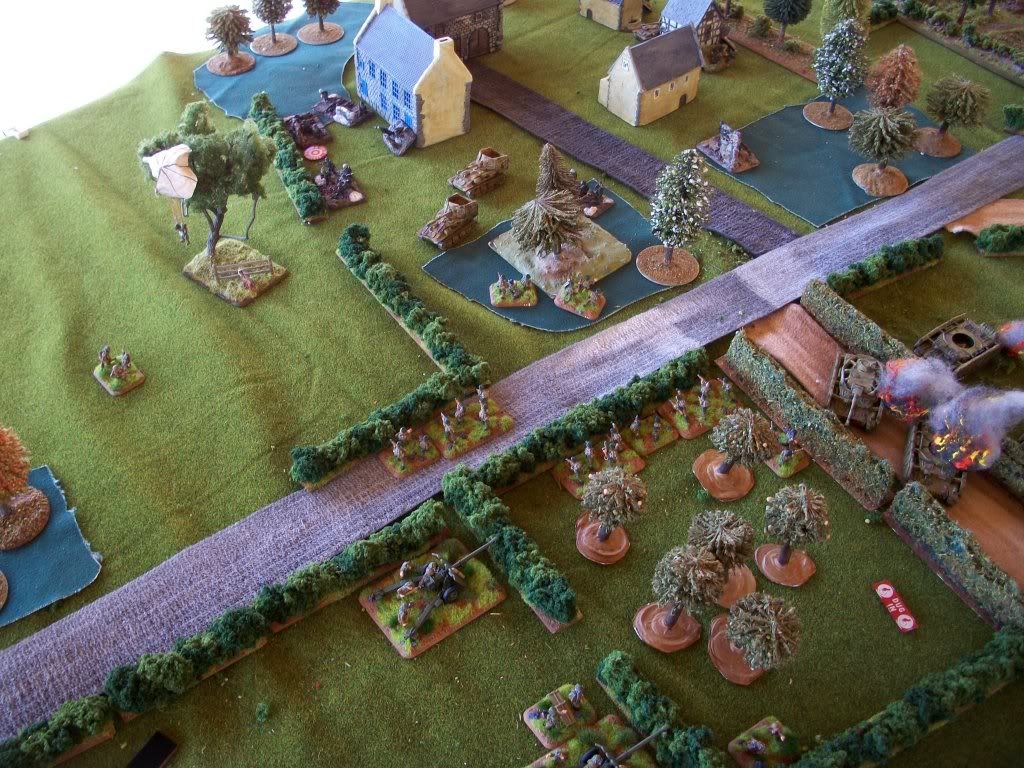
The Panzer IVs then execute a risky assault in the centre on the Commando Section holding behind the hedgerows. Two leading tanks bog on the hedgerow, one KO’d by PIAT fire. The Commandos then failed to counter attack (a “1”...), and again failed as the CO tried to rally them to no avail (a “2”...). They fell back into the orchard while the two operational Pz IVs consolidate on the road between the hedgerows. The risk has almost paid off...
...but the consolidation move will do them in. In my bound I deploy the Airlanding 17-pounders from Ambush behind the orchard (we use 12” LOS for normal orchards, otherwise treat thicker orchards simply as woods).
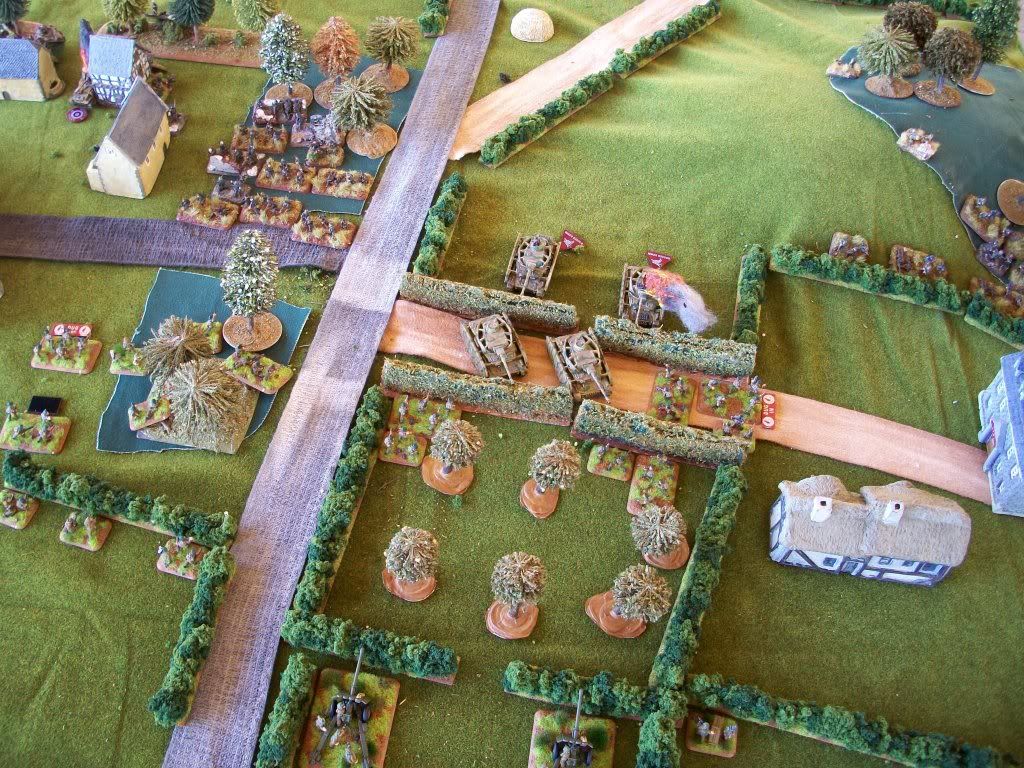
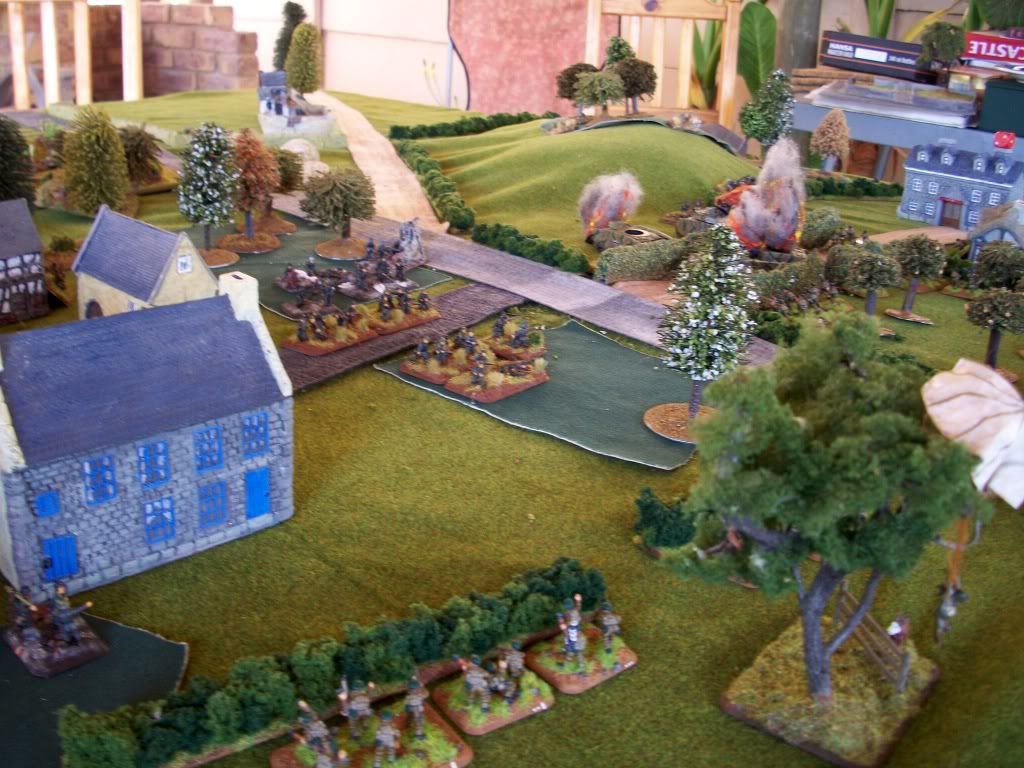
No Air support but the Airlanding Platoon doubles on from reserve on my left. The Commandos section in the orchard un-pins and moves up for the inevitable assault on the survivors of the Pz IV platoon, the other Section stays GtG. Artillery fire in ineffective, but 17-pounder AP rounds scream through the hedgerows to KO the two visible Panzer IVs, the Commando Section finishing off the last bailed tank in assault.
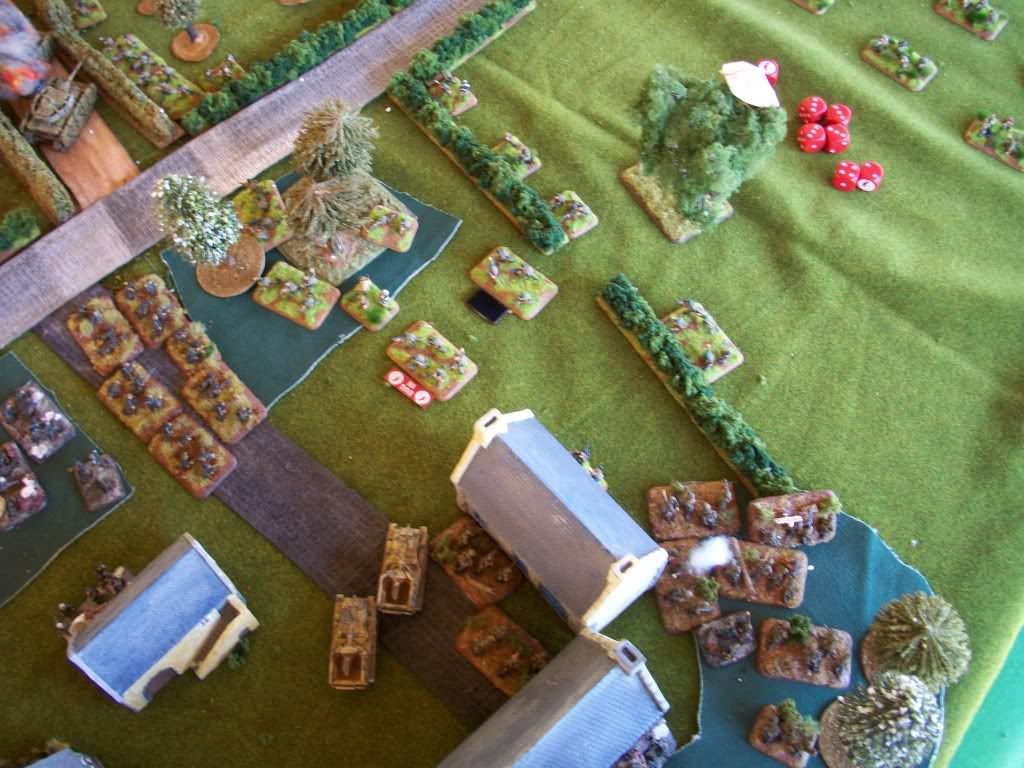
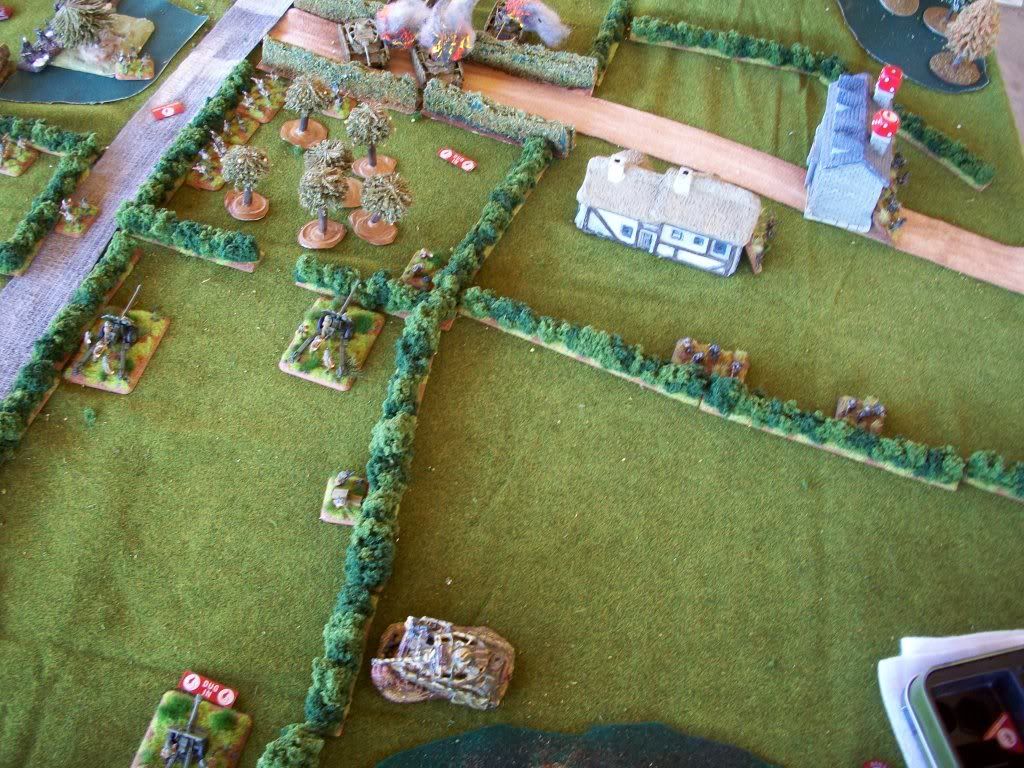
Turn 4, Grenadiers and Marders move up to provide supporting fire, the former intending to assault. The Black Pioneers with German CO attached un-pin and also move up to assault positions (lower right in picture above), the flamethrower targeting the house. Fortunately (for me) Colin rolls a 1 and 2 for his skill tests, but Nebelwerfers succeed in pinning the Commandos.
The Pioneers lose a base to defensive fire, then go in and destroy two Commando teams...
... while the Commandos counter and destroy four pioneer. The Pioneers counter again and destroy the 25-pounder observer, but are them wiped-out by the Commando counter-assault.
The pioneers die...

...and I consolidate by pulling back out of assault range of the waiting Grenadiers and taking cover behind the hedge.
On the British right the Grenadier platoon in the woods finally emerges to line the hedge, a little too late to support the Panzer IVs.
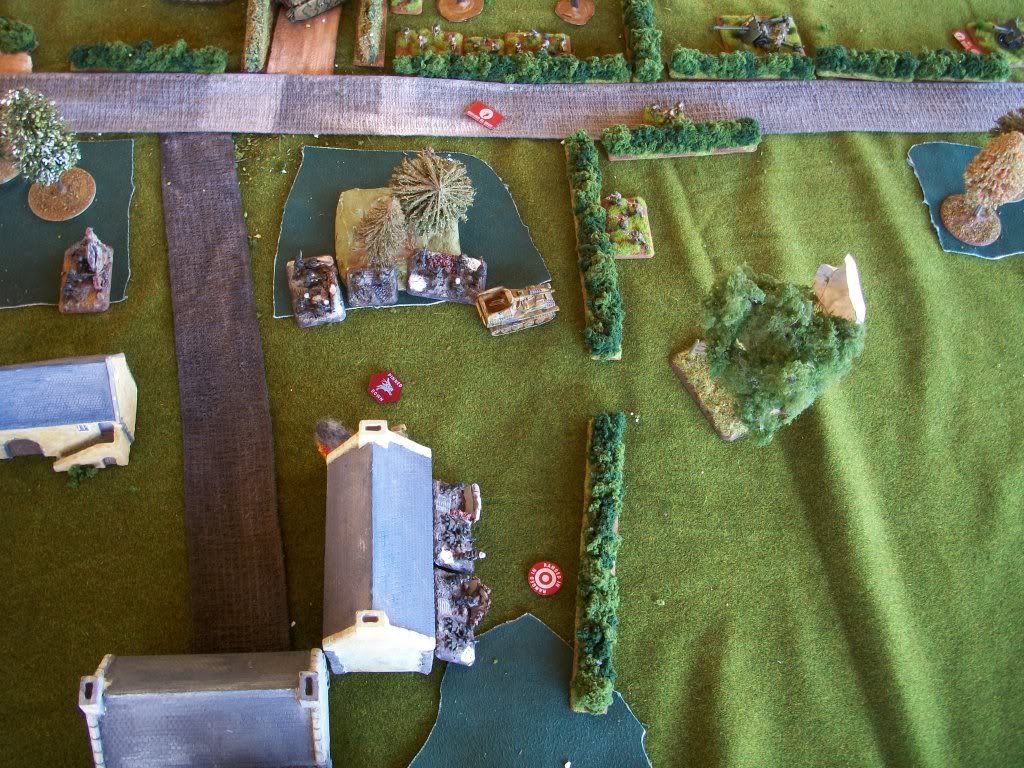
In my bound, no air, no reserves, the Airlanding platoon moves up to support the Commando Section in front of them. The Commando section un-pins and, noticing the lone German Company commander in the lower left hand picture, puts him out of his misery. Artillery fire kills a base on the British right, but nothing else.

Turn 5, the Germans open fire on the Airlanding platoon, scoring eight hits. I respond by rolling FIVE “2s”...the remaining three are assaulted and destroyed, while Marder MG fire hits two Commando bases lining the hedge and I fail both saves there as well! From things looking secure they now look quite difficult as I only have one viable Commando Section on-table, the other left with just one base. The Germans consolidate back behind the hedge, contesting the objective.
My half of turn five I pull the Sole Survivor in to the woods hoping to keep him alive, move up a 25-pounder battery commander to contest the objective and move several bases from the viable Commando Section to within 6”. Artillery fire pins the Germans, but does no damage.

Turn 6 Colin pulls his grenadiers back into the houses or woods and kills the Sole Survivor from the battered Commando Section and the Battery commander contesting. Long-range Marder fire also KO’s a 25-pounder. The Grenadiers on my right still advance very cautiously through the Mayor’s Bungalow, occupying houses but advancing far too slowly.

No air, but two Commando Sections comes on from reserve, one through the woods on my right, the other badly-needed on my left. The on-table Section moves to contest the left-most objective. The 25-pounders split fire, half the battery pinning the Grenadiers in the Chateau, the other half firing at the Marders, knocking-out one and causing the third to flee. Down four platoons the Germans are near breaking point.
Turn 7 sees very little German activity. My shooting is ineffective and I can’t be bothered to risk an assault before I have another platoon on the objective.
Turn 8, a last ditch German assault sees a 17-pounder and observer killed, the command teams pulls back to preserve the platoon. My shooting destroys this last platoon, putting the German Company below half and with no CO, they flee the battle field.
Commandos hold the line at Bois de Mont!
With both attacks having failed, the next game will see British forces in the region moving to attack the town of Breville itself in an attempt to eliminate the German salient once and for all.
I made a few mistakes in this game, most notable not using the SMG swap-out in the Commando sections. When simply defending this is not too much of a handicap, but there were several instances where if I had the SMG teams I would have been assaulting German platoons, templates never being completely reliable. I also need to get my Airlanding 6-pounders painted as the 17-pounders are too one-dimensional to fit into my Commando force. Drop the Air Support, and fit in the Vickers MMG troops as well.
On to Breville!
CdlT
Another great AAR! British are champs at holding the line like this. Looking forward to the rest of the campaign.
ReplyDeleteGreat report.
ReplyDeletelooking forward what the next battle of the campaign will bring.
Nice BP!I'm looking forward to the next.
ReplyDeleteCheers
Christopher
Thanks to these excellent AARs, we mentioned you in the latest episode of News From the Front: http://www.whatwouldpattondo.net/2010/10/wwpd-news-from-front-episode-1.html
ReplyDeleteCheers Steven, I'm honoured :)
ReplyDeleteRex/CdlT