Wednesday 27 October 2010

Painting British Infantry: Part 1

Part 1 will focus on painting British Infantry for the North-West European Theatre, i.e. from the D-day landings onwards until the defeat of Germany. Part 2 will follow on painting British Infantry for the Mediterranean Theatre, in particular forces in Sicily and Italy from 1943-45.

Guide to paint codes:
VMC = Vallejo Model Colour
VGC = Vallejo Game Colour
VPA = Vallejo Panzer Aces
VMA = Vallejo Model Air
P3 = Privateer Press Formula P3 Paints.

Below are the paint combinations I use when painting British infantry: they are applied mostly ‘as is’, i.e. no intermixing unless noted. However, if a highlight colour provides too much contrast for your liking, mix in a bit of the colour listed above it.

Flesh Areas
Shadow: VGC 066 Tan
Base: VGC 041 Dwarf Skintone/Flesh
Highlight: VGC 004 Elf Skintone/Flesh

Webbing
Shadow: 887 Brown Violet
Base: 988 Khaki
Highlight: 322 US Tankcrew Highlight

Battledress Uniform
Shadow: 889 USA Olive Drab*
Base: 921 English Uniform
Highlight: 880 Khaki Grey*

*Note: If you’re painting larger scale figures (e.g. 28mm) using something similar to the ‘Foundry/3 layer method’ then this will be too dark. I prefer a slightly darker colour as I don’t leave black visible in 15mm. In 28mm you might use VMC Burnt Umber, Chocolate Brown or Leather Brown as a Shadow colour. Similarly, tone the webbing down in 28mm: in 15mm I exaggerate so small details are more visible.
**Other options here include 879 Green Brown and Vallejo Panzer Aces 317 English Tankcrew.

Boots
Shadow: VMC 950 Black
Base: 995 German Grey
Highlight: VPA 306 Dark Rubber/P3 Greatcoat Grey

Metal (on weapons, tools, etc.)
Shadow: VMC 950 Black
Base: 995 German Grey
Highlight: 836 London Grey/GW Codex Grey

Canteen
Shadow: 889 USA Olive Drab
Base: 983 Flat Earth
Highlight: 50/50 983 Flat Earth and 884 Stone Grey/Ivory, etc

Scrim on helmets
Base: VPA 314 Canvas
Highlight: 998 Khaki

Wood (Rifle & entrenching tools)
Shadow: 889 USA Olive Drab
Base: 983 Flat Earth
Highlight: VPA 311 New Wood

SCC15 Variation I (Helmets & painted equipment, 1944-45)
Shadow: 888 Olive Grey and a bit of black.
Base: SCC15 Green*** (50/50 mix, 888 Olive Grey and 924 Russian Uniform).
Highlight: VPA 320 French Tankcrew.

*** SCC15 was the standard British colour used from April 1944 onwards for tanks and vehicles as well as most painted equipment, e.g. mortars, helmets, PIATS, anti-tank guns, and so on. There is unfortunately no exact ‘out of the bottle’ colour which matches it, so you have to mix it if you want the ‘perfect’ correct colour. Mike Starmer (he of great knowledge and expertise on British paint colours and camouflage schemes) recommends a 50/50 mix of VMC 888 Olive Grey and VMC 924 Russian Uniform: with an empty Vallejo bottle I simply measure and mark at 40mm and 20mm on the bottle, then fill half with one colour, the other half with the other and mix vigorously. This is the mixture I have used here, with lighter highlights to exaggerate the effect for 15mm.


SCC15 Variation II**** (Helmets & painted equipment, 1944-45)
Shadow: VMA 015 Olive Grey & Black
1st Base: VMA 015 Olive Grey
2nd Base: VGC 067 Cayman Green
Highlight: VPA 320 French Tankcrew.


**** The closest ‘out of the bottle’ colour I have found to match SCC15 is VGC 067 Cayman Green (or GW Catachan Green). This is a tad bit darker than the 50/50 mix and also a slight bit greener, but will work pretty well ‘as-is’, especially if you are after a ‘brighter’ look similar to my style. It is far better than the usual 924 Russian Uniform nonsense which isn’t nearly green enough.


British Infantryman, North West Europe 1944-45


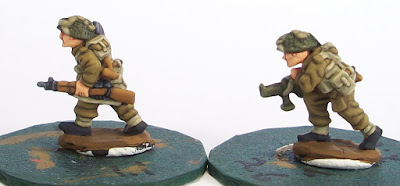
The ‘standard’ late-war figures from Battlefront from the BR702 blister. If one was to be pedantic these figures are in Mk. III ‘turtle’ helmets, issued initially only to the assault divisions, i.e. British 3rd and 50th Infantry Divisions and Canadian 3rd Infantry Division, though many later made their appearance alongside the more usual Mk. II in other formations. Covered in netting and scrim in 15mm there is barely any difference, save the Mk. III is deeper and less of the face visible on the figure.


I undercoat in black and largely follow the same method I used in the Painting by Layers tutorial, so I’ll add a brief rundown here.


A thinned coat of VGC Tan is applied to the flesh areas and left to dry. The helmet is painted meanwhile, first with SCC15, washed with GW Badab Black wash (or simply well-thinned black paint, etc), dry-brushed when dry with SCC15 again, then a final (very light) dry-brush with VPA French Tankcrew. The Scrim is painted with VPA Canvas, highlighted with Khaki. Note that the strap on the front of the helmet is painted to match the webbing, not the hessian scrim camouflage.


Flesh areas are then block-painted with VGC Dwarf Flesh. The webbing shadow of Brown Violet is applied to webbing, rifle slings and anklets. This was then block-painted with Khaki while the uniform shadow (USA Olive Drab) is applied and in the process “cleans up” any mess from the webbing. The same colour is used as a show colour for the rifle wood, entrenching tool handles and canteen.


The painted equipment, here the PIAT and ammo rack, are painted with Olive Grey mixed with a bit of black. Note that the ammo rack should technically be brown as it was usually painted or varnished cardboard with a metal frame, but for simplicity I went with green. The uniform is block painted with English Uniform, leaving OD in the folds and creases for detail.


Wood is painted with Flat Earth, boots and metal areas with black, equipment with straight SCC15.


The webbing was then highlighted with VPA US Tankcrew Highlight: this was confined to the edges mostly, to give various areas of the webbing some definition. Metal areas and boots were painted with German Grey, the metal areas then highlight with London Grey. SCC15 was highlighted on the edges with VPA Italian Tankcrew, while VGC Elf Flesh was applied to highlight the flesh areas. Wood was highlighted with VPA New Wood.

Lastly, the BD (Battledress) was highlighted with Khaki Grey, finishing the figures.

(Click to expand for double-sized versions)


Infantryman in General Service Cap, North West Europe 1944-45

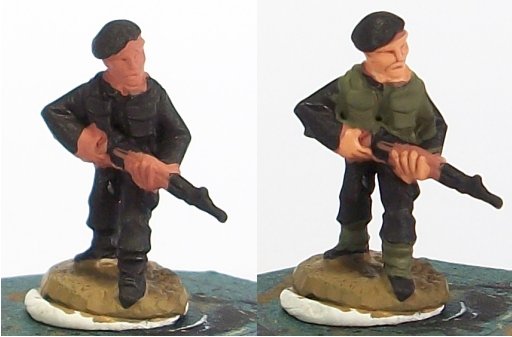
This figure is taken from Battlefront’s BR790 7th Armoured Division Motor/Rifle Platoon, depicting an infantryman in GS cap with a mix of standard and light webbing. For the record, most (if not all) British infantry would have worn helmets in battle (Commandos and Paras somewhat excepted): these figures are a little different from the ordinary helmeted figures and they have a different sculpting style as well with some cracking poses.


Again I start with a black undercoat. VGC Tan for flesh shadow, followed by VGC Dwarf Skintone.


Brown Violet for webbing shadow. US Olive Drab for uniform shadow and for the rifle wood, canteen and entrenching tool where applicable. The hair is similarly painted with USOD for a shadow colour. While generally best avoided on helmeted figures, on others in Berets or GS caps I think that it looks better painted in.


The Webbing was then painted Khaki, wood on the rifle with Flat Earth, the hair with a light brown.


Flesh was then highlighted with Elf Skintone, metal areas and the boots were painted black. The webbing was edge-highlighted with VPA US Tankcrew Highlight. The Battledress was then painted English Uniform, leaving US Olive Drab only in the deepest shadows; more subtle shadows were painted over for now. This is one of the main differences between this figure and the one painted above. These have much more subtle folds: just comparing the trousers will show the gentle folds on the 7th Armoured Infantryman compared to the cartoon-like folds on the trousers of the figure above.

Highlighting now begins in earnest, the wood with VPA New Wood, metal with German Grey followed here by GW Codex Grey. A lighter mix of the light brown was also applied to the hair in vertical lines while the boots were highlighted with P3 Greatcoat Grey (not too visible, but then it’s not meant to be).

The Battledress and GS cap were then highlighted with VPA 317 British Tankcrew. English Uniform was left as a shadow colour in the more subtle folds for detail so as not to over-exaggerate the detail. A simple ring was also left on the GS cap to hint at the shape.

(Click to expand)

Finally, a 4th highlight was applied to emphasise uniform details. A 50/50 mix of VPA 317 British Tankcrew and VPA 321 Highlight British Tankcrew was made and applied to prominent folds and other areas where emphasis was wanted. The badge on the GS was painted GW Boltgun Metal & black as a shadow, then pure Boltgun Metal. Lastly, the leather strap on the GS cap was painted black and then highlighted with German Grey, finishing the figure.

Battledress Uniform Variation II
Shadow: 889 USA Olive Drab
Base: 921 English Uniform
1st Highlight: VPA 317 British Tankcrew
2nd Highlight: 50/50 mix of British Tankcrew and British Tankcrew Highlight

Using Khaki Grey or Green Brown mixed 50/50 with Buff/Dark Sand will be almost identical to the Vallejo Panzer Aces colours above.


I’ll add other info later to this post, in particular some painted examples of the 'Guards Rifle Platoon', really just LW British for NWE in Mk II helmets. The figures do look promising, perhaps even better than the Mediterranean British sculpts. Part 2 will cover painting British infantry in the Mediterranean Theatre. In Part 3 I’ll get to a few other points such as Commando webbing, Berets and painting Denison Airborne Smocks in 15mm.

As always, questions, comments and feedback welcome.

CdlT

Sunday 24 October 2010

Estonian SS WiP


Finished a few test pieces for an upcoming project which will center on the Estonian 20. SS-Freiwilligen-Grenadierdivision: the 8cm mortar platoon being selected as guinea pigs. The pic is a bit washed-out and the highlights on the lighter colours don't seem to show too well: not entirely convinced on the Pea-Dot yet either, so might have to try a few variations there. I also skipped SS runes and markings: not particularly inspired by anything SS, plus these figures are a little smaller than usual and doing markings would be an absolute pain.

Game 4 of the Axis of Attack campaign was scheduled for Friday evening but had to be called off as I fell seriously ill on Thursday night: still not 100%, but not throwing up every hour which is a vast improvement to say the least.

Quite a few works-in-progress on the go right now, with US 76mm Shermans and more Sikhs taking priority.


CdlT
Monday 11 October 2010

WWPD and Forged in Battle

If you are a follower of the What Would Patton Do blog you'll have noticed Steven, Joe and Sean have begun a podcast focusing mostly (though not exclusively) on Flames of War. This blog was fortunate enough to be the "blog of the week" in Episode 1, so thanks guys for that!

If you haven't checked them out, head over and listen to Episode 1 and let them know your thoughts: I think they're doing a great job and its pretty cool to have FOW-centered podcast.


Another miniature company you might want to check out is Forged in Battle. I meant to highlight them some time back but completely forgot until Heresy Brush posted some rather nice painted examples on the Steve Dean Forum yesterday, some apparently soon to be released. There is a brief review here which notes some issues with the resin vehicle parts, but this is similar to my experiences with BF resin as well, so I won't be judging them until I can get a few in hand. I am keen to see the infantry in particular and will hopefully get and paint a few in the future (he says as he has just dropped more cash on another spur-of-the-moment Eastern Front project....).

Despite being largely pro-Battlefront for some time I am of the opinion that another range (or two) of good-quality 15mm WW2 miniatures, if marketed well, would be a welcome addition to the wargaming fraternity. The recent BF price rises have made it worthwhile to "shop around" and, while I still don't think BF's products are exorbitantly priced, I think they could do better in several areas (e.g. small vehicles specifically) and competition is always a good thing.


We were meant to get another Axis of Attack campaign game in this weekend but real life got in the way at the last minute: hopefully the 2nd German attack on Amfreville will take place this week and, from my point of view, get soundly thrashed!

CdlT


Thursday 7 October 2010

The Breville Gap – Game 3: Breville

After the German attacks on Amfreville and the Bois de Mont were repulsed, Allied High Command launches an attack on Breville in an attempt to eliminate the German salient once and for all.

My Commandos would be attacking this time in No Retreat against Colin’s Grenadiers, and I decided on a Night Attack. I brought:

Commando HQ, PIAT & Lovat
4 Commando Sections (Platoons)
Comando Mortars x 3
Commando MMGs x 2
Airlanding Platoon
Airlanding 6-pounders
Full 25-pounder Battery

(I forgot my aircraft at home so subbed in some of Colin’s AL 6-pounders, in retrospect a bad move.)

Colin’s lists confuse me at the best of times: he went with a 12 Platoon force, something along the lines of 3 x Grenadiers, MG Platoon, Mortars, Nebelwerfers, Black Pioneers & PSV, 4 Mader IIIMs, PaK 40s, 3-base scouts, 20mm FlaK, and a kamfgruppe formed from a few Grenadier teams and an MG....or something like that.

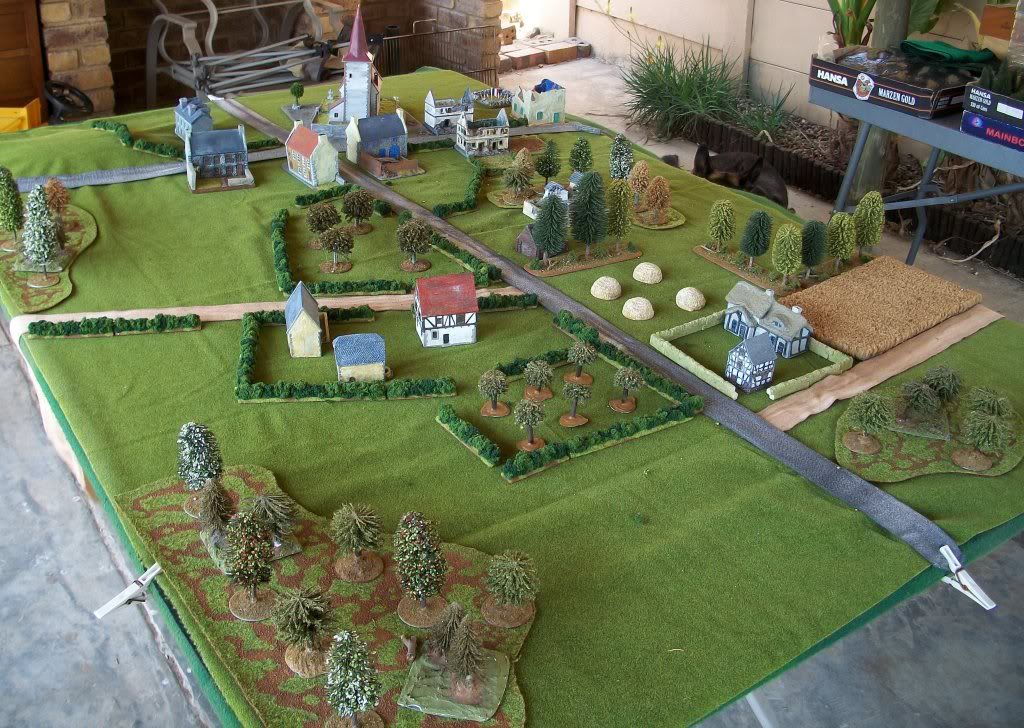
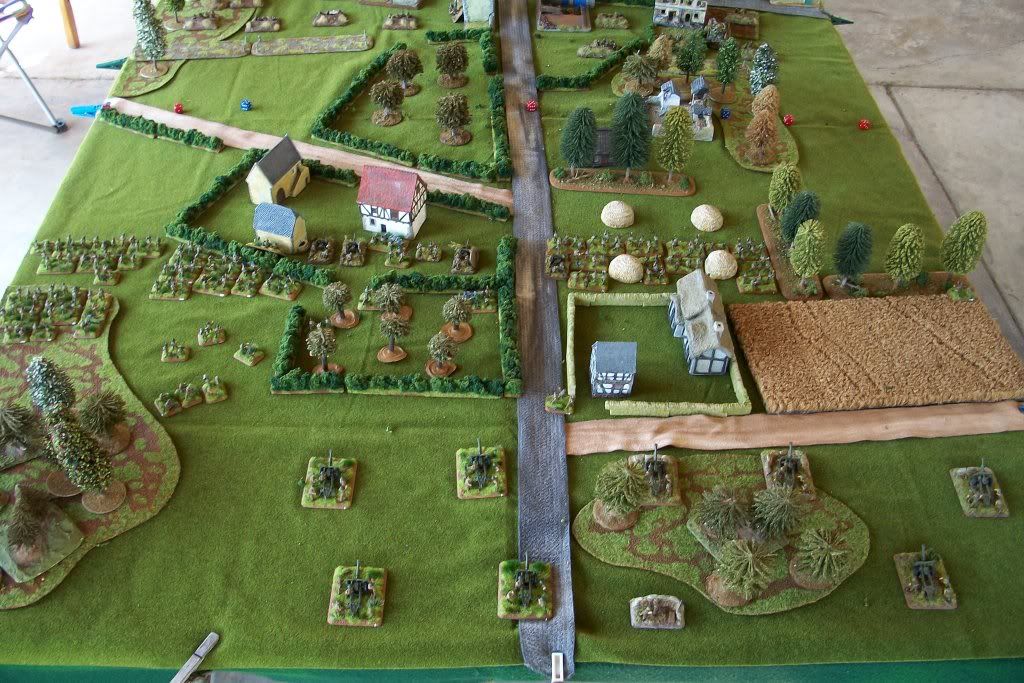
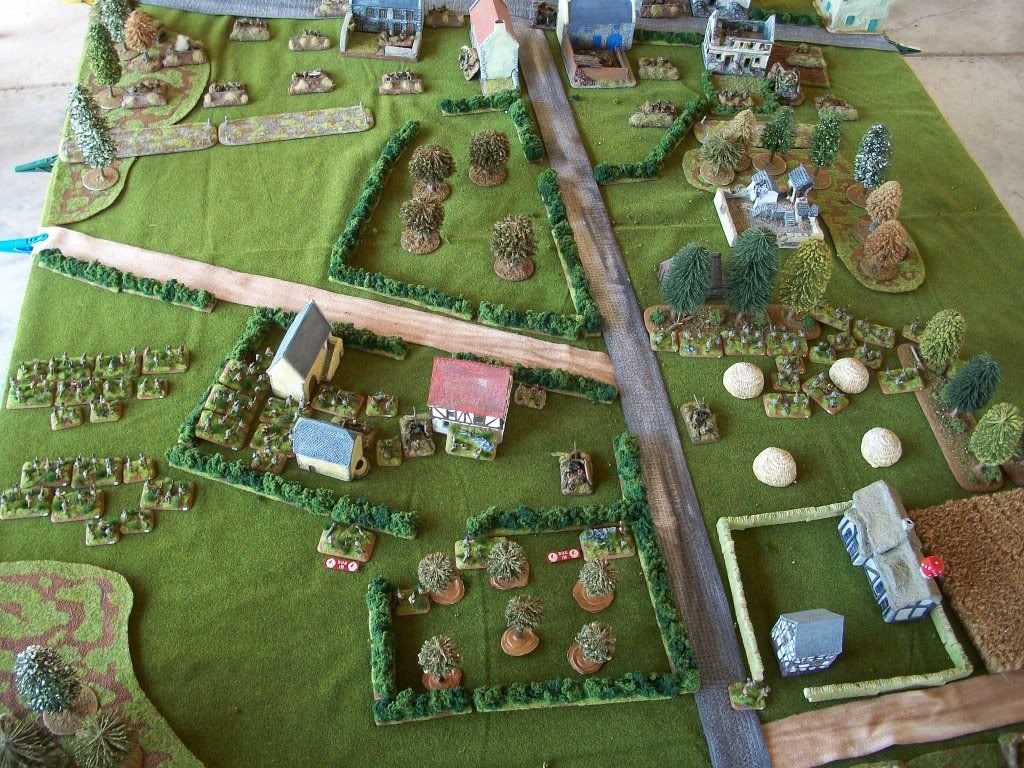
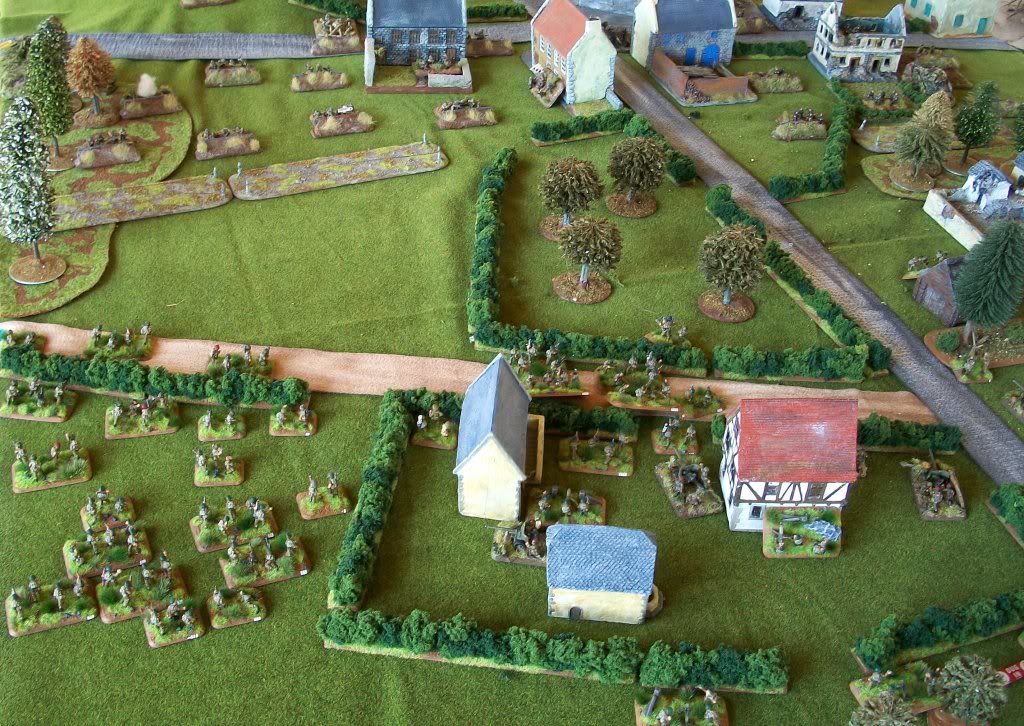
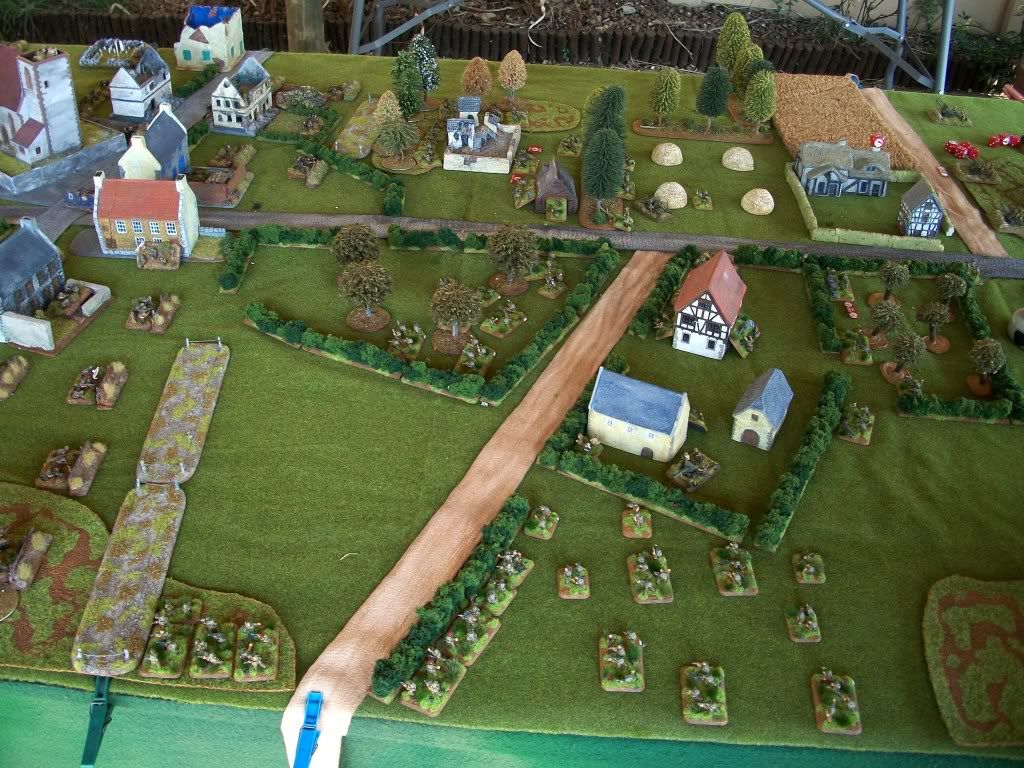
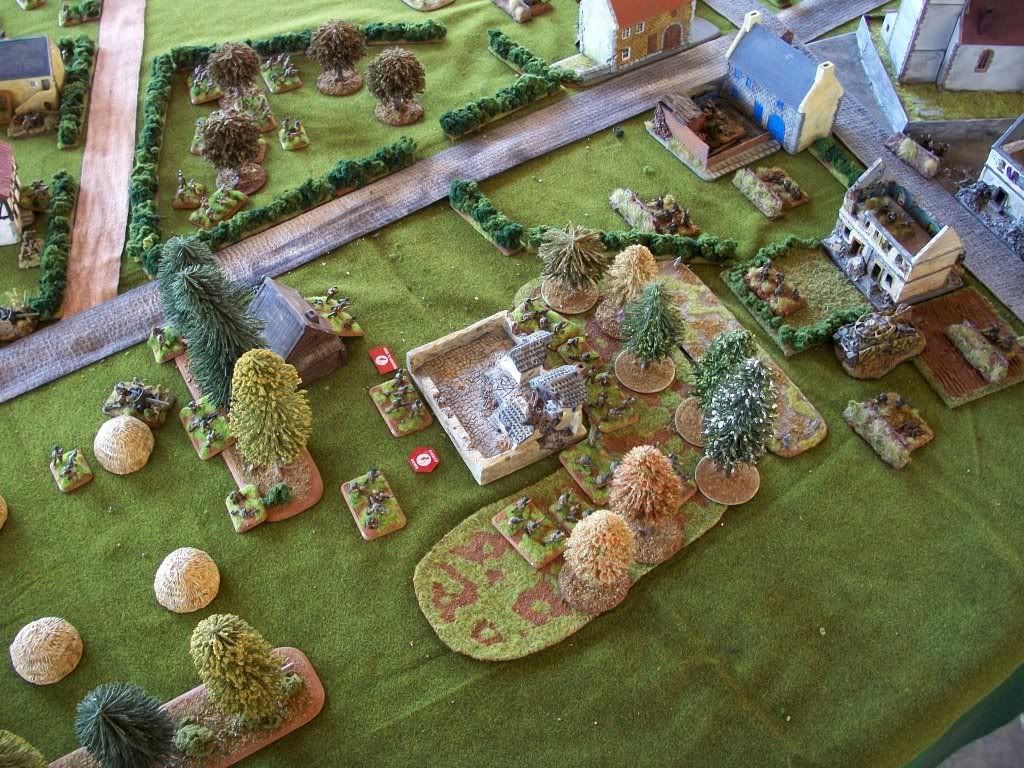
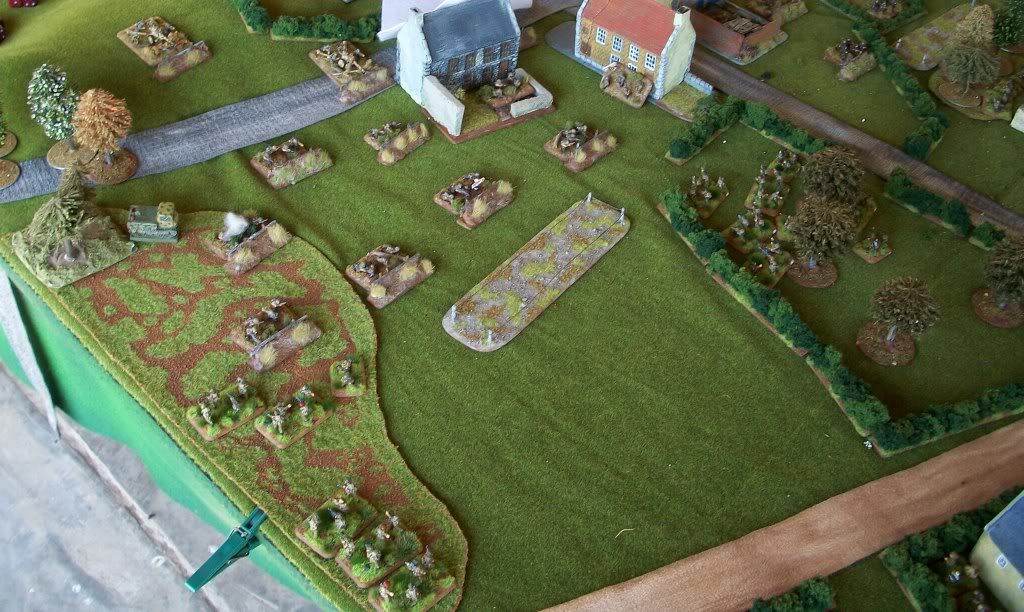
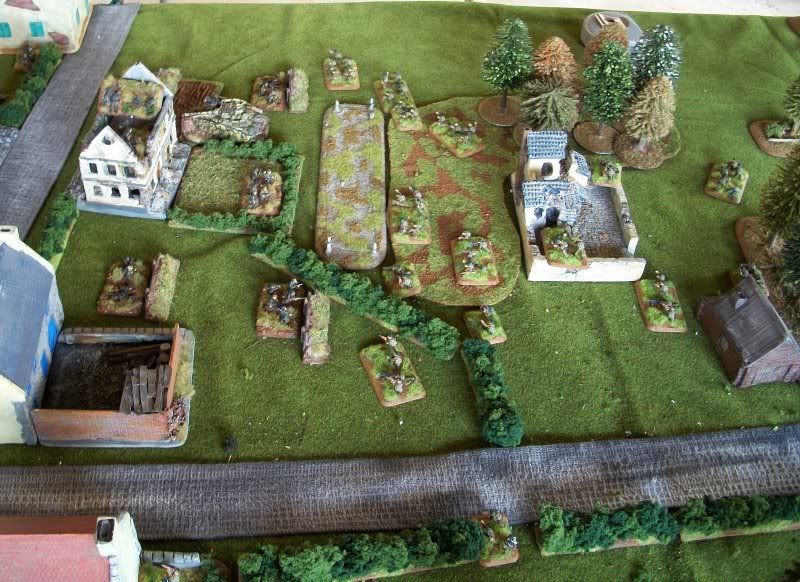
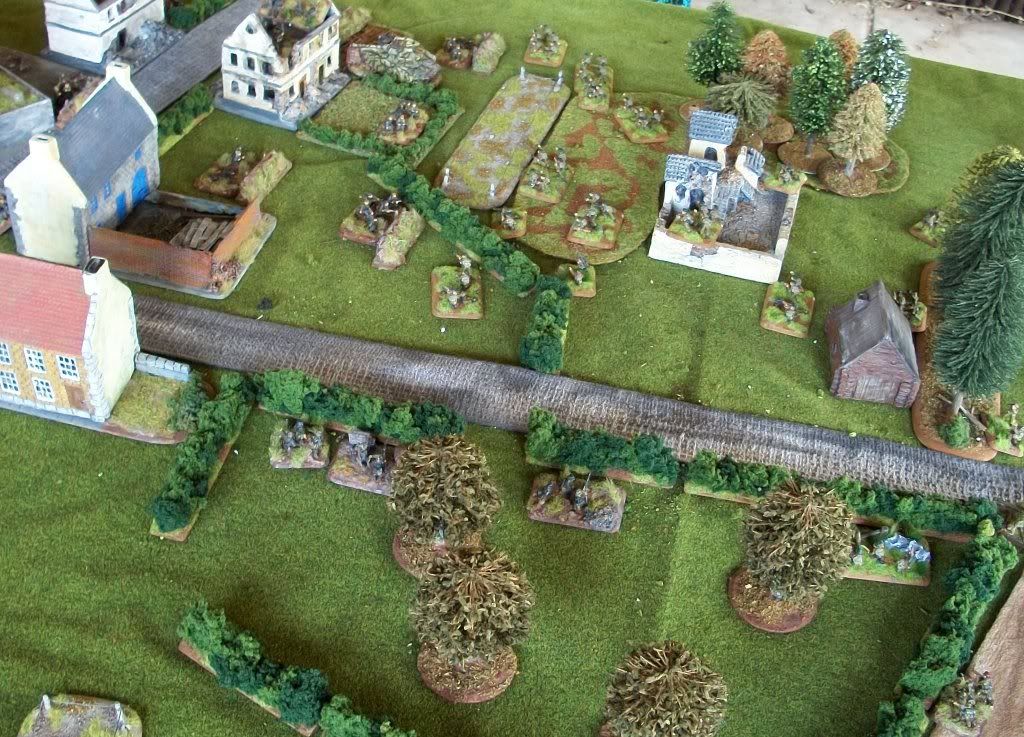
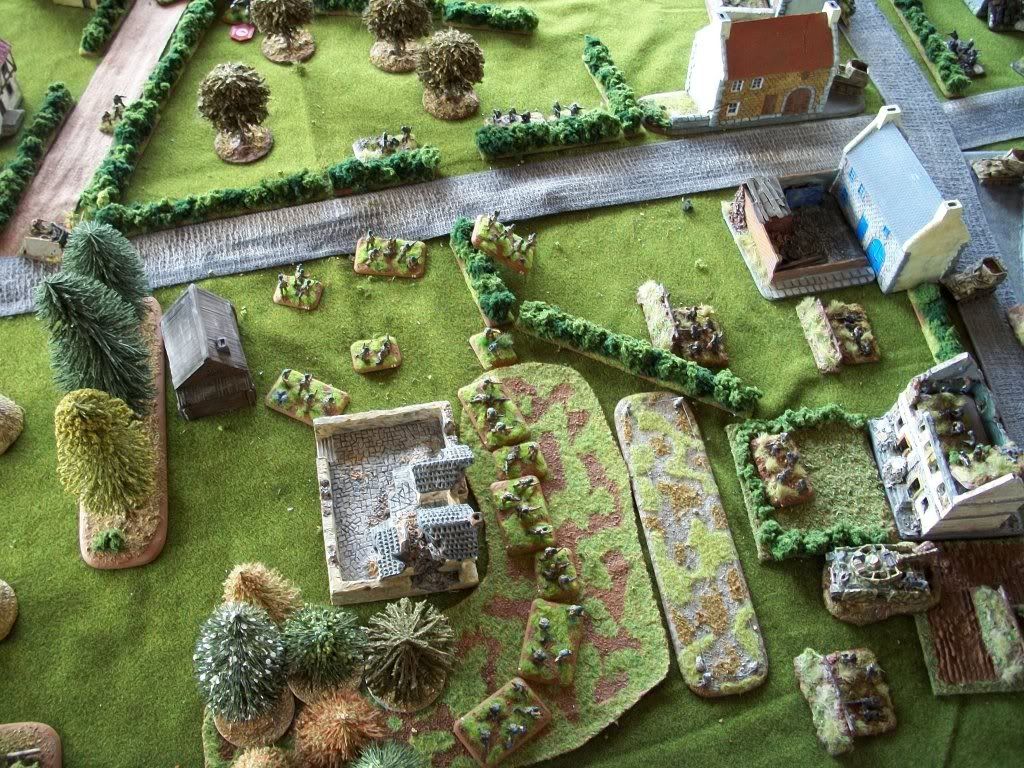
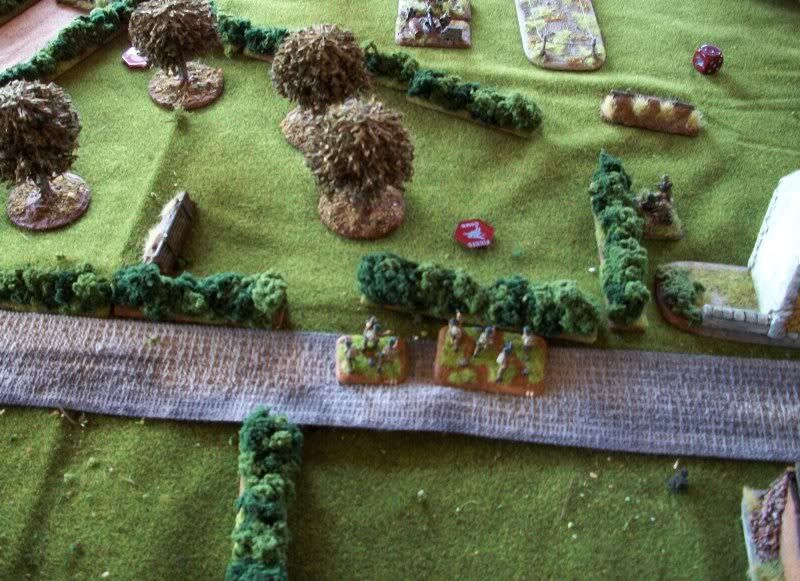
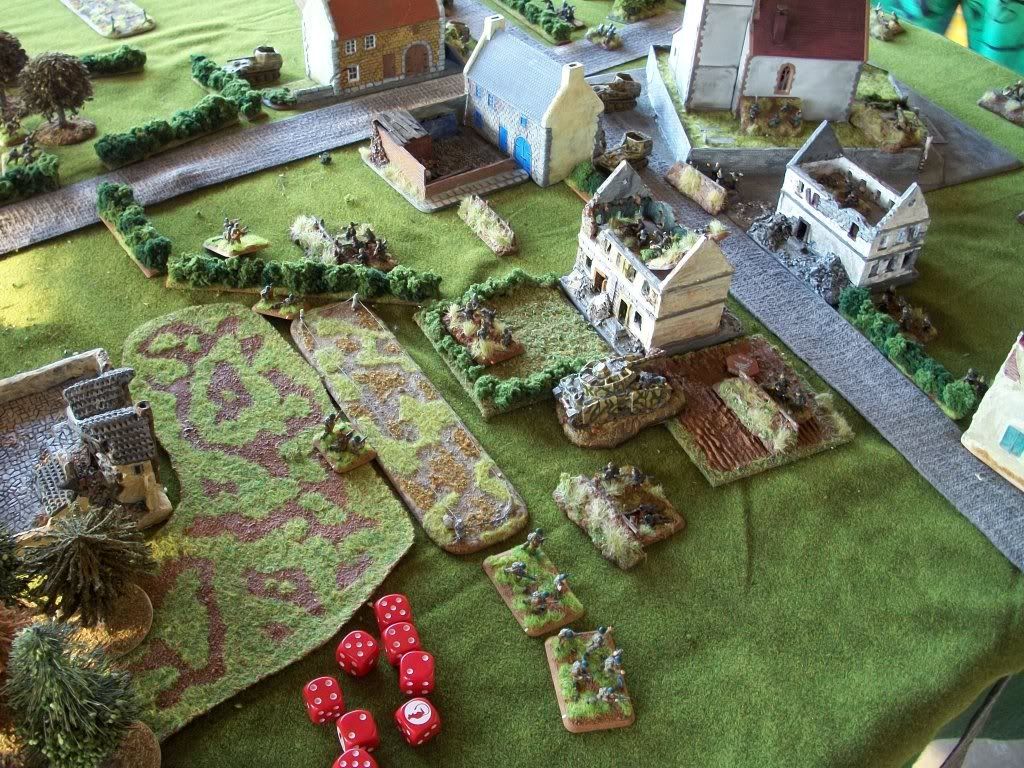
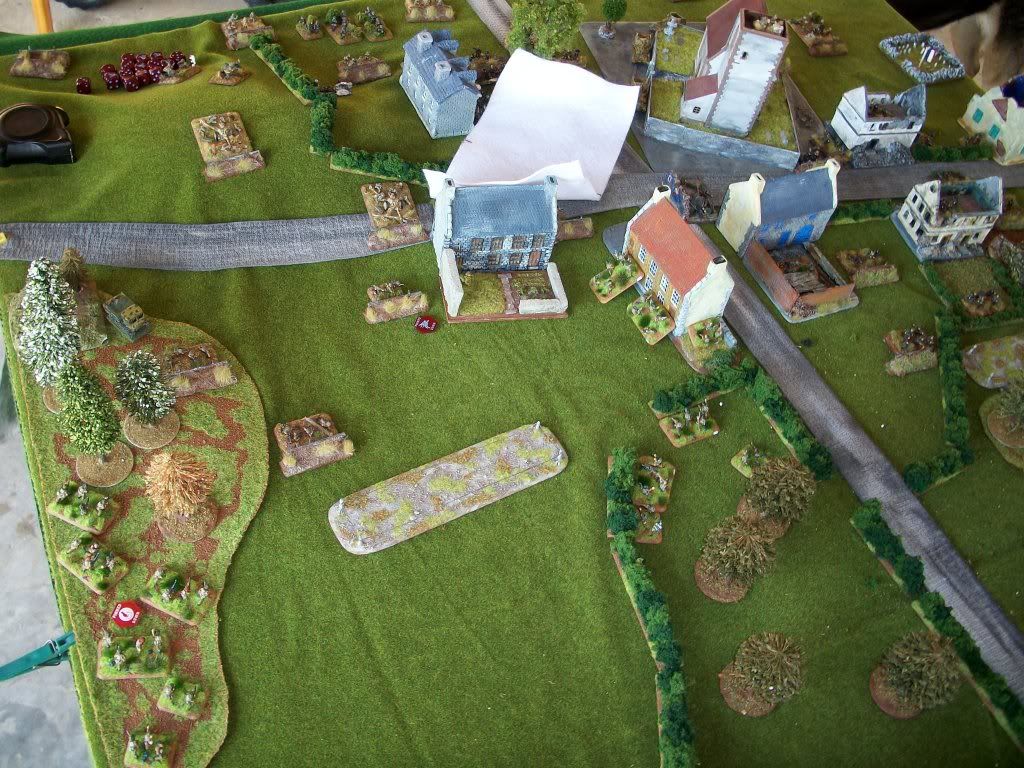
The table from my edge: Breville at the top where the Germans would be defending, orchards, hedges and scattered woods elsewhere.

Grenadiers w/attached HMG defend the German left.

Black Pioneers with two sections of wire hold the German right. PaK 40s, Nebelwerfers and Mortars on–table, 2 HMGs (?) in Ambush.

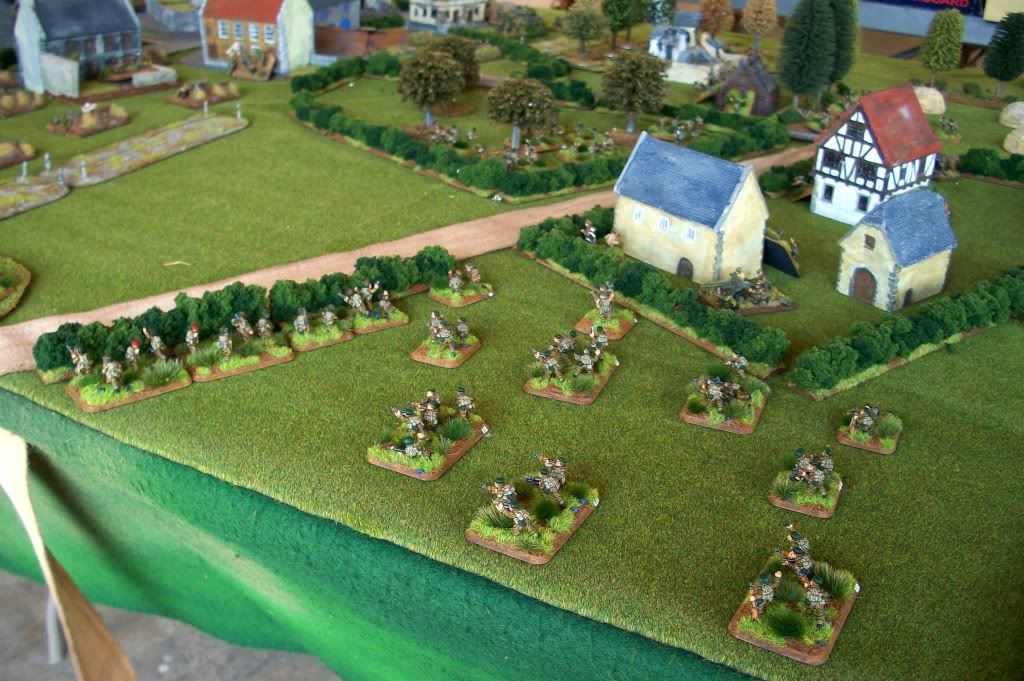
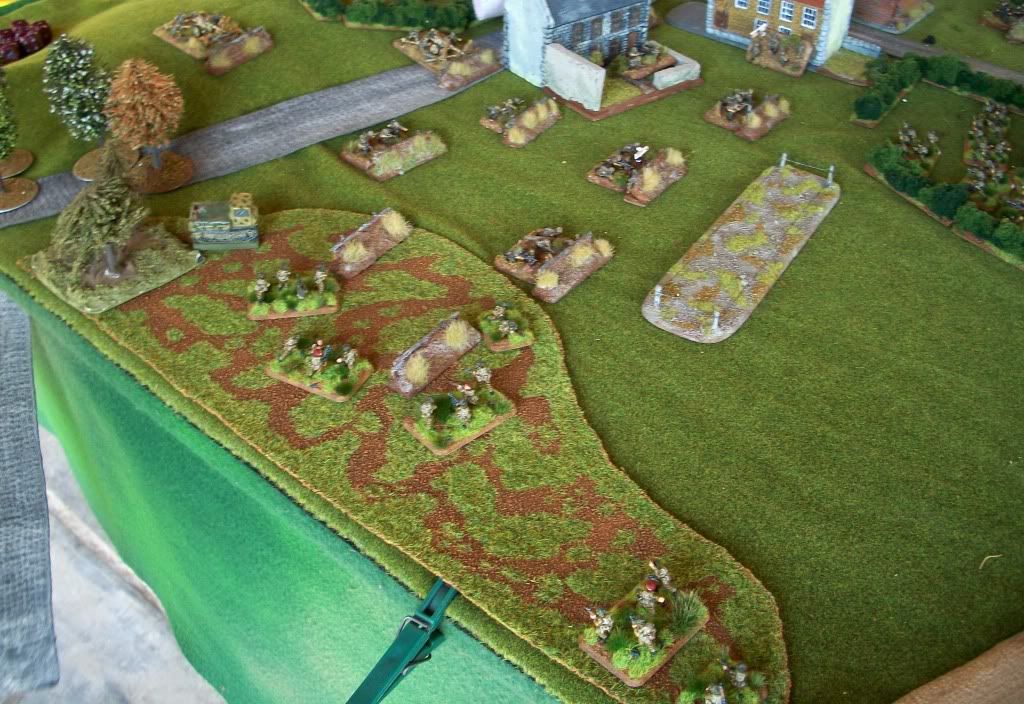
My deployment, consisting of (from left) Commandos, Airlanding, Commandos, 6-pounders , Mortars & MMGs and two more Commando Sections, 25-pounders to the rear. We are a little further forward thanks to the extra 8” deployment for Nigh Attack.

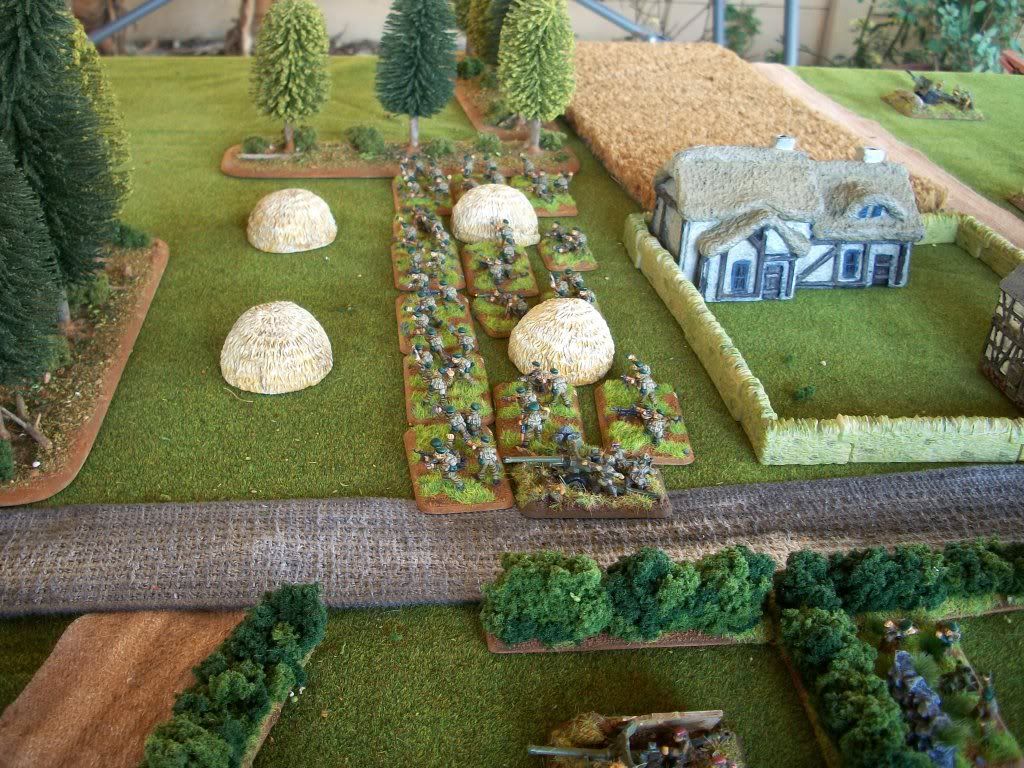
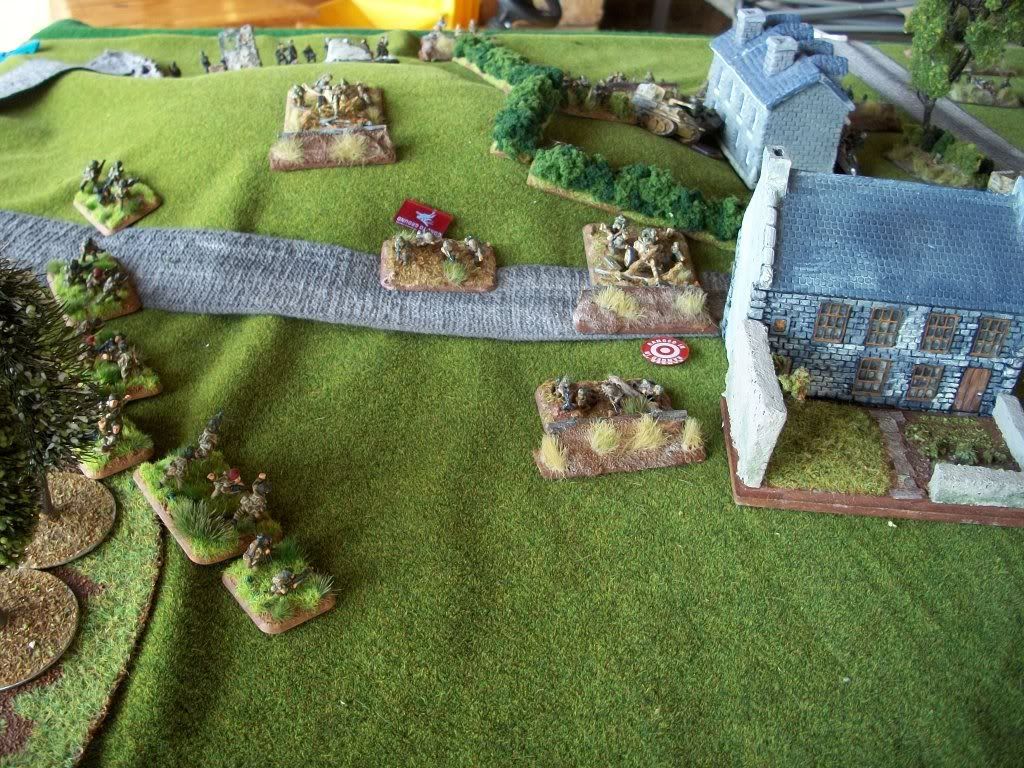
The British left, Troop commander and Lord Lovat & Bill Millin in the background.

The British right.

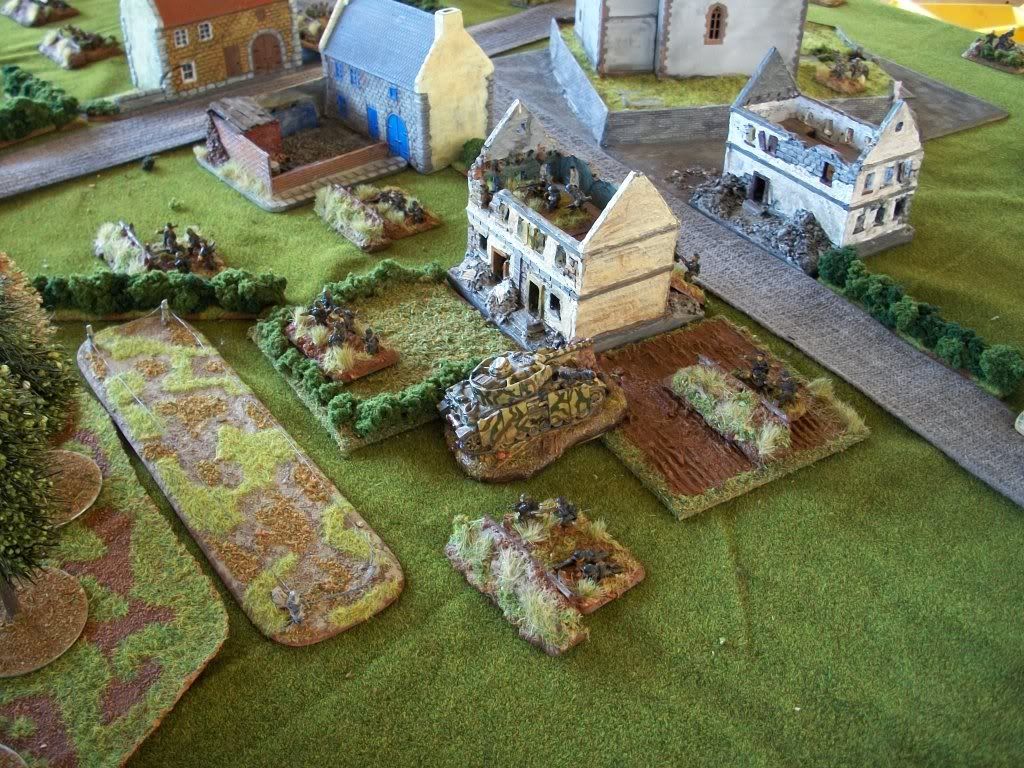
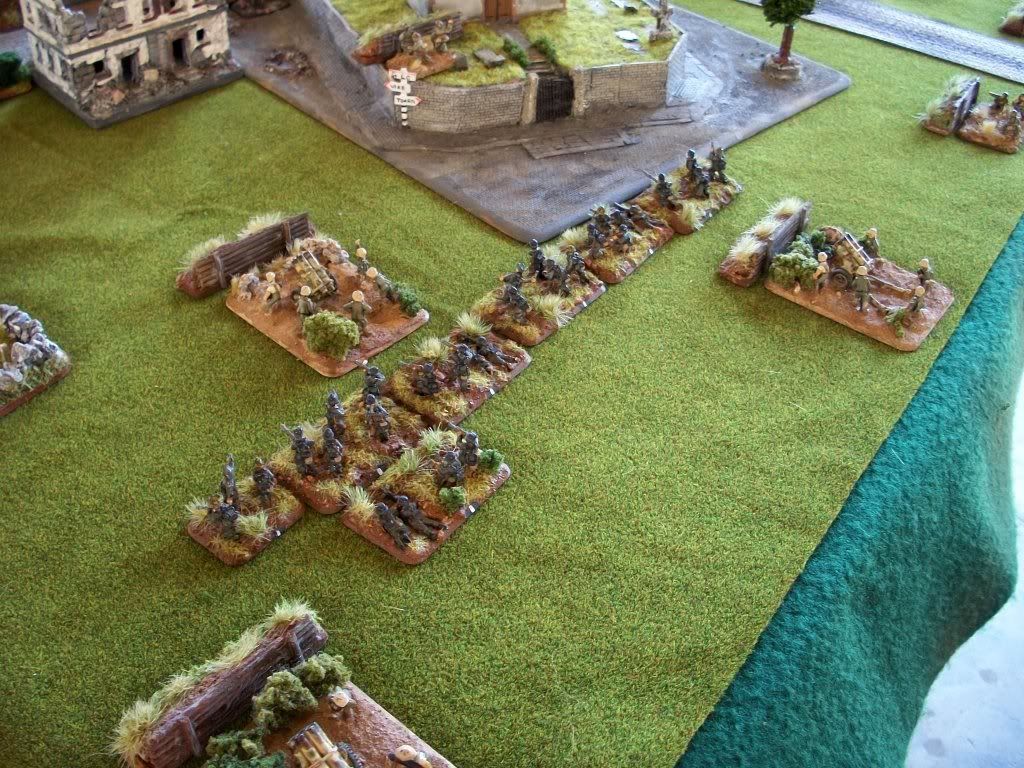
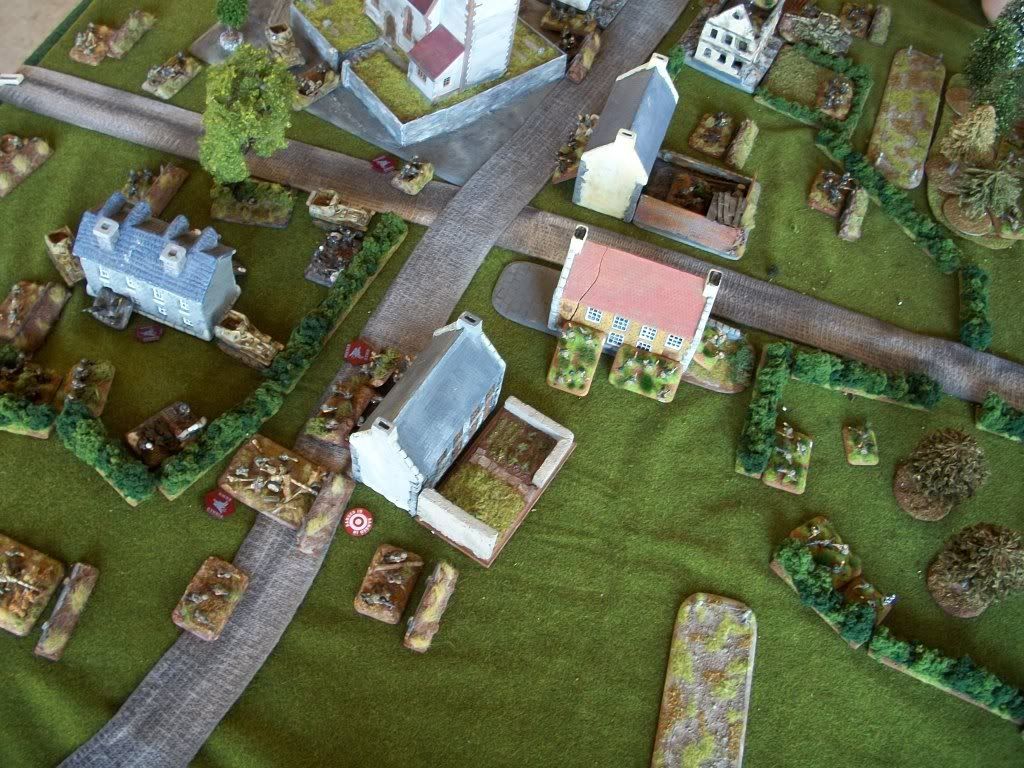
The German deployment: Black Pioneers (aka FJ) in foreground, Grenadiers above, PaK 40s behind Pioneers, Nebelwerfers and Mortars to the rear.

First turn, general advance across the British front.

Colin gets reserves first bound and brings on a Grenadier platoon. The Germans can see nothing in the darkness

The second bound continues the British advance, while the German get a further TWO platoons from reserve, bringing on Marders and Scouts. They still can see nothing, but so can the British observers.

Turn 3. The Airlanding move up the left through the woods intending to remove the wire while remaining hidden: a Commando Section trails intending to follow the same route. Another Section moves up through the centre orchard, while both sections on the left push forward.

Airlanding prepares to breach the wire...

...while a Commando Section trails.

In the German half of bound three, another two platoons of reserves arrive, more Grenadiers and two 20mm FlaK pieces, while night holds.

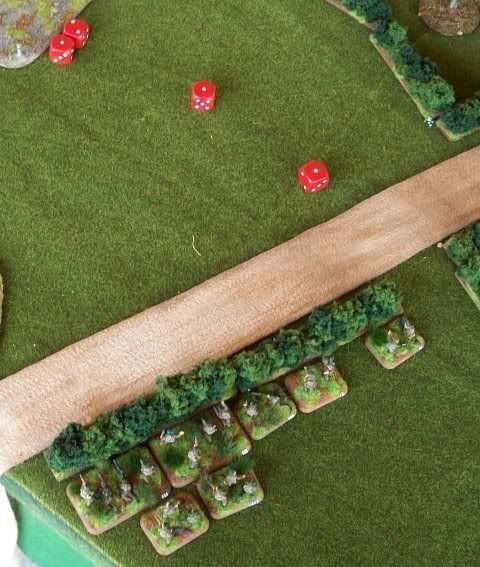
Colin also called fire on a few mm of an exposed Commando base on the right, hitting the platoon and pinning them. They would remain pinned for 4 turns as I cannot find anything above a ‘2’ on the dice....

Turn 4, daylight breaks. The Commando section in the centre orchard moves up to assault the pioneers. My 25-pounders fail to range-in on the pioneers, the mortars having fire smoke into the centre of the town. This would be the only range-in attempt the mortars pass the whole game. However a base from Airlanding platoon on the left has successfully removed the wire and they surge through to assault the pioneers. By keeping within the woods I only take 3 shots in defensive fire then kill two pioneer teams, including the obligatory flame-thrower.

Colin counters even though he will only fight with two bases, and scores one hit. I’m now in position to completely gut the counter-attacking pioneers, but fail to counter with a fearless roll, the fail the British Bulldog rolls as well.....

The pioneers consolidate back to their precious foxholes, forgetting the Commandos in the centre.

The Commandos move in...

They also assault and kill two pioneer teams, the Germans breaking-off afterwards while the Commandos consolidate in the orchard and into the house.

In the German half the final reserve platoon arrives (a KG of Grenadiers with an HMG I think?). The pioneers fail to un-pin, while other platoons move forward to behind the pioneer’s position. The PaK 40s reveal their positions by firing a few long-range shots. Scattered MG fire hits the Commandos in the house along with several rounds from the Marders, but does no damage apart from pinning.

Turn 5. The Airlanding and centre Commando section un-pins, the one on my right remains pinned still. The Airlanding surge forward out of the woods.

My artillery ranges-in a double-width template on the PaK 40s, pinning the Paks and pioneers but only killing a grenadier base to the rear. Commando SMGs in the house snipe a PaK 40 in the street.

The Airlanding platoons assault goes-in, destroying the PaK 40s and a few more pioneers, clearing the house as well. The pioneers fall back but pass motivation.


Up until now my basic plan was working. By pushing through the left wood the wire was removed, the pioneers flanked and combine with a Commando assault forced back, losing nearly half their number and the PaKs while I had lost only three teams thanks to the concealment of night. German reserves had almost all diverted to the centre to protect the rear-most objective and counter this threat. My real plan however was to now divert right with one Commando Section while the two others on the right (despite having been pinned for ages) would converge on the closest objective and eliminate the Grenadier platoon holding it.


So much for the plan. My dice now went cold.


In the German halt of Turn 5 the pioneers pulled back out of the line of fire. Nebelwerfer fire hit four Commando teams from the follow-up Section, and I rolled...

...for saves.

Colin then threw the 3-base scout platoon in against the Airlanding which had been pinned by mortar fire. With five shots I hit once in defensive fire, the scouts then missed two out of three assault rolls! I countered and then failed all four 3+ skill tests! WTF?

The scouts countered automatically, destroying three bases and the AL broke-off. (Insert long line of appropriate expletives here...)

Turn 6. I pull the AL platoon off, while other Commandos un-pin and get moving.

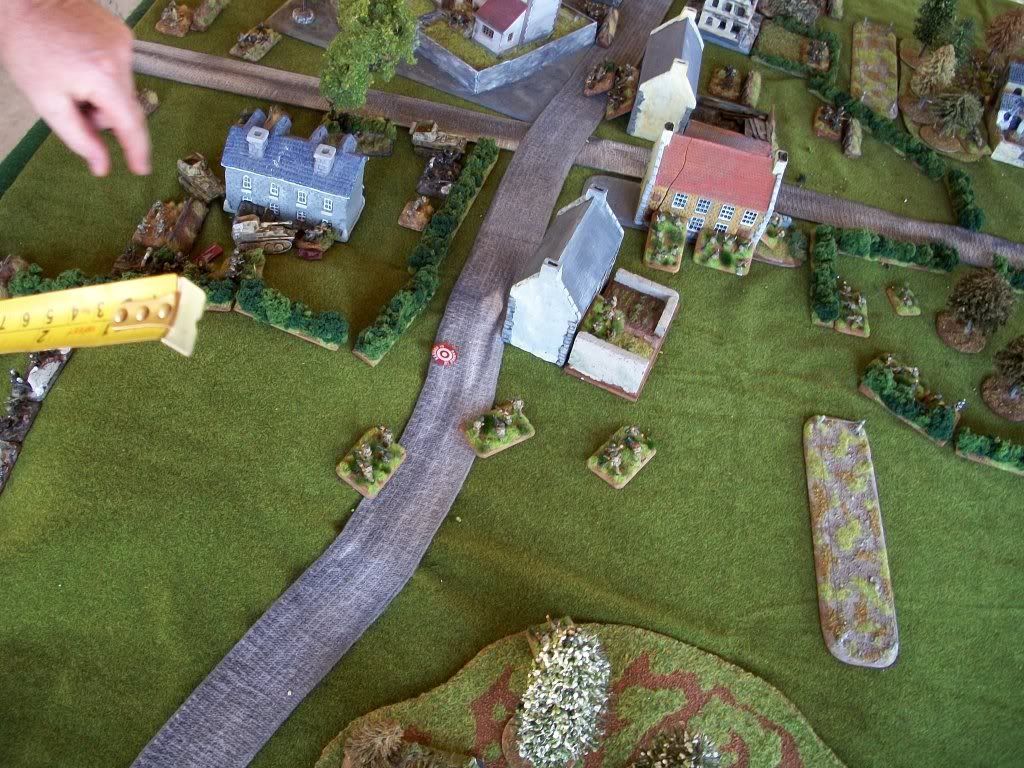
On the right, I intend to assault around and through the wire to push the forward Grenadier platoon of the objective (destroyed tank).

I then fail to range in with both 25-pounder troops and the mortars, rolling nothing above a ‘3’ in 10 range-in attempts...I then score 4 hits from SMG and Rifle fire, but cannot find the 5th and the Grenadiers remain un-pinned. The Commando section in the centre attempts a flank assault, moving out of the HMGs LoS in an attempt to pin the Grenadiers. However they draw in fire from the 20mm through Independent teams and take 5 hits....I then fail 4 saves, fail a fearless motivation check and the re-roll, again never rolling above a ‘2’.

With the Grenadiers still un-pinned I decide not to assault on the right. Feeling slightly sick, I and am now fairly screwed ;)

The German half of 6 sees the 2 HMGs deploy in the orchard from ambush. The lead Commando Section then takes 8 hits from the Grenadier platoon, and a further 8 from Marder and other MG fire. I fail ONE save (WTF???). The second Section behind takes 7 hits from the HMG ambush, and again I only fail one save. Ridiculous.

Turn 7. I un-pin, pin the HMG ambush and assault. I take 4 hits in defensive fire, then fail 3 saves...going well. The two remaining bases destroy the HMGs while the command team breaks-off and I consolidate into the orchard.

I finally get the other Grenadier platoon pinned as well and assault, but they score 5 hits with the help of the rear Grenadier platoon, and again I fail 4 saves...

Falling back with one team, I pass motivation.

With effectively only one platoon lost I could continue, but having lost so many infantry teams I call it quits, my sections consisting of 4 teams, 1 team and 2 teams. From looking great things all went to hell in a bound and a half and I won’t pretend I was anything other than disappointed with my dice.

Nonetheless, the Germans hold Breville and will attack out again in the next game after Colin decides which region to attack again.


....bloody dice...

CdlT
Related Posts Plugin for WordPress, Blogger...